- Qualcomm Launches Snapdragon 4 Gen 2 Mobile Platform
- AMD Launches Ryzen PRO 7000 Series Mobile & Desktop Platform
- Intel Launches Sleek Single-Slot Arc Pro A60 Workstation Graphics Card
- NVIDIA Announces Latest Ada Lovelace Additions: GeForce RTX 4060 Ti & RTX 4060
- Maxon Redshift With AMD Radeon GPU Rendering Support Now Available
Rosewill Blackhawk Mid-Tower Chassis Review
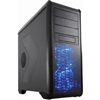
In our first-ever look at a Rosewill product, we’re taking the company’s Blackhawk mid-tower chassis for a spin. It offers similar design cues to another mega-popular chassis and adds in a couple of new features to help set itself apart, so let’s see if it manages to stand on its own and becomes worthy of your $100.
Page 1 – Introduction
Seeing as how I obsess over hardware most of the time while I’m awake, I tend to visit a large number of online retailers to see what is on the market and for what price. If you’re like me, chances are you’ve seen Rosewill products of just about every type on a major hardware retailer’s website.
Luckily I’ve been “in the game” long enough to see the company begin launching products aimed towards the enthusiast crowd, and that includes cases. I’ve wanted to try one out for a while to see how they stack up with some of the more popular brands, because choice is never a bad thing. The time has come and we have the Rosewill Blackhawk on the review table today.
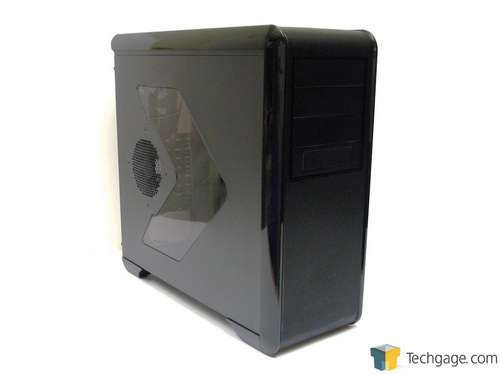
As the name suggests, the Blackhawk is black inside and out. It features a steel body with plastic accents and supports micro-ATX and ATX motherboards. The review sample that we received is a refresh with USB 3.0 support added. From the start, some may compare the look of this case to another popular case from another manufacturer, so it’ll be interesting to see if the Blackhawk offers any features other than what its competition does.
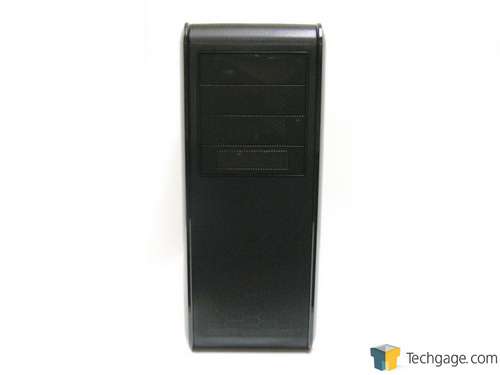
From top to bottom the front panel features a metal mesh to help with airflow. At the very top are four 5.25″ drive bays with the bottom doubling as a 3.5″ bay thanks to a converter. The rest of the front is taken up by the ventilation area for two 120mm blue LED fans. There is also room for a third 120mm fan, but that will be covered shortly when the panels come off. Both of the included fans are powered by 4-pin Molex connectors.
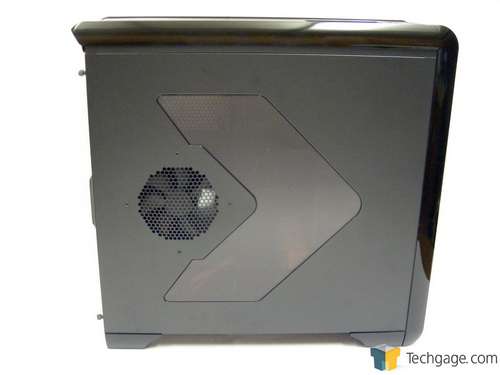
The left side allows users to show off their components thanks to a large, smoked, right arrow-shaped window. Directly behind the window is a 120mm non-LED fan with a 4-pin Molex connector. A fan in this area will help to supply components with fresh air to drive down temperatures.
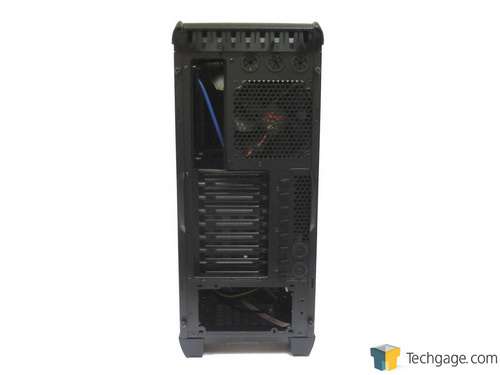
Around back starting at the top left is the motherboard I/O opening. To the right are three holes with pre-installed rubber grommets where one is for the USB 3.0 cable that runs from the top panel to an open port on the motherboard I/O. The remaining two holes can be used to run hoses for a water cooling setup. Below these is a second 120mm non-LED fan powered by a 3-pin connection to exhaust warm air out of the case. Continuing down are eight vented PCI slot covers, a small vented area to the right, two more water cooling holes below and the opening for the power supply at the very bottom.
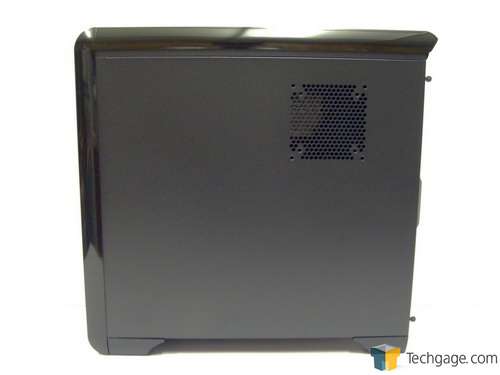
The right side has a mounting area for an optional 120mm fan directly behind the CPU to help reduce temperatures further by cooling the backside of the socket and surrounding area. Due to space restrictions, only fans up to 18mm thick will fit, so standard 25mm thick fans are a no-go.
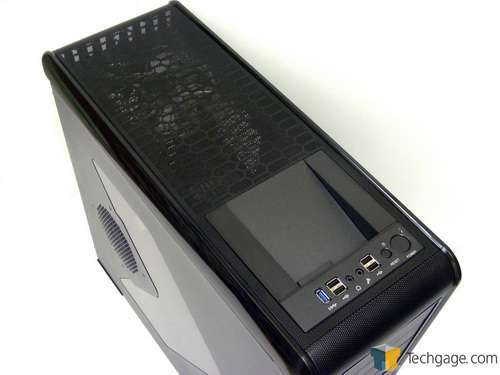
Moving up top at the front finds the I/O connections. From left to right there is the USB 3.0 port that connects directly to the motherboard I/O as mentioned earlier, the first pair of USB 2.0 ports, 3.5mm headset and microphone jacks and a second pair USB 2.0 ports. On the right are the reset button with the hard drive activity LED above and the power button with the power LED above it as well. With the exception of the area directly behind the I/O, the rest of the top features the same mesh as the front panel, but this time it hides a 140mm blue LED fan powered by another 4-pin Molex connector.
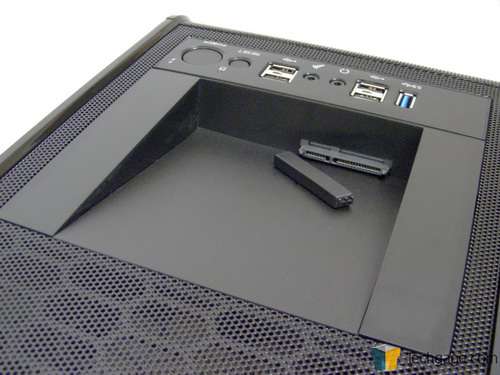
Behind the I/O area is a hot swap SATA drive bay. Assuming the motherboard supports AHCI, a 3.5″ or 2.5″ drive can be added and removed on-the-fly when needed. Rosewill included a handy cap to cover the data and power connections when not in use to keep dust and dirt out.
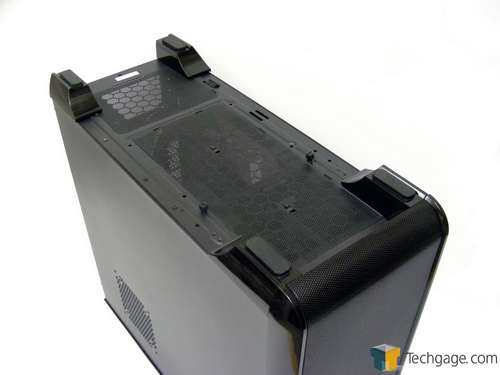
With the case flipped over, the rubber pads attached to four molded plastic feet can be found. These lift the case up off the ground to help with ventilation for the power supply and optional bottom fans while absorbing any vibration and stopping slipping and sliding. Both areas feature filters to help keep dust out of the system and are removed by flexing the mesh so it slips out from under metal fingers. On either side of the filter for the fans are thumbscrews that can be removed if the bottom section of the hard drive cage needs to be taken out.
The outside the Blackhawk offers fairly traditional styling by today’s standards with some extra expandability in the form of USB 3.0 and hot swap bay on the top panel. It’s time to have a closer look at the interior to see if it holds any extra surprises.
Support our efforts! With ad revenue at an all-time low for written websites, we're relying more than ever on reader support to help us continue putting so much effort into this type of content. You can support us by becoming a Patron, or by using our Amazon shopping affiliate links listed through our articles. Thanks for your support!


