- Qualcomm Launches Snapdragon 4 Gen 2 Mobile Platform
- AMD Launches Ryzen PRO 7000 Series Mobile & Desktop Platform
- Intel Launches Sleek Single-Slot Arc Pro A60 Workstation Graphics Card
- NVIDIA Announces Latest Ada Lovelace Additions: GeForce RTX 4060 Ti & RTX 4060
- Maxon Redshift With AMD Radeon GPU Rendering Support Now Available
Sabayon Linux RC2

The distro formally known as RR4 is soon to be released, and we have taken a hard first look at what’s being offered. Based on Gentoo, Sabayon already has a solid base. Add superb Live DVD functionality and a complete installer, this is one distro worth watching.
Page 2 – Installation
Since Gentoo 2006.0 introduced a GUI installer in it’s x86 version, I had anticipated a similar installer in Sabayon. I was proven wrong. Unlike the 2006.0 installer, here you will not have to worry about USE flags, default editors, make.conf, etcetera. All of this will be taken care of for you. The most difficult part of the installer is proven to be the partitioner… which goes for any other distro out there as well.
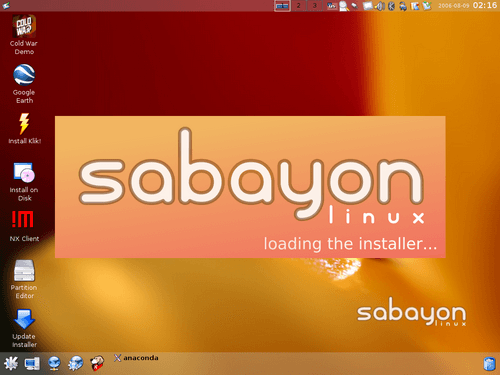
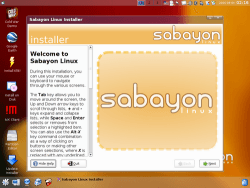
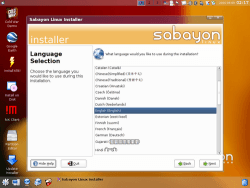
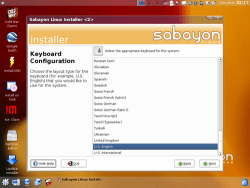
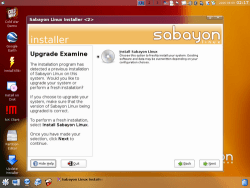
The first thing you will be greeted with is a simple introduction, followed by Language, keyboard layout and upgrade/install.
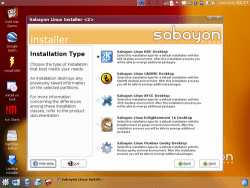
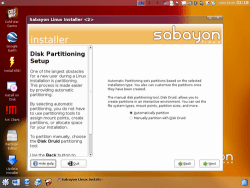
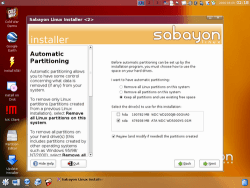
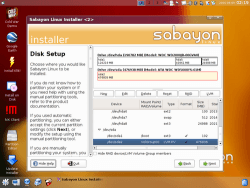
You can choose your favorite desktop environment, which will be made default. Regardless of which you choose here, all of them will be installed. This may be considered before launch though, as the Sabayon devs are planning to add in further package selections. Partitioning can be made easy with the automatic method, although it’s highly recommended that you choose the manual way, unless you are installing to a single drive. For instance, it wanted to erase my primary HDD which contains my Gentoo and Windows installations.
In the last picture, we see that Sabayon creates a /boot mount, in addition to a / mount. A seperate Swap partition is not created, but they are going the swap file route. After making sure that settings were all correct, I proceeded to the next screen.
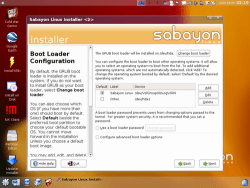
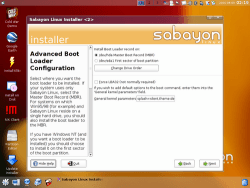
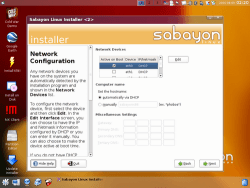
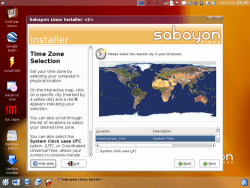
The default bootloader is GRUB, which should suit most people fine. The installer will add an “Other” entry to the grub.conf which will send you to the Windows boot loader. Sabayon does not pick up on my current Gentoo install which I am keeping, so to coincide with both it would require a few simple lines to the conf file.Setting up your ethernet should prove easy, if Sabayon picked up on it during the Live DVD boot. Chances are it did unless you are using a bizarre setup, or WiFi. My USB NIC was picked up, but would not connect to the available WPA network. It would appear as if it were connecting, then just drop out. I blame this on my subpar router.
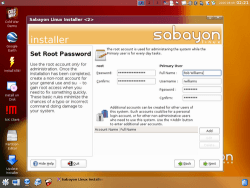
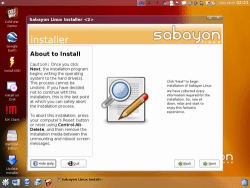
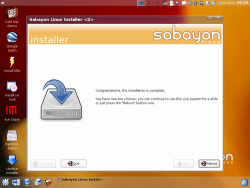
Setting root password and primary user. Easy as pie. The setting up of the installation is done, and is ready to install.
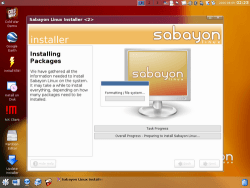
During the install, you will be shown various screenshots of the OS, including the boot screen. This will prove good if you enjoy watching installers, but it’s like watching paint dry, really. The entire installation took just over an hour.
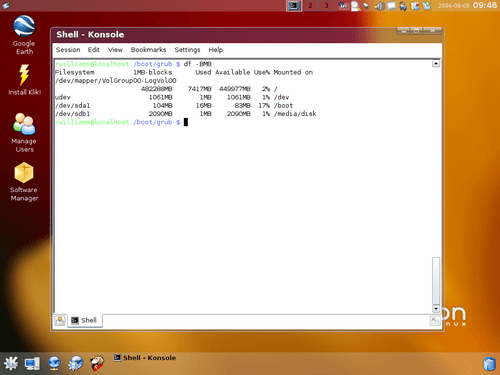
After the install, you are greeted with the same login screen as on the Live DVD. You have the option to choose which desktop environment you want to use, go to console, etc. In the below picture, we can see the entire installation took around 7GB of hard drive space. Not too bad, considering all that is included here.
Support our efforts! With ad revenue at an all-time low for written websites, we're relying more than ever on reader support to help us continue putting so much effort into this type of content. You can support us by becoming a Patron, or by using our Amazon shopping affiliate links listed through our articles. Thanks for your support!


