- Qualcomm Launches Snapdragon 4 Gen 2 Mobile Platform
- AMD Launches Ryzen PRO 7000 Series Mobile & Desktop Platform
- Intel Launches Sleek Single-Slot Arc Pro A60 Workstation Graphics Card
- NVIDIA Announces Latest Ada Lovelace Additions: GeForce RTX 4060 Ti & RTX 4060
- Maxon Redshift With AMD Radeon GPU Rendering Support Now Available
SabayonLinux 3.3

We have been a fan of SabayonLinux for quite some time, so we could not pass up a chance to tinker with their heavily anticipated new version. In addition to updated software, 3.3 brings about a new color scheme. It’s also touted as being more stable, so let’s put it to the test.
Page 2 – Installation
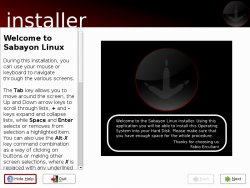
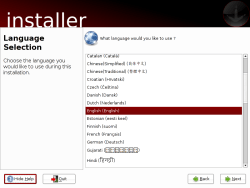
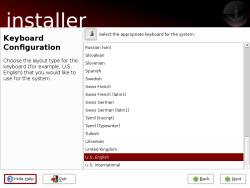
Sabayon uses the popular Anaconda installer, so the experience will already be familiar to most of you. As with most things SL though, the installer is completely customized with various new options and theme.
First things first. Read the introduction from the developer and then choose your keyboard configuration and language.
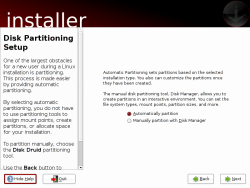
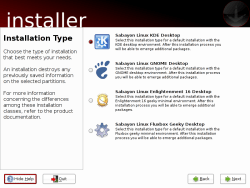
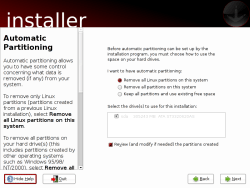
The first real option you will receive is regards to the partitioner. If you trust the installer, you can have it configure your partitions for you, or choose to do it yourself with disk druid. I allowed the automatic partitioner to do it’s thing, which worked out fine. Once done that, you can choose your default desktop environment from KDE, GNOME, E16 and Fluxbox. Regardless of what you choose, they will all be installed.
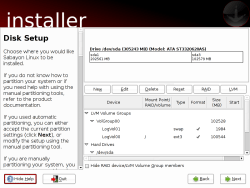
From this point, you will be able to configure your partitioning scheme a little bit. Since I had a fresh ext3 partition, I allowed the partitioner to reformat it and structure it as it deems necessary.
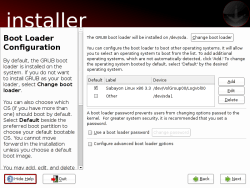
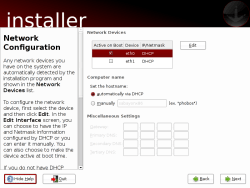
If you have multiple OS installations, you might want to configure them here. By default, Sabayon will label the Windows boot loader as Other, so you might want to rename it accordingly. The following option is your network handling. Chances are good that your network will function already, so it should be good to leave at default. If you load up a web browser and nothing is displayed, you will need to find the problem and configure it manually.
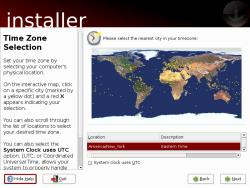
Time Zone configuration is pretty straight forward. I usually leave it at default because I am lazy. The only thing it will really effect is daylight savings time. You can set your root password here and set up a primary user. If you plan on having more than one user on the computer, you can set those up here as well, or set them up manually later on using KUser or the command line.
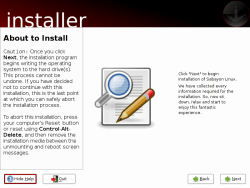
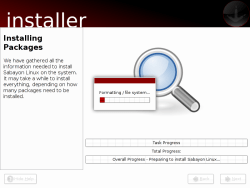
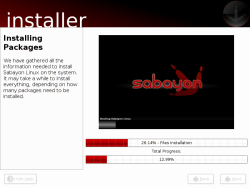
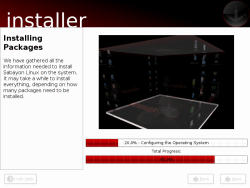
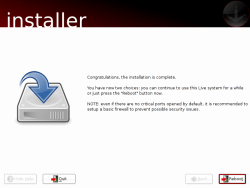
That’s it. The time came to give the go ahead, and a half hour later it was all done.
Overall, installation was as simple as I expected. It seemed to take a little longer than 3.26 did, but still was pretty reasonable.
|
|
Support our efforts! With ad revenue at an all-time low for written websites, we're relying more than ever on reader support to help us continue putting so much effort into this type of content. You can support us by becoming a Patron, or by using our Amazon shopping affiliate links listed through our articles. Thanks for your support!


