- Qualcomm Launches Snapdragon 4 Gen 2 Mobile Platform
- AMD Launches Ryzen PRO 7000 Series Mobile & Desktop Platform
- Intel Launches Sleek Single-Slot Arc Pro A60 Workstation Graphics Card
- NVIDIA Announces Latest Ada Lovelace Additions: GeForce RTX 4060 Ti & RTX 4060
- Maxon Redshift With AMD Radeon GPU Rendering Support Now Available
Seagate FreeAgent Pro 750GB
The Seagate FreeAgent Pro combines a sleek external design with a solid, reliable drive inside. But the FreeAgent’s feature set doesn’t end there. Here’s a look at what makes the Seagate FreeAgent Pro such an attractive solution for anyone looking to add external storage to their system.
Page 3 – Features Overview; Setup
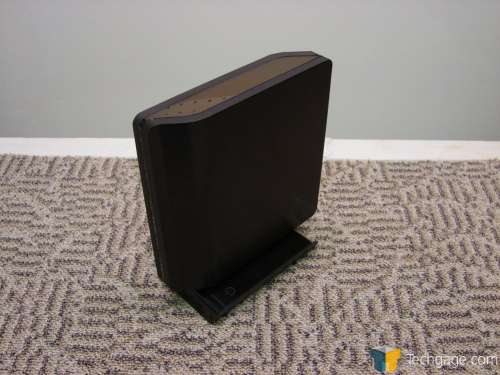
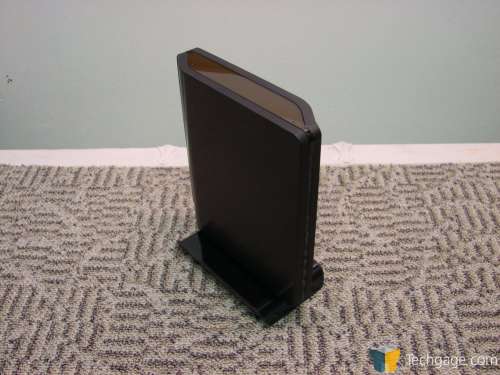
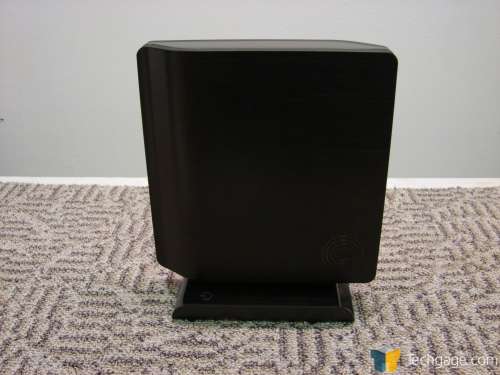
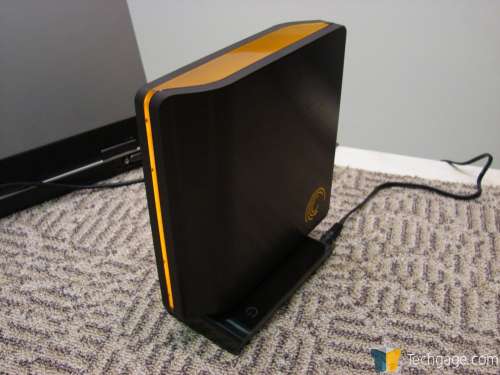
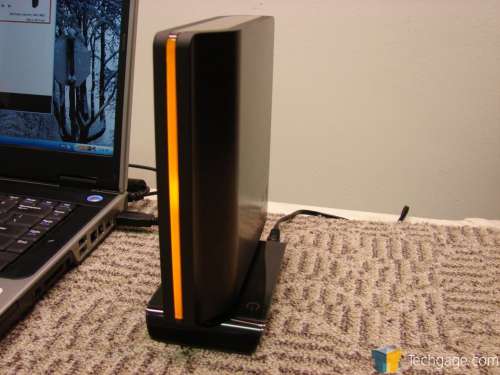
The external styling of the Seagate FreeAgent Pro may alone be enough to convice some that this is the external drive for them. It’s sleek, and a bit austere. The casing consists of a shell with two halves, which are made of plastic with a finish that mimics brushed aluminum (but without the weight, expense, or thermal conductivity properties). Between the two halves of the shell is a thin strip of tinted clear plastic, with a glossy finish. This strip widens along the top of the drive, and continues down the back. On the right side of the shell, there’s also a Seagate logo, made from the same clear plastic.
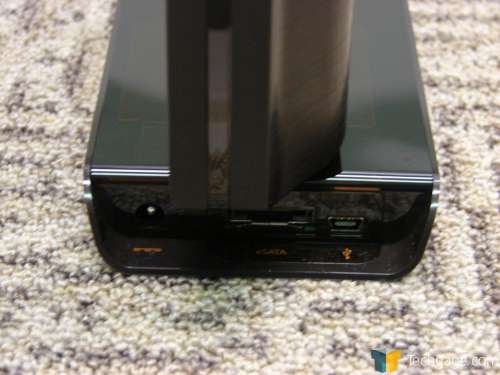
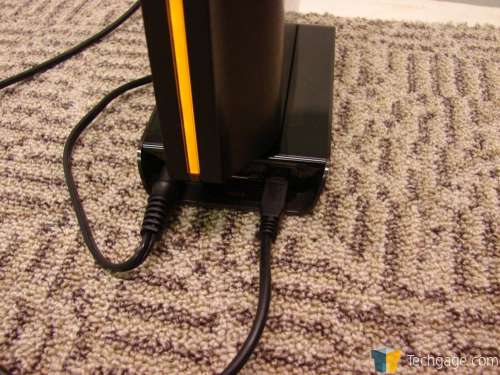
The slim shell is attached to a pedestal base, which is wide enough to prevent the unit from tipping over. The base also houses the I/O ports, and the DC power input from the adaptor. The base isn’t removable, so the form factor of the FreeAgent Pro is a bit more awkward to carry than the ‘clunkier’ external drives on the market, like the Maxtor OneTouch III. The FreeAgent Go model, which is about the size of a small book, is more suited to pick-up-and-go portability, while the FreeAgent Pro has a more elegant exterior, and is a bit slimmer than the FreeAgent Desktop. It’s also the only model in the FreeAgent line that has eSATA or available FireWire 400 connectivity.
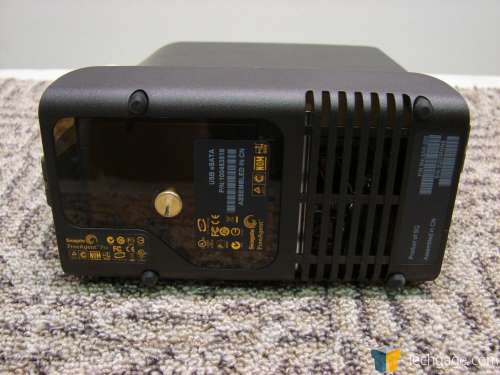
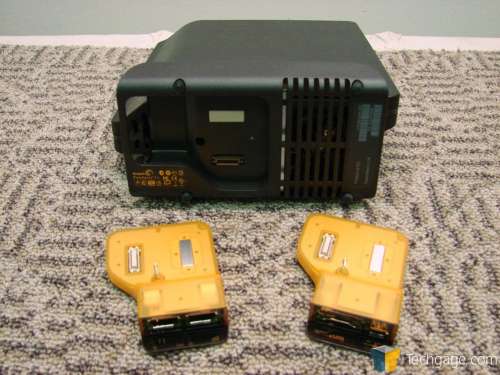
The Seagate FreeAgent Pro features interchangeable input modules. The FreeAgent Pro comes with the USB 2.0/eSATA input module already installed; if your FreeAgent Pro includes FireWire 400 capability, you’ll need to swap the input module. To accomplish this, loosen the brass screw, and lift out the existing module. Then install the desired input module. The screw looks like a typical flat-head screw, but in fact its socket is designed to accept a coin. A flat-blade screwdriver actually doesn’t work very well here.
To begin using the FreeAgent, simply connect the AC adaptor and the input cable of your choice to the FreeAgent, and then connect the other end of the input cable to a running PC. This automatically causes the FreeAgent to power on, with a breathtaking amber glow. If you thought the FreeAgent’s sleek design was hotness when it was dark, just wait until you see it illuminated.
The FreeAgent’s glow is bright, but not room-filling; it won’t disturb a darkened room. Drive access is indicated by a slowly-pulsing bright spot at the front of the drive. The FreeAgent can be configured to go into low-power mode after a preset delay, and the amber illumination dims to a much softer level. The color of lighting that Seagate chose for the FreeAgent series is both distinctive and a refreshing change from the ubiquitous blue. Thankfully, the FreeAgent’s presence on a desktop is not distracting, even when it’s placed right beside the monitor.
Next, we’ll look at the software that’s bundled with the FreeAgent Pro.
|
|
Support our efforts! With ad revenue at an all-time low for written websites, we're relying more than ever on reader support to help us continue putting so much effort into this type of content. You can support us by becoming a Patron, or by using our Amazon shopping affiliate links listed through our articles. Thanks for your support!


