- Qualcomm Launches Snapdragon 4 Gen 2 Mobile Platform
- AMD Launches Ryzen PRO 7000 Series Mobile & Desktop Platform
- Intel Launches Sleek Single-Slot Arc Pro A60 Workstation Graphics Card
- NVIDIA Announces Latest Ada Lovelace Additions: GeForce RTX 4060 Ti & RTX 4060
- Maxon Redshift With AMD Radeon GPU Rendering Support Now Available
SilverStone FT01 Mid-Tower
SilverStone has become well-known over the years for producing top-quality products, and the FT01 further reinstates that fact. Although the chassis is a bit pricier than others, it’s well-deserved. Obvious R&D went into this one, and not only does it offer superb airflow and the lack of a single sharp edge, it’s also one of the quietest chassis’ we’ve used in a while.
Page 1 – Introduction
Silence and power. These two words have come to define current trends in PC building. A few short years ago, this was a fantasy. Now, it has become the mantra that is heard over and over again. I can’t count the amount of times I have been asked how to get both attributes into a serious full powered PC.
In steps SilverStone once again. With a long track record of high-end power-house parts, they have been heeding our calls. The price of admission may be higher than many others, but the old saying of “you get what you pay for” has never been truer. Ask any premium builder about it and most will quickly agree and even more will recommend SilverStone.
Keeping that overclocked Quad-Core cool used to be quite the challenge and more often than not it was only possible with high CFM fans and a case full of them to boot. Thankfully, that has changed. Large low and efficient fans that are smartly placed have come to the rescue. Let’s see just how well the Fortress has been designed for such a task.
Closer Look
Diving in head first, let’s take a look at the factory specifications straight from SilverStone’s product page. One thing to take notice is that there are two color choices and you can also get it with a window as well.
- SST-FT01B (Black)
- SST-FT01S (Silver)
- SST-FT01B (Black + Window)
- SST-FT01S (Silver + Window)
- Material: 3.0mm ~ 6.0mm uni-body aluminum outer-frame and aluminum body
- Motherboard: ATX, mATX
- Drive Bays: External: 5.25″ x 5, Internal: 3.5″ x 7
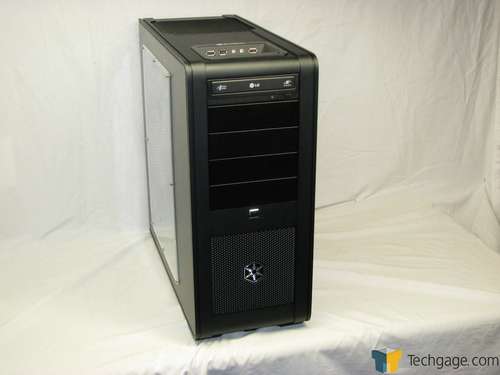
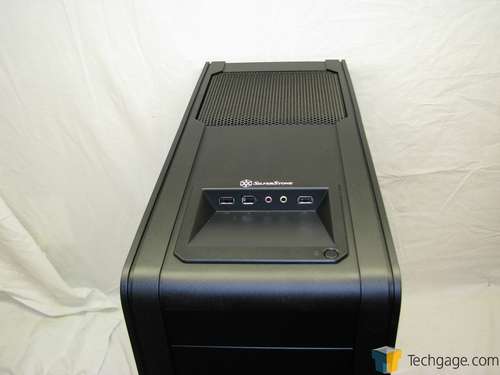
Once out of the box, it was immediately apparent that this was not a run-of-the-mill chassis. The brushed-aluminum finish along with heavy grills screamed quality. Even the molded plastic front/top/bottom one piece bezel felt rich and well made. Just below the bottom 5 ¼ expansion bay is the power button. Below that are LED’s for system power and HDD activity.
The I/O panel is well-placed in the top front. I really like the fact that it is situated at almost a 90 degree angle making it easier to plug things in especially in a desk with tight quarters (like mine). Another feature that is woefully lacking in many current chassis’ is a reset switch and SilverStone was nice enough to include it up here as well.
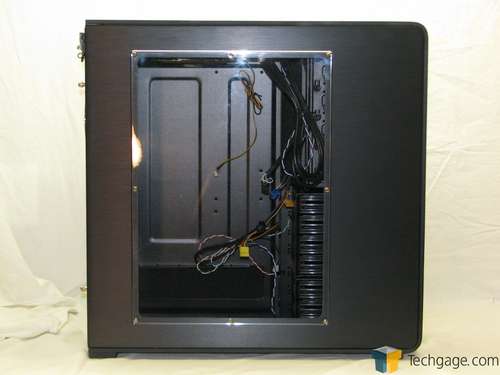
Our first look at the windowed side panel shows how well it is fitted and the spacing is perfect. The window itself is very-well made.
With a pull of the quick release lever shown in the upper-left-hand corner of this photo, the side panel pops off. You can use either a small padlock or the included thumb screw to keep the lever in the locked position keeping the panel firmly in place. The mechanism was easy and effortless to use and works very well.
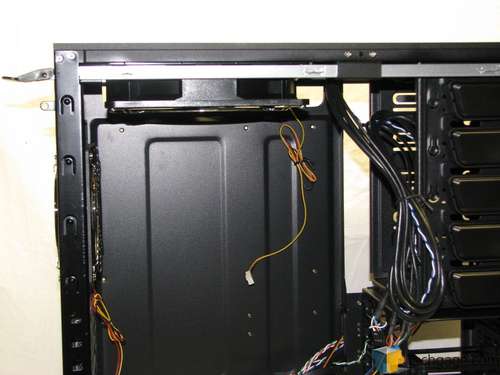
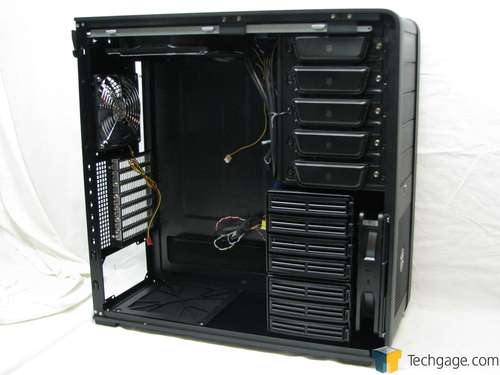
With the side panel off, we can start to really take in the attention to detail that was put in. Personally, I love the fact that the inside is painted. Another excellent feature is the fact they put protective grills on the fans.
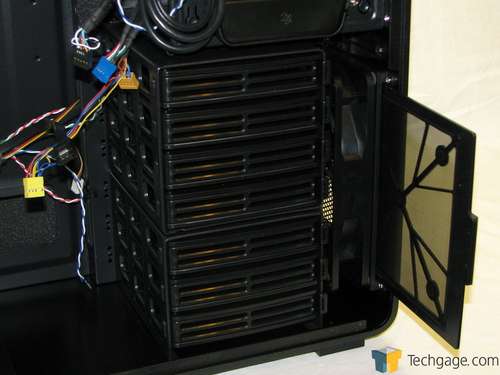
The front 180mm fan also has a washable filter that is easily removed by sliding it out. The 7 hard drive bays are kept nice and cool as well since the air is pushed through the cage as it enters the case. Notice the tool-less locks for the 5 ¼ bays as well. They are basically a large rocker switch that firmly captures your CD/DVD drive once engaged.
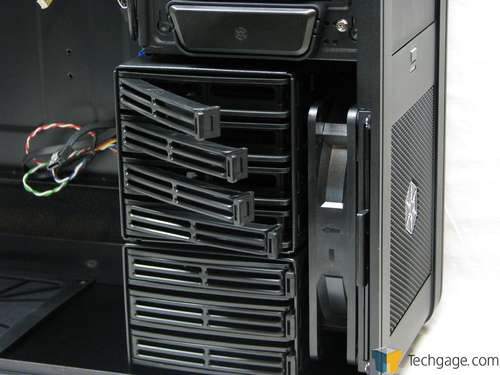
A quick push of the tab and the front of the hard drive holder swings out unlocking it from the cage. All that is left to do to remove your drive is to remove the wiring from the backside and slide it out. There is a cool feature for installing hot swap interfaces on all 7 bays. There is one included and more can be purchased cheaply enough.
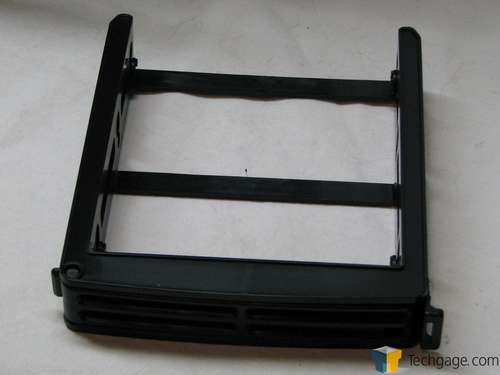
The plastic hard drive caddy is well built and holds the drive securely. There are rubber grommets and special screws to help isolate vibrations. Installation takes seconds and securing it into the chassis is just as quick.
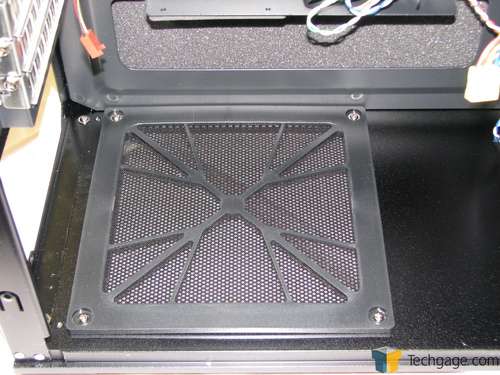
The final shot of the inside shows us the mounting area of the power supply. The power supply can be mounted to draw fresh cool air in through the floor of the case through a fixed filter. The filter itself is quite large and is ready for the largest PSU.
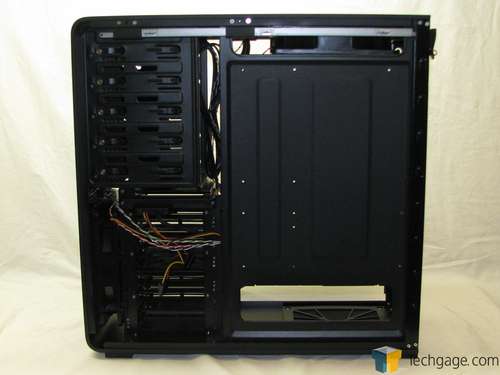
The backside of the motherboard tray reveals that there was no skimping on attention to detail. Many companies leave this area stark as they must feel it is unseen and no one cares. Not only is it finished like the rest of the chassis, there is not a sharp edge to be found anywhere. I spent 45 minutes looking for a single sharp finger-biter and can say this is the first time I was unable to do so.
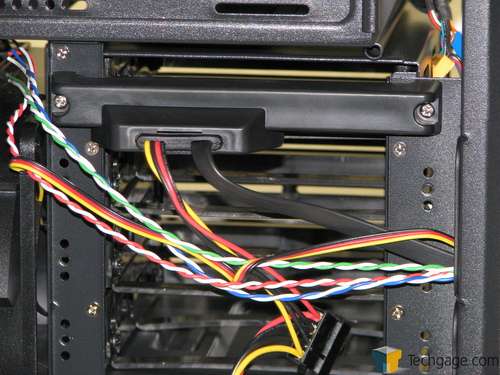
Next is a close up of the hot-swap bracket supplied. While the normal user has no need for this feature, it sure makes installing your HD easy and clean. I found extra brackets available for $9.99 CAD at the time of release of this article.
With the close look out of the way, let’s move right into installation, testing and my final thoughts.
Support our efforts! With ad revenue at an all-time low for written websites, we're relying more than ever on reader support to help us continue putting so much effort into this type of content. You can support us by becoming a Patron, or by using our Amazon shopping affiliate links listed through our articles. Thanks for your support!


