- Qualcomm Launches Snapdragon 4 Gen 2 Mobile Platform
- AMD Launches Ryzen PRO 7000 Series Mobile & Desktop Platform
- Intel Launches Sleek Single-Slot Arc Pro A60 Workstation Graphics Card
- NVIDIA Announces Latest Ada Lovelace Additions: GeForce RTX 4060 Ti & RTX 4060
- Maxon Redshift With AMD Radeon GPU Rendering Support Now Available
SilverStone TJ10 Full Tower
Got a hankering for a new case? Been bit by the water cooling bug? Having a bit of trouble reconciling the two? You should have a look at SilverStone’s TJ10B. Despite the nay-sayers claiming it’s not ideal for water-cooling, you might just be surprised!
Page 3 – Installation Cont.
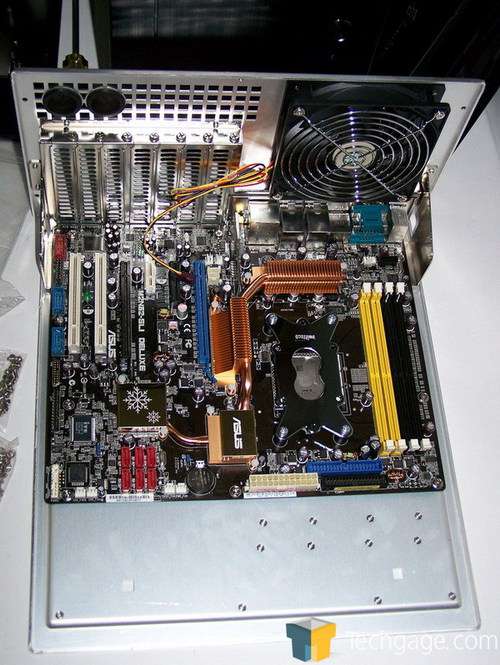
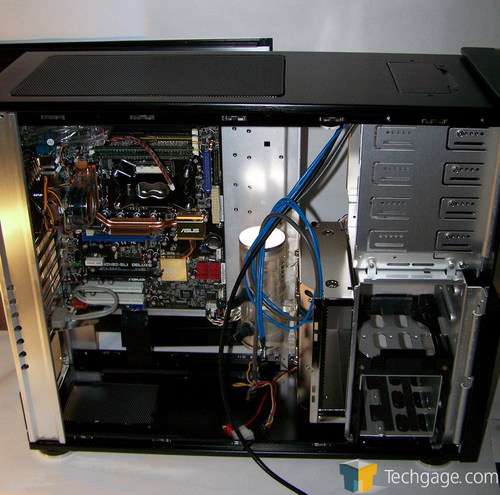
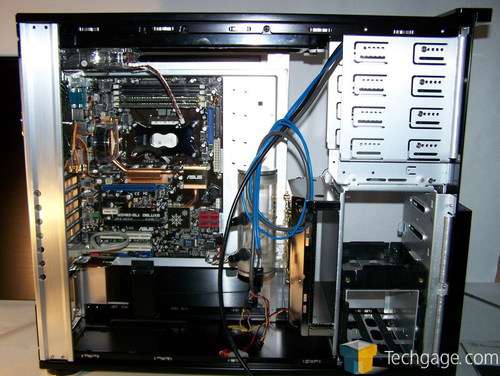
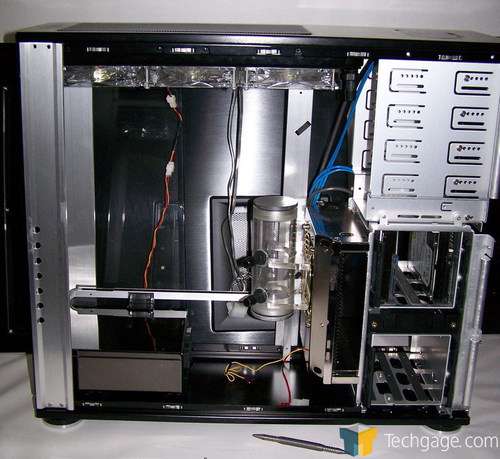
I’ve decked the halls (I have to get into the spirit since I did this build on Christmas day) with an ASUS M2N32-SLI Deluxe Wireless edition. It’s your normal ATX mobo that uses 9 standoffs to mount but it looks tiny on the TJ10’s oversized mobo tray. See? I told you it was huge!
There’s still a lot of real estate left on used on the front edge of the tray.
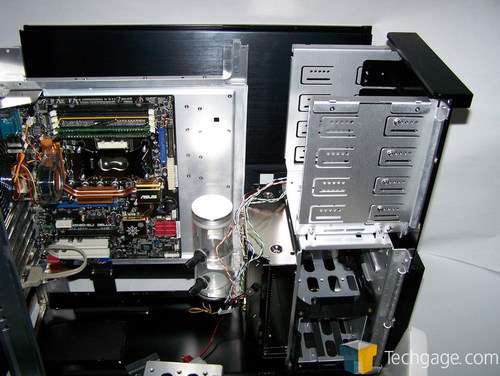
A quick test fit shows that even with the unorthodox mounting of the reservoir in the case I still have enough room to utilize a full EATX mobo.
I’d lake to address something here. ASUS is kind enough to include a header to mount your switches and LED wires to so you can slap that onto the mobo as one piece later. With the TJ10 being a slide out mobo tray style case I’d like to see something similar added to the case so that you can unplug the wires for the front panel connectors in one fell swoop rather than messing about with several separate wires.
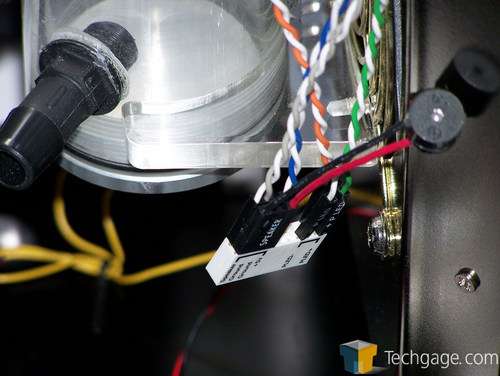
I’d also like to take a moment to mouch about there being no speaker for the chassis. One word, why? Why not include something like I had to dig through my parts drawer to use here? A small buzzer that hangs off the header would be a nice touch since hardly any motherboards have built in buzzers these days.
I got so tired of wondering if my mobo had posted back when I was using the TJ09, yeah I know it’s no big deal since the video powering on will let you know but if you overclock I’m sure you’ve held your breath waiting for the *beep* that told you that you hadn’t screwed the pooch with that last FSB bump.
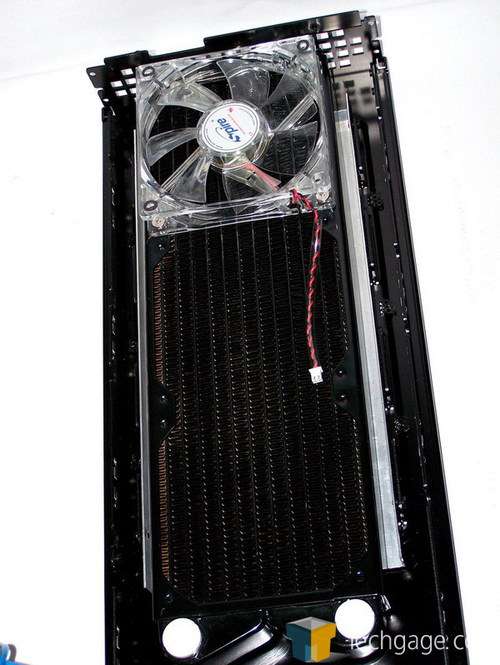
Ok, while we’ve been pondering the happiness of case buzzers I snuck around and made the brackets for the radiator. They take up the extra space around the rad beautifully.
There’s a bit of space but it’s not enough to worry about.
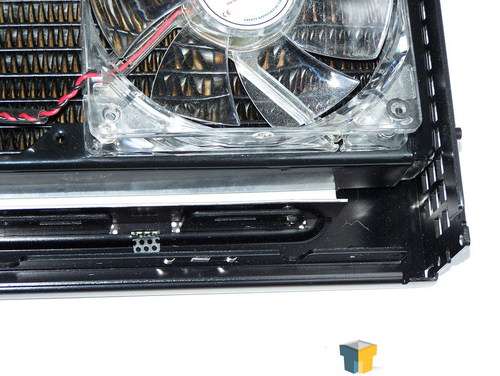
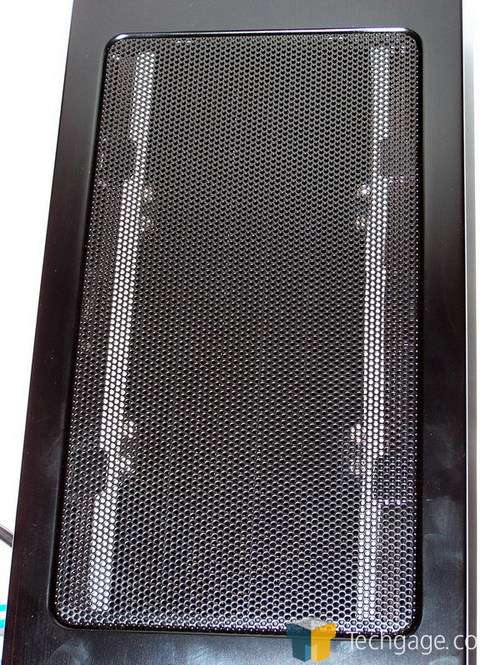
This time I went the extra mile and put weatherstripping around the radiator opening so that it’s sealed all the way around not just to the mesh but to the case roof where it overhangs past the opening. This ensures that no heated air will recycle back through the rad. Yeah, I know, I’m a genius. I also cut the piece of metal that had been separating the fans out to give better unimpeded airflow.
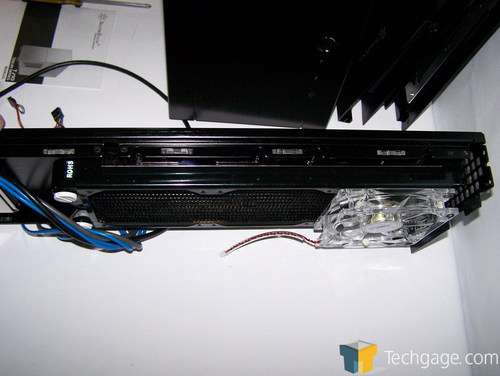
The rad tucks nice and neat up into the case roof. When it’s all put together it looks nearly factory.
See? Aside from that fan at the rear hanging down you’d never suspect that there was anything up there. Although I’m going to be adding another pair of fans to the rad.
From the side it’s still pretty low key. Although, once I’ve run all the tubing the whole stealth thing flies right out the window.
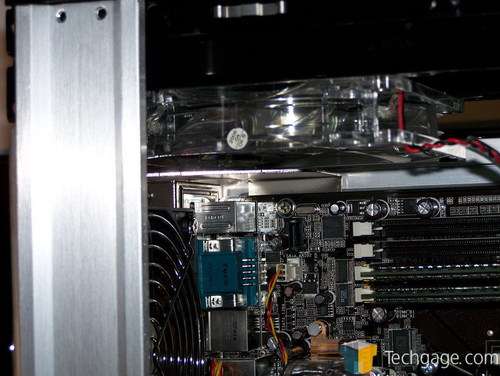
There’s even plenty of clearance between the upper stiffening bracket on the mobo tray and the rear fan, an issue that had caused me to ponder a bit.
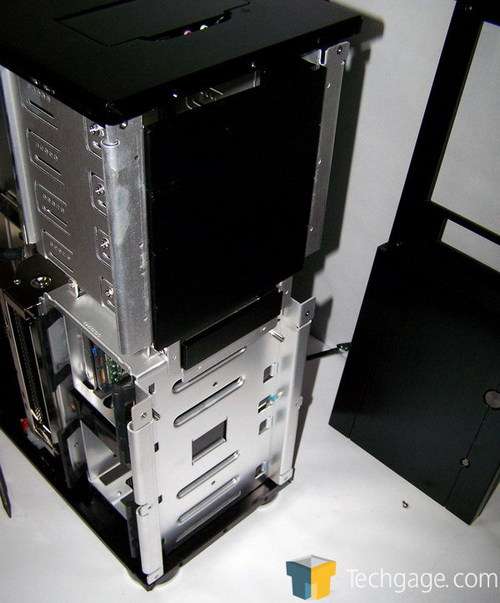
Pulling the top off without completely removing the case front isn’t much of an issue but if you’ve got to pop the top more than once in an outing then pulling the front is a sensible move. I also found that hidden behind the case front there are four tiny rare earth magnets (two per side) that hold the case door shut by attracting the screws where the hinges mount. As you can see, there’s plenty of room to migrate the USB, Firewire and FP audio ports away from the roof and into the case front.
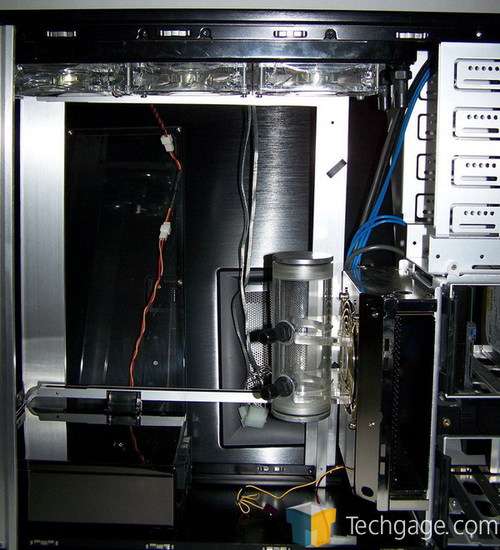
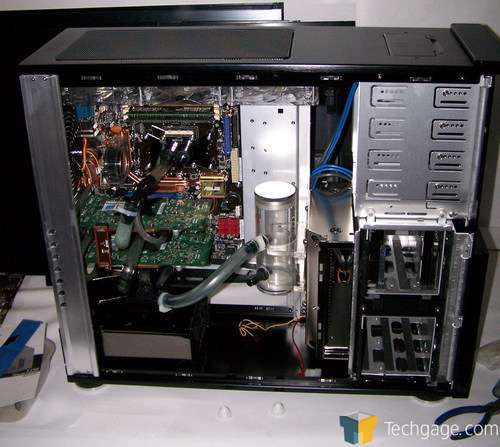
With the PSU, rad and res in place we see that there’s still an abundance of room. We might lose the upper 5.25" bay but with a short enough drive it’ll still be accessible, you’ll just want to attach the cables out of the front of the case. Remember I mentioned adding the remaining two fans? Even with them in place the rad’s still pretty much a stealthed affair.
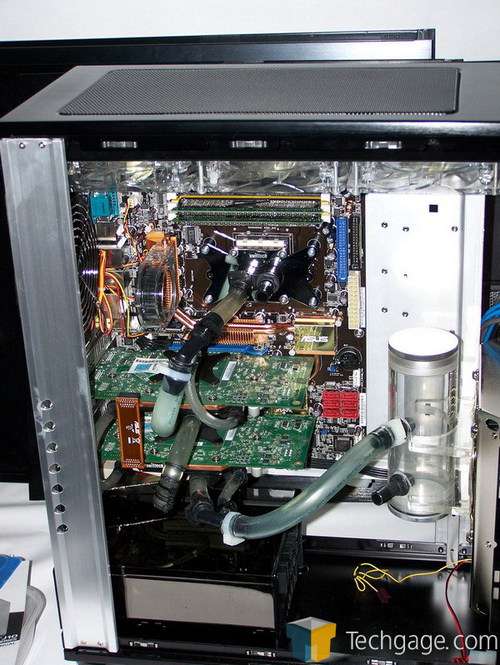
And things start looking more like a PC. The CPU block is mounted and plumbed into the GPU’s. Next up is a bit of wiring, adding the pump and finalizing the loop.
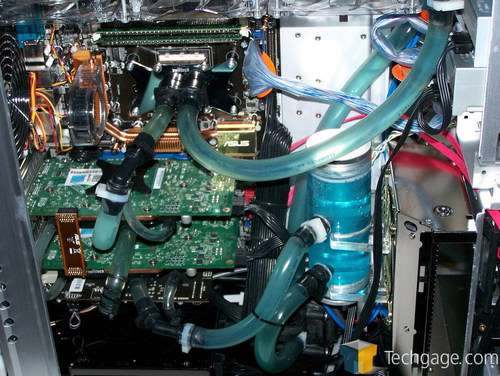
Now that the plumbing is pretty much completed it’s a bit more crowded but still workable. I’ve got a few more loose ends to tie up but it’s close to time to fill it up and see what happens.
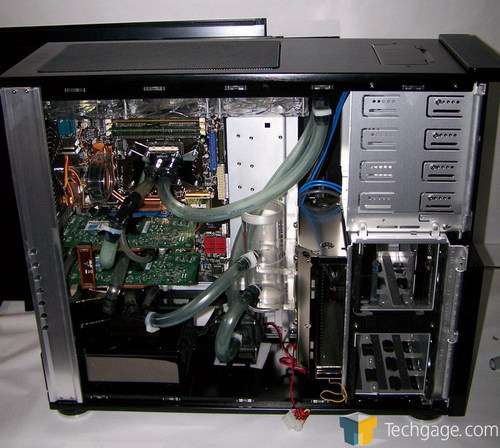
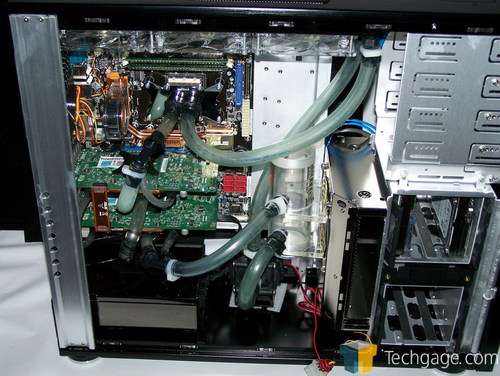
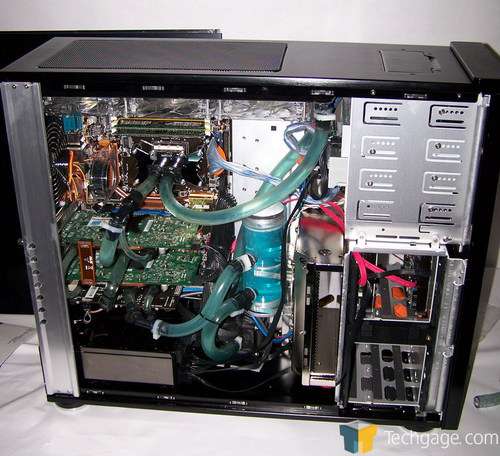
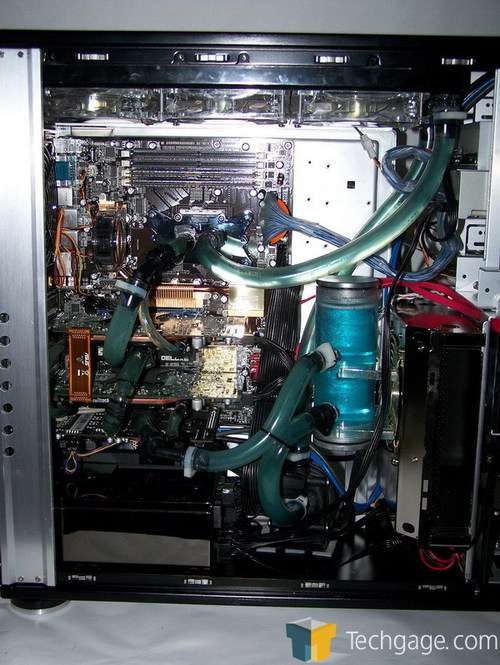
Now she’s all complete. The plumbing’s all hung in the TJ with care in hopes that a massive overclock soon would be there. All the wiring has been run, the drives mounted and after a few hours of leak testing, chasing and stopping (the barbs on the radiator leaked like a sieve) it’s ready to be closed up, fired up and run.
Yeah, it’s a bit of a rat’s nest but I couldn’t locate all my zip ties and due to the day I was doing the build, procuring more was out of the question.
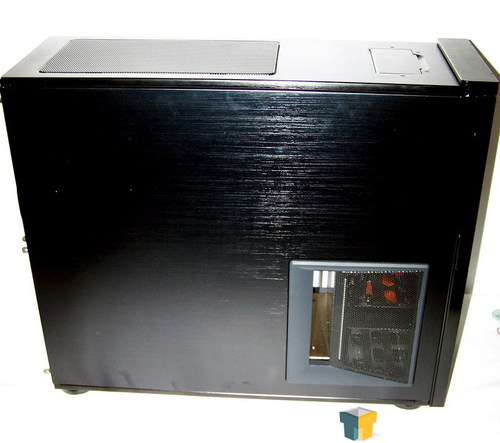
Of course with no case window your cabling skills are for naught.
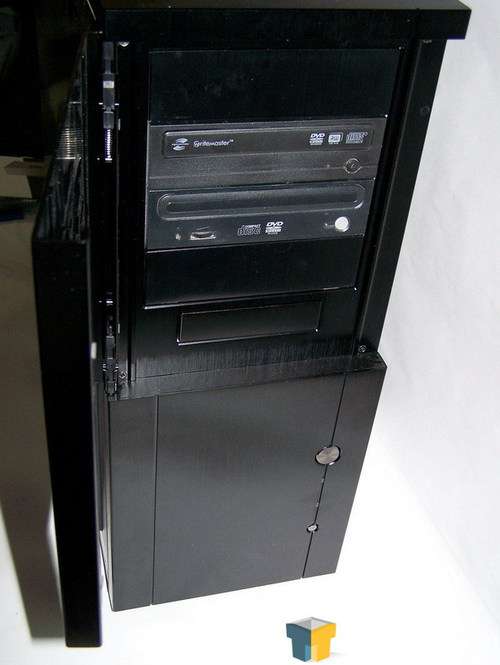
The black drives fit in pretty nice with the deep black anodizing. Actually, the case is blacker than the drives are.
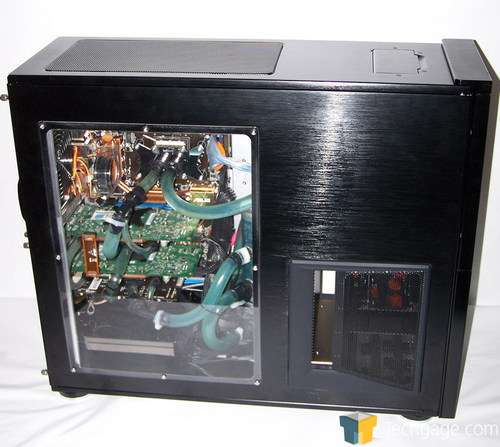
I guess I should mention that the TJ10 does come with an optional case window, It’ll really show off all that hardware to it’s fullest and since it’s not a huge window you’re not stuck looking at the drive cages.
|
|
Support our efforts! With ad revenue at an all-time low for written websites, we're relying more than ever on reader support to help us continue putting so much effort into this type of content. You can support us by becoming a Patron, or by using our Amazon shopping affiliate links listed through our articles. Thanks for your support!


