- Qualcomm Launches Snapdragon 4 Gen 2 Mobile Platform
- AMD Launches Ryzen PRO 7000 Series Mobile & Desktop Platform
- Intel Launches Sleek Single-Slot Arc Pro A60 Workstation Graphics Card
- NVIDIA Announces Latest Ada Lovelace Additions: GeForce RTX 4060 Ti & RTX 4060
- Maxon Redshift With AMD Radeon GPU Rendering Support Now Available
SUSE Studio: The Do-it-Yourself Linux
Linux is well known for being very customizable, but with SUSE Studio, things are taken to an entirely new level. Imagine taking a base template, building on top of it with your personal software choices, then configuring countless other aspects (even a SQL database), and then building it as a bootable ISO or VM. That’s exactly what makes SUSE Studio so great.
Page 3 – Building the Distro, Testing it Out
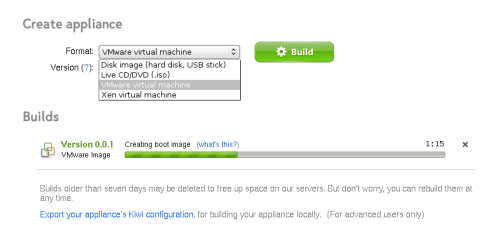
Once you’re satisfied with your hard work, you can move on over to the “Build” tab up top and choose from four different options. If you plan to install your build to a PC, your best bet is the Live CD/DVD (.iso) option. This will produce a disc image that can be burned… simple enough. Then there’s a disk image option, which allows you to copy the image to a thumb drive or similar external storage device. Be warned, though, because since it copies over an actual Linux installation, the storage device will be completely formatted.
For those looking to use their build as a virtual machine, you’re able to produce either a VMware or Xen image, which will allow you to test out your build very fast.
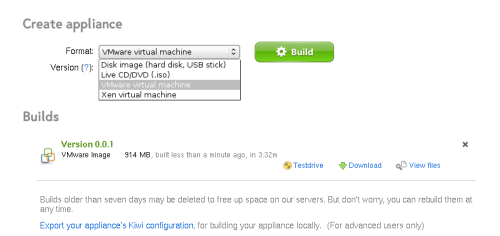
Once you decide on an option, clicking “Build” will perform the task right away. You’ll be greeted with a progress bar to give you an idea of how long the build process will take, and once it’s complete, you’ll be able to see how long it took. Because the process is performed on the SUSE Studio servers, as soon as you start it, you’re able to navigate away from the page and come back to it later.
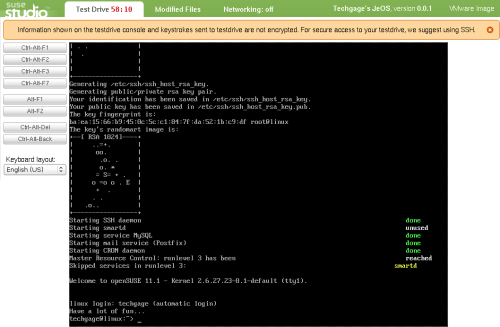
Before you download the resulting build, you’ll have the option to take it for a test-drive, right through your web-browser. This functionality uses Adobe’s Flash technology at the forefront, so you’ll have to have that installed in order to take part in the feature. After clicking “Testdrive”, you’ll be brought right to a page that will automatically boot the OS for you.
At the top of the browser, you’ll have a time limit, which I assume is to make sure an inactive virtual OS isn’t hogging up server resources, and while using it, you can check the “Modified Files” section to see exactly which files on inside of the distro were altered during use. By default, networking is off, but you’re able to turn it on with some limitations, such as, no outgoing traffic.
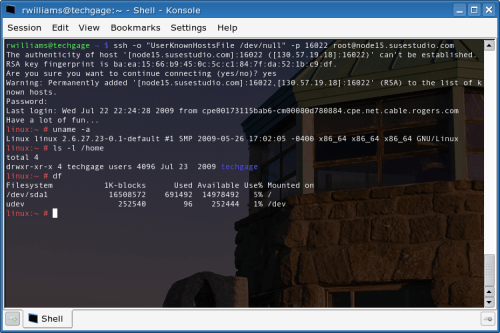
Incoming traffic is fine, though, as you can see in the above photo SSH was started without issue. To test out that feature, I SSH’d in from my home PC, and within seconds, I was actually inside of the OS I just built… even before downloading it. Now that’s cool.
So let’s give things a good test, aye? After downloading my fresh VMware image, I loaded up VMware Workstation and opened it up. By default, the profile for the virtual machine is slim, but certain things like a Floppy drive is left enabled. So, you can remove it to save being nagged by the software when you first boot your new build up. You can also adjust the available RAM and other various things like that if you wish.
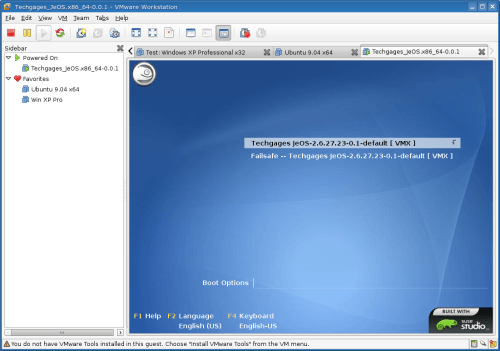
After booting, the first thing you’ll see is the GRUB boot screen, offering either a regular boot or a failsafe boot, along with keyboard and boot options. Nothing too surprising here. Had I been more artistic, it could have been my background and logo seen here!
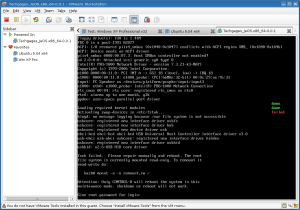
For some bizarre reason, my very first boot brought on a strange issue… a disk error. This wasn’t a major roadblock, as a quick fsck solved things, but I did find it a bit odd to encounter. It could have been a fluke, or the fact that I accidentally rebooted the VM before it was fully booted the first time (that’s what I get for trying to get the best screenshots!). After fsck was complete, a reboot showed no further issues.
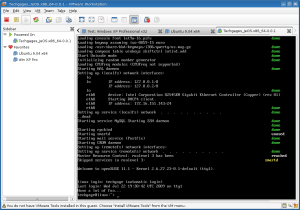
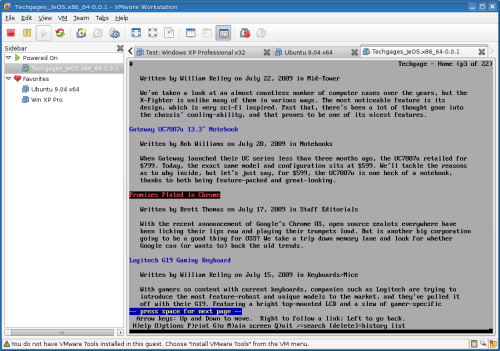
Because I had such a barebones installation, there wasn’t much I could do. “ping” didn’t even exist as a command, and neither did nano (I like it over vim, alright?), so for the most part, you couldn’t get much more slim than this. Thanks to me adding in Lynx earlier on though, that was indeed available, and as you can see below, I was quickly able to browse our website.
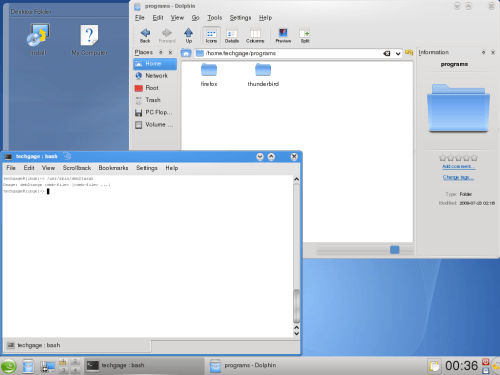
Of course, to give the service a good test, one can’t only build a single profile, so I played around and in total, built around eight. Only three I took seriously though, to see if there were any major problems that weren’t so apparent from my first build. After the JeOS build, I decided to try a rather bare KDE 4 installation, and bare is pretty much what I got. As you can see below, there’s not much on the PC past a default KDE 4 install, and even some of the icons in the Desktop Folder are broken (and didn’t work).
This isn’t so much the fault of SUSE Studio as it is my fault for not knowing what to install, however. As mentioned earlier in the article, when choosing a base template, it in no way could be considered bloated, because what’s not necessary simply isn’t included. Because of this, you’ll want to have a good understanding of which applications you’ll need to add in, in order to have a fully robust system. Even by default, there’s no installer included, for example. So if you build a Live CD without it, you’ll be unable to install. I learned from that mistake pretty fast!
As you’ll notice in the above shot, though, the deb2targz script I manually added into the distro copied itself over just fine, as it executes without an issue. The fonts for some reason are unbelievably small in the terminal, but part of that might be thanks to the fact that I was running it as a virtual machine.
Support our efforts! With ad revenue at an all-time low for written websites, we're relying more than ever on reader support to help us continue putting so much effort into this type of content. You can support us by becoming a Patron, or by using our Amazon shopping affiliate links listed through our articles. Thanks for your support!


