- Qualcomm Launches Snapdragon 4 Gen 2 Mobile Platform
- AMD Launches Ryzen PRO 7000 Series Mobile & Desktop Platform
- Intel Launches Sleek Single-Slot Arc Pro A60 Workstation Graphics Card
- NVIDIA Announces Latest Ada Lovelace Additions: GeForce RTX 4060 Ti & RTX 4060
- Maxon Redshift With AMD Radeon GPU Rendering Support Now Available
Swiftech MCWRamcool
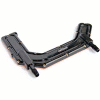
One of the drawbacks of full graphics card water blocks is that they don’t always fit the cards being used like they should. There are tolerance issues depending on the height of the ram versus the height of the GPU. Swiftech offers a cure to those ills with the MCWRamcool.
Page 2 – Closer Look, Installation
The card in question is a shiny new 7950GT. Yes, I know that removing the stock cooling solution voids warranties on most cards but not on at least one brand, EVGA. The card in question is a new 7950GT KO, you’ve got to love a company that tells you point blank in person (I spoke to the rep at a recent nVidia event) that as long as you do not physically damage the card in the progress changing cooling solutions won’t void the warranty. Just hang onto all the stock cooling parts as the warranty requires them to be installed properly for RMA.
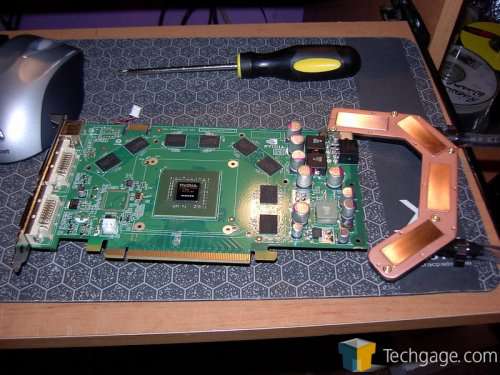
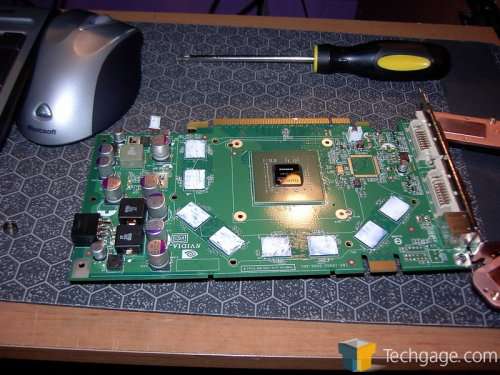
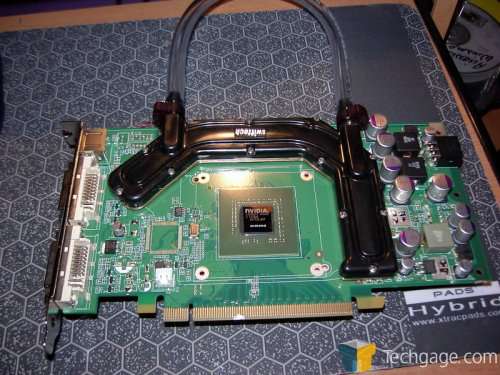
Anyway, after removing the HSF and ramsinks you’re greeted with this, a bare card. On that bare card you mount first the Ramcool then the GPU block. You could squeak the Ramcool under a GPU block but I prefer to set everything on my card on a straight down motion. This reduces the chance of knocking anything off by sliding something across it. Why risk killing your new toys (or old toys) when it can be avoided?
The Ramcool is happily pretty much universal as long as the GPU block doesn’t project towards the outer edge of the card by any but the smallest margin. I’m not certain about the low-pro Maze 4 blocks though, could go either way depending upon the tubing used. 3/8" with a 1/2 O. D. tubing, it should work, 1/2" fittings on the other hand could be iffy.
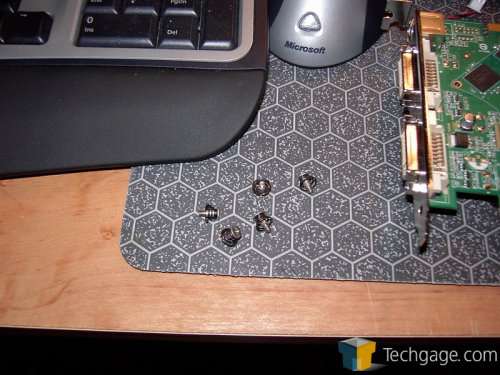
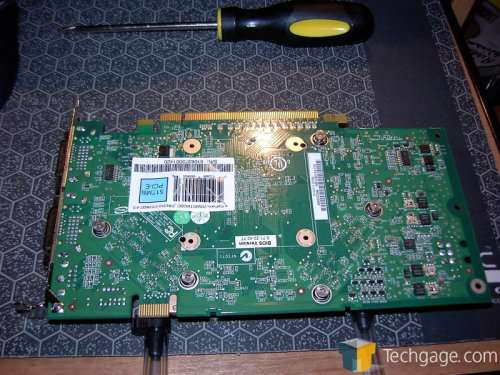
If you look at the Ramcool you see four brass standoffs pressed into the bottom of the block, these stock style screws go through the card and screw into them. The screws have a shoulder on them that tightens to the standoffs using them as the stop for the screws, this prevents two possible problems. First is that you can’t over tighten it. Trust me, this bay is secure as can be but it won’t warp or hurt the card. Secondly, you can’t tighten the screw to the point it either punches through the base and into the top of the card or pulls the standoff out of the base. This is great in that you don’t risk either breaking the card or the block, which would cause a leak.
Using the supplied thermal paste which is Arctic Alumina and doesn’t conduct electricity put as light a layer of thermal pastes as possible on the ram chips. Trying to spread thermal paste on ram chips is a challenge and getting it thin enough to get a good even coverage often results on getting a bit on the card. The Arctic Alumina stops it from becoming a chore requiring cleaning, cussing and re-applying.
As a benefit you’re able to spread it as thin as possible and just cover the chip, since thinner is better. The GPU I used AS3 (hey, I misplaced my AS5 and besides, this needs to be used anyways) but since it’s only one chip I’m willing to concentrate on the coat for the time required. When a good coat of AS3 (or 5) requires 5-10 minutes to get thin enough to make a sheet of paper join weight watchers I don’t feel like committing 8 times that on ram, or at least I didn’t. The next time I will go to that length. I was of the school of thought that with ram water is overkill until I discovered differently, but enough of that, I’m prattling.
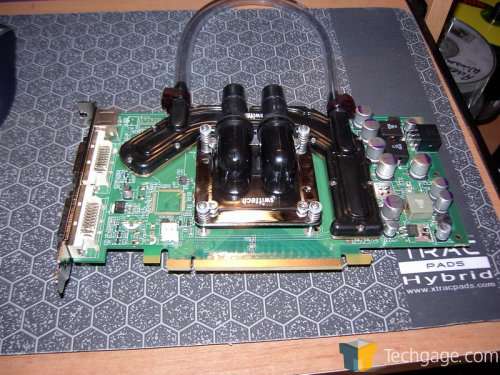
After lining up the Ramcool with the card you put the screws through the stock mounting locations and tighten them down. No drama. If it weren’t for the tubing sticking out you’d think this was a stock setup. Yes, the SLI bridge connector is blocked. If you don’t have plans to do SLI then this is no issue and if you do there is a version tailored to the 7900-7950 that won’t cramp your style. For the rest of the cards, the SLI bridge connector is in a different location and won’t pose a problem.
From the top you see just how much room is left around the core. You could practically air cool the core but then again, why? ;-)
I pre fitted the tubing in a loop so that I could just mount the "F" fittings and route the tubing to first one then the other plus it gave me an idea of how much added sideways expansion to expect..
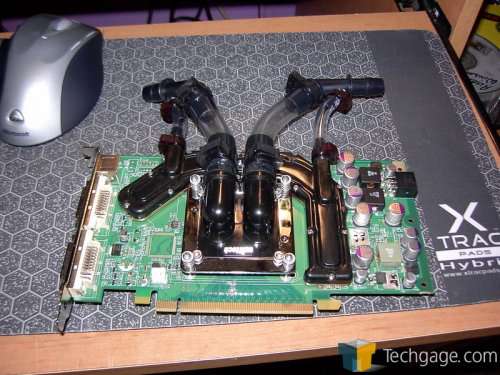
After I got the fittings in place and aimed in the path of least hassle it all came together nicely.
What you couldn’t really see from the top down was that I’d angled the rear fitting up and the front down. This was the easiest way to work with my loop, your results will vary. I’ve got to say, I was surprised how much velocity that the Ramcool has going through it, I figured that with it parallel to the GPU block in the loop that the flow through it would e sub-par. In fact I had expected to see a bubble that took a bit to bleed out at first. Imagine my amazement when I looked at the tiny bubbles flowing through my tubing during the fill & bleed process and saw that they were whizzing through the Ramcool at breakneck speed.
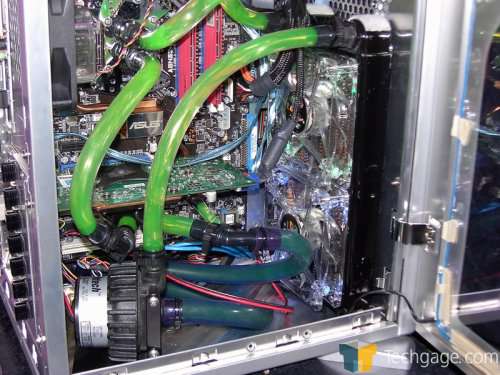
As you can see the block only adds minimal complexity to the loop. The nice thing is that with the angle on the "F" fittings you won’t have to modify the hoses going to the GPU block. The angle allows you to aim right towards an easy departure angle on the existing tubing rather than if hey were straight then it could become problematic in that you might have to add tubing to avoid kinks or undue torque on the fittings.
That’s it for the pics, sorry there was no inside pic but I did take it apart. My cam was unavailable at the time and after the issues I had with the screws (I’ll get to that) I decided to forego trying it again. When I disassembled it I found out that the screws are rather soft and slightly wallowed out, putting it together again was a case of beat the clock against stripping them out, that and the odd shape the "O" ring has to follow made reassemble a study in invented curse words, I’ll just say that I was rather inventive. ;-)
There’s not much to say about the inside, the base is flat but with the total absorbed wattage from the ram it doesn’t really need anything fancy and besides, this helps to keep the profile very slim and lowers restriction, very important to this block. If you’ve seen the inside of the MCW30 N/B cooler you’ll know what the Ramcool is like as far as the base is concerned.
On to the numbers!
|
|
Support our efforts! With ad revenue at an all-time low for written websites, we're relying more than ever on reader support to help us continue putting so much effort into this type of content. You can support us by becoming a Patron, or by using our Amazon shopping affiliate links listed through our articles. Thanks for your support!


