- Qualcomm Launches Snapdragon 4 Gen 2 Mobile Platform
- AMD Launches Ryzen PRO 7000 Series Mobile & Desktop Platform
- Intel Launches Sleek Single-Slot Arc Pro A60 Workstation Graphics Card
- NVIDIA Announces Latest Ada Lovelace Additions: GeForce RTX 4060 Ti & RTX 4060
- Maxon Redshift With AMD Radeon GPU Rendering Support Now Available
Synology DS107e Single-Drive NAS
Looking for a single-drive NAS box that’s feature-packed and looks good? Synology’s DS107e delivers. Though not inexpensive, Synology delivered one of the most solid NAS boxes to cross our desk, which is packed with functionality and also proves to be one of the best looking units on the market.
Page 2 – The Goods
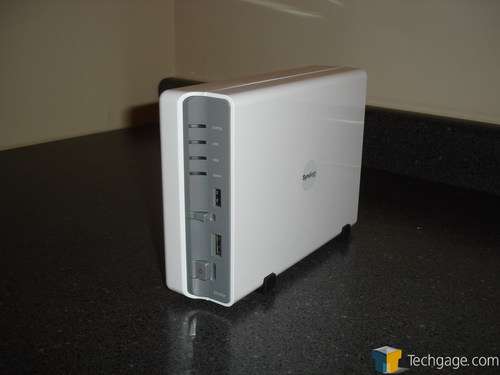
Once the NAS is out of its packaging, we can see that it looks almost identical to its larger, more powerful brother, the DS207. Basically a single drive version of the DS207, the DS107e also includes a grey face and an eSATA connector on its front. This is to allow another drive to be connected to the DS107e, should it have an eSATA port on its enclosure. This enables further backups to be carries out as you can set the device to back it self up to the eSATA drive.
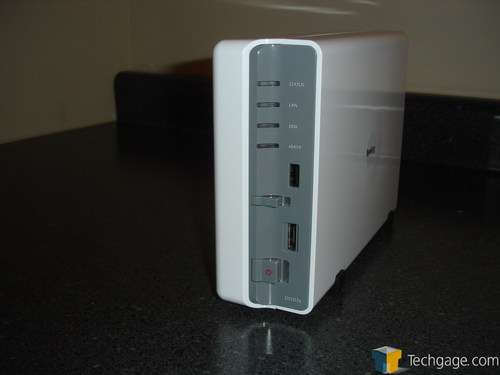
Taking a closer look at the front of the DS107e, we can see the white finish on the body of the NAS as well as the front LED status indicators, power buttons and USB and eSATA ports.
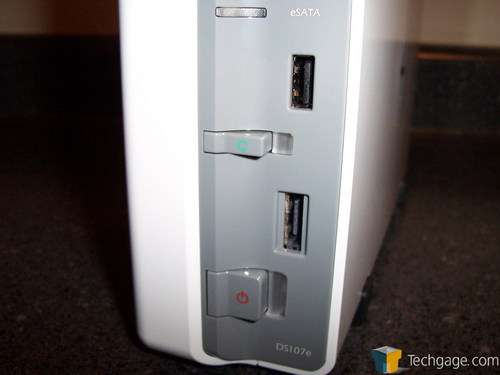
Taking a closer look at the front buttons, the Synology DS107e gives us the ability to easily backup a thumb drive by plugging it into the front USB port and pressing the “C†button directly underneath it. Once pressed, the NAS will write the drive’s information to a selected folder on the DS107e’s hard disk. Just under the copy button is the eSATA port.
As we mentioned earlier, this allows the device to be expanded through the use of another external hard drive. Under that is the power button. Press this once to power the machine on and press it down, and hold it, for a few seconds to safely power down the device when needed.
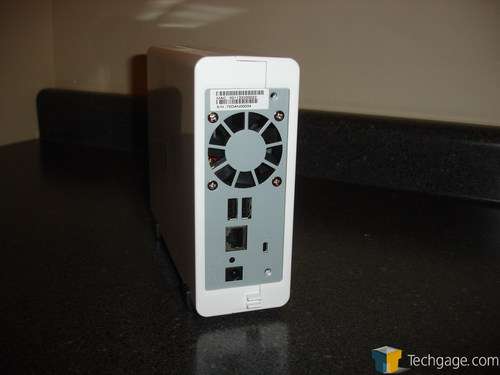
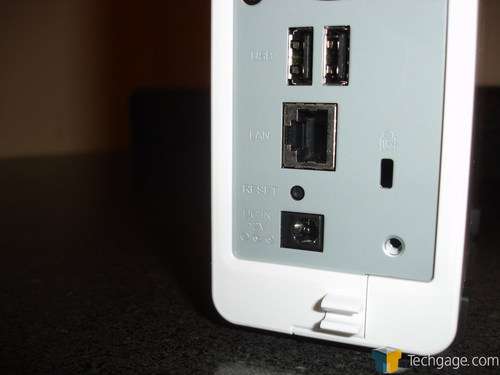
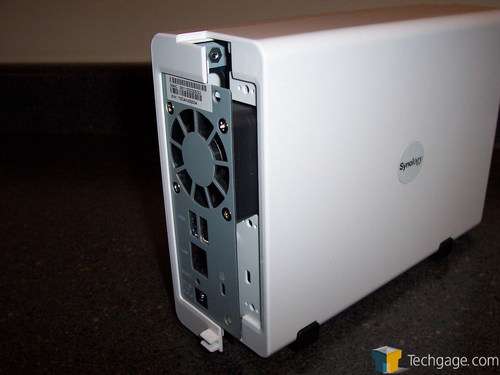
The back of the DS107e is more of the same if you are familiar with Synology products. With a large cooling fan at the top (large relative to the size of the enclosure), a pair of USB ports below that and a RJ-45 and power port further down, this should remind many of the DS207 that we looked at a month ago.
A closer look also reveals a locking hole and a reset button that will set the NAS back to its default settings.
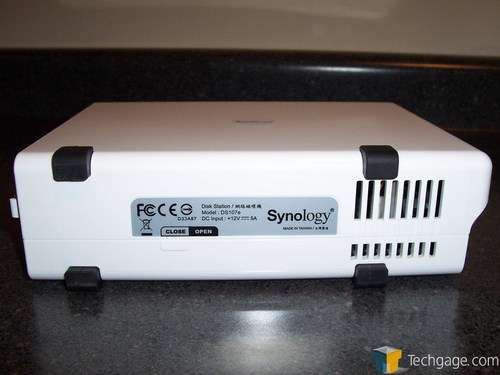
Turned over on its side, the DS107e reveals its ventilation slots as well as four rubber feet to provide a good setting on most any surface, as well as reduce vibrations caused by the spinning hard drive inside. The ventilation holes provide an amble amount of air for the fan to move across the main board and hard drive.
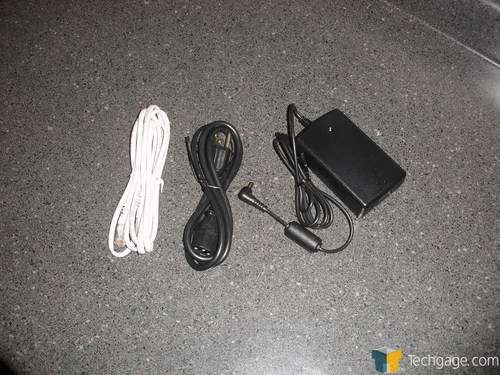
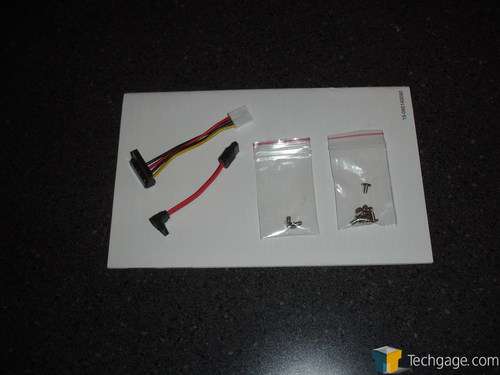
As with any reputable manufacturer, Synology has included everything needed to get your DS107e up and running, sans a hard drive of course. These accessories include a Cat5e cable, power adapter, custom SATA data and power cables as well as a set of mounting screws and a few extra for good measure.
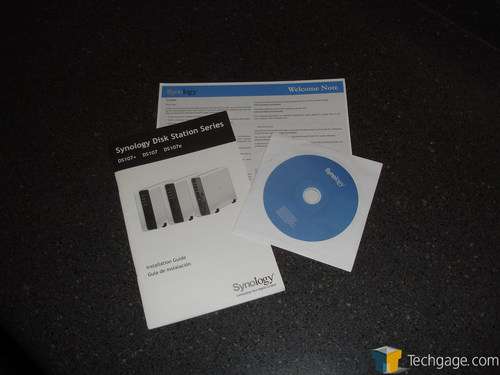
Also included in the bundle are documentation and a startup disk. Found on the disk are the Synology programs needed to get the DS107e working properly. We found the installation and setup to be straight forward but rest easy knowing that should you run into a problem, Synology’s manual is quite helpful.
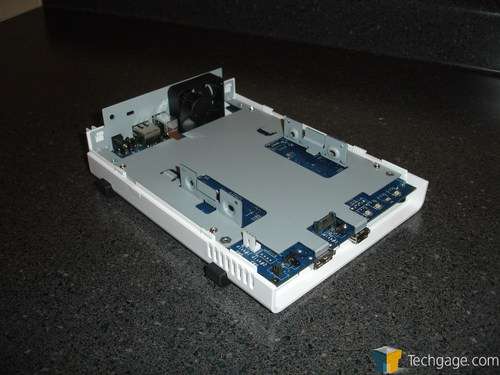
To install your hard drive into the DS107e, first we removed the two screws found at the back of the NAS. These essentially allow us to split the device in half, providing easy access to the inside of the NAS.
With the exception of a dual drive NAS; the installation of a hard drive into the DS107e is exactly the same. With the NAS apart, there are two pieces that stick up on either end of the device. These pieces have holes that allow a drive to be mounted to them.
More installation up next…
Support our efforts! With ad revenue at an all-time low for written websites, we're relying more than ever on reader support to help us continue putting so much effort into this type of content. You can support us by becoming a Patron, or by using our Amazon shopping affiliate links listed through our articles. Thanks for your support!


