- Qualcomm Launches Snapdragon 4 Gen 2 Mobile Platform
- AMD Launches Ryzen PRO 7000 Series Mobile & Desktop Platform
- Intel Launches Sleek Single-Slot Arc Pro A60 Workstation Graphics Card
- NVIDIA Announces Latest Ada Lovelace Additions: GeForce RTX 4060 Ti & RTX 4060
- Maxon Redshift With AMD Radeon GPU Rendering Support Now Available
Synology DS207 2-Bay NAS Server
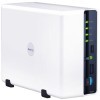
While there are many NAS products available, there are none that we’ve crossed that have matched the feature-set of Synology’s DS207. There are too many features to mention in a small intro, so read on to learn more about the product we had a difficult time finding a fault in.
Page 3 – Setup and Features
To start out, we connected the DS207 to our bench router, the D-Link DIR-655. Once everything was hooked up, we used Synology’s provided searching assistant and off we went. All the search assistant does is scan the network for any attached Synology devices and when it finds them, it allows you to connect to the NAS and begin the setup process. Once connected, we will want to run the setup wizard.
The first thing we need to do is give the device a name. By default, it’s set to name the DS207 “Disk Station.” We left this alone and setup a administrator password.
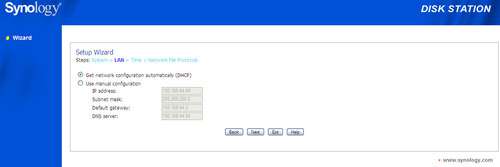
The next step is to tell the DS207 how to obtain a network address. You can either set it up to manually received a network IP address automatically, thanks to the beautiful thing that is DHCP, or you can manual assign an address on your own.
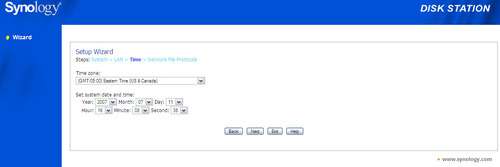
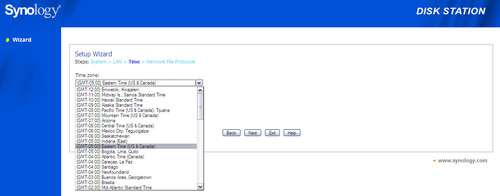
After we have that completed, we need to set up the local time and calendar information.
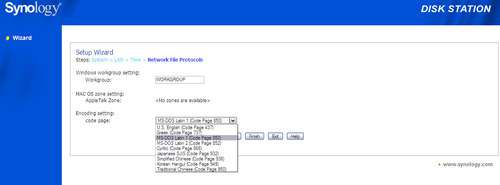
In this next picture, we see that the DS207 gives us the option to join it to a workgroup. One notably feature of this device is its ability to use a networks active directory tree. This allows us to join the DS207 to a domain instead of a workgroup. We will get more into this later on in the review.
The next screen prompts you to verify that you want to finish the setup process.

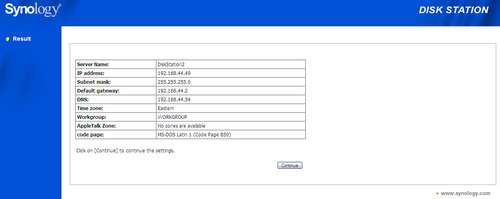
When we click finish, it gives us a run down of the current settings that we just finished setting up. From here we want to select “continue.”
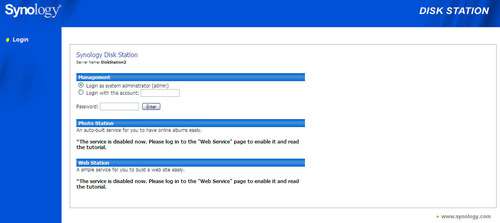
With everything finished, we now need to setup the disks that we installed not to long ago. To do this, we first need to login to the DS207 using the information we setup earlier in the setup. By default, the user name is simply “admin.” This is something that can be changed later on if you choose to do so. If the device is already setup, you can log into the DS207 under a user name that can be setup within the web interface. Not wanting to get too far ahead of ourselves, let’s simply build our RAID array with the drives we just installed.
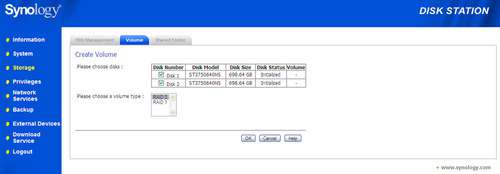
Once logged into the GUI, we now have an extensive list of things that we can do. We will get more into the details later in this review… for now we need to get this array setup. To start out, we need to click on the storage text on the left side of the screen. When we do, we see three tabs at the top of the page.
To setup the drives, called a volume in the GUI, we need to click on the volume tab and choose how we want to set our drives up. On this example, we have selected both of our Seagate 750GB ES drives and have chosen to use them in a RAID 1 array. Once we have everything the way that we want, click OK.
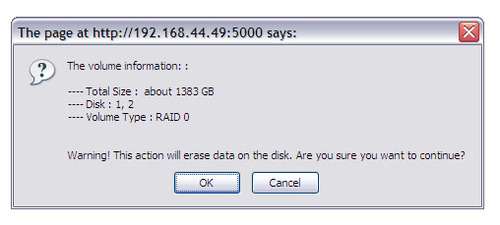
A small window will pop up giving us a rundown of the settings that we are about to implement. There is the obligatory warning of complete and total data loss but with this being the first time we are setting this up, there isn’t any data to loose so we click OK and continue on.
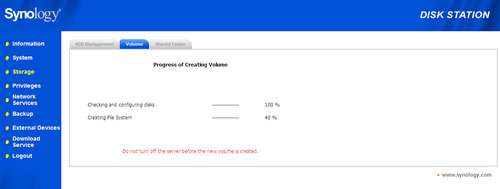
The progress of the format and initialization can now be seen.
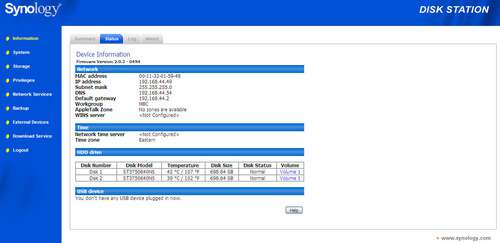
When everything is setup, we can log back into the GUI and check on the status of our drives. This status screen gives us the network information, the drives in use and also the temperatures of the drives.
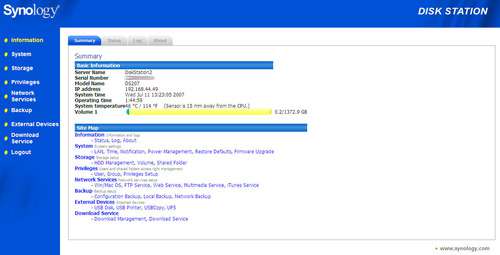
With everything setup and a healthy RAID array in place, we can now get into the home screen. From here, we can access the entire set of options to control the DS207. It is on this page that we are given the name of the device, network address, uptime, system temperatures and available space on the volume. Running down the left side of the screen, there are links to the different functions available on the NAS.
Now that we are working with a healthy array, we can get into the vast amount of options available in the Synology’s software. During testing, we received an email from Synology concerning an updated firmware version that added a significant amount of extra features.
These extra features are clearly aimed at the home user in the attempt to build on their many business oriented features. We will get more into this later on in the review because now we are going to take a look at the core features available to the system admin.
Support our efforts! With ad revenue at an all-time low for written websites, we're relying more than ever on reader support to help us continue putting so much effort into this type of content. You can support us by becoming a Patron, or by using our Amazon shopping affiliate links listed through our articles. Thanks for your support!


