- Qualcomm Launches Snapdragon 4 Gen 2 Mobile Platform
- AMD Launches Ryzen PRO 7000 Series Mobile & Desktop Platform
- Intel Launches Sleek Single-Slot Arc Pro A60 Workstation Graphics Card
- NVIDIA Announces Latest Ada Lovelace Additions: GeForce RTX 4060 Ti & RTX 4060
- Maxon Redshift With AMD Radeon GPU Rendering Support Now Available
Tagan A+ Black Pearl Full Tower
The chassis market is full of common names, but it’s not often a new player comes along that really impresses. Tagan is one of those rare companies who delivers a full-size case that is well worth your consideration.
Page 3 – Interior
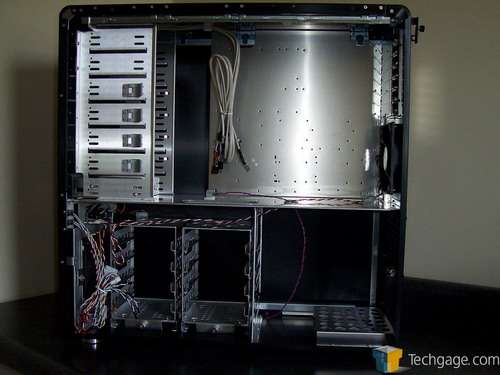
With the side panel off of the case, we see just what it has to offer underneath the motherboard area. Organized exactly like the V2000, the Black Pearl has the case divided up into three sections. The top is reserved for the motherboard and optical drives while the bottom section is divided up into two separate parts. On the left, there is a pair of hard drive cages while the right side is left wide open for the power supply.
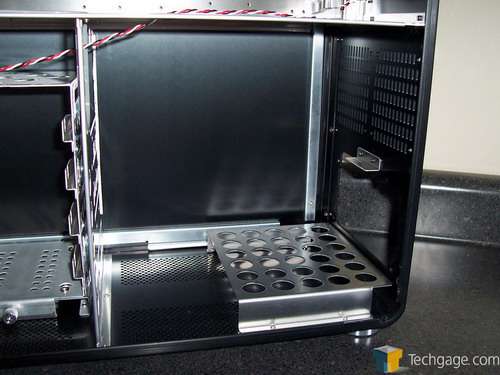
Starting with the power supply area, we notice that the PSU does not sit directly on the bottom of the case. Instead, there is a small shelf with many quarter sized holes for ventilation. Just above the opening for the power supply we again see holes for ventilation.
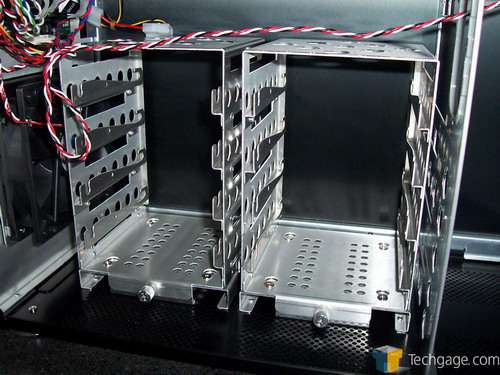
To the left, we get a closer look at the hard drive area. Both cages can hold up to 4 hard drives in each one, allowing the Black Pearl to hold a total of eight drives in all. These cages can be removed individually by simply removing a thumb screw.
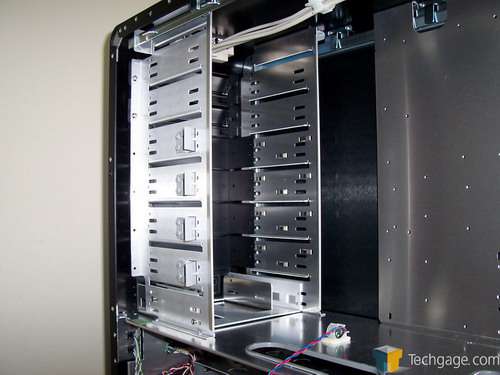
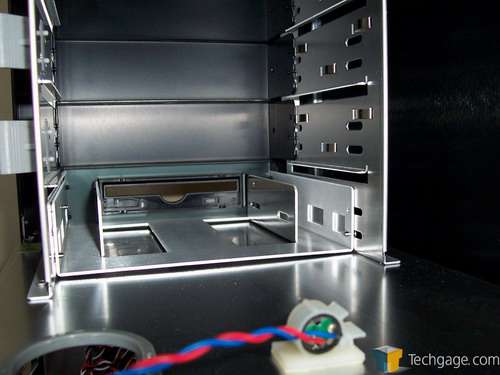
Above these two areas is the main chamber of the case. This is by far the largest and is intended to house the optical drives, as well as the motherboard. The drive bays are wide open with the bottom bay being occupied by a 3.5″ adapter.
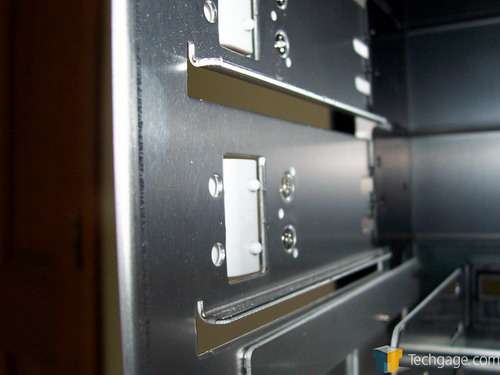
While not a tool less chassis, the Black Pearl does offer a few conveniences such as locks for optical drives. These simply fit into the holes on the back of the drive, locking it into place.
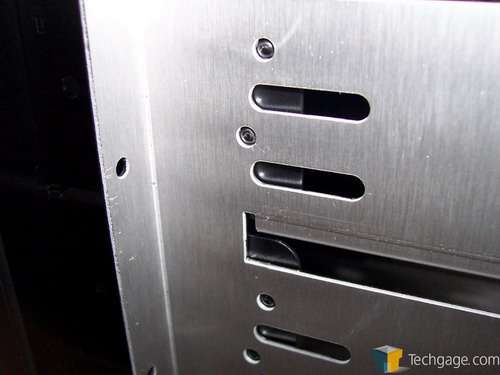
The front bay covers, as stated earlier, are made out of aluminum and are held onto the case with small metal nipples that stick out of the side. This allows the covers to remain on the case without the use of screws.
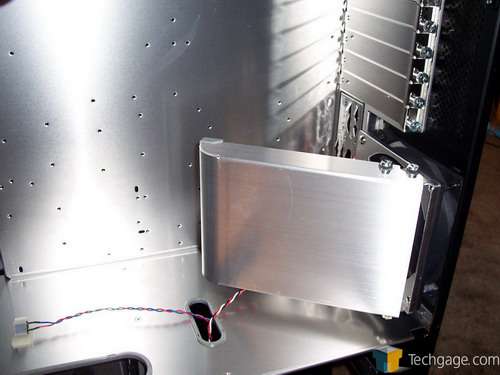
Another somewhat unique feature of the Black Pearl is the CPU air shroud. This is supposed to direct air from the back fan onto the CPU. Remember however, should a tall tower cooler be used, this piece will not fit and must be removed. If this is what you choose to do, remember that the fan is installed opposite of normal. It is sucking air into the case instead of out and if you use a tower cooler and face it to blow out of the case, the two fans will work against each other and the temperatures will reflect this. Trust me on this, I made this same mistake.
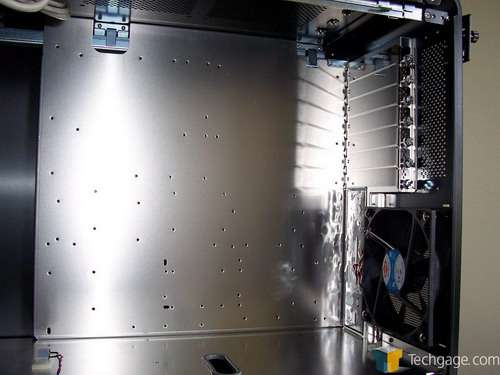
With the shroud removed, the case feels much more open. One thing to note is that the holes on the motherboard are not marked. When the standoffs are installed, make sure they are placed in the correct holes.
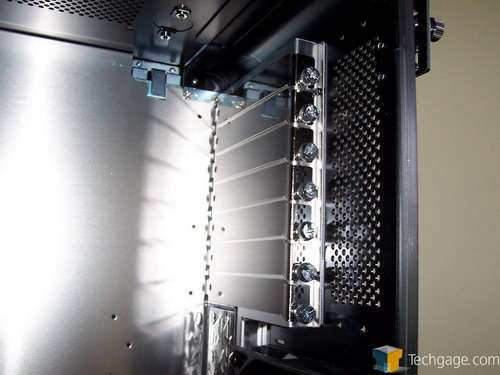
At the top, the PCI slots are held on with thumb screws. While not tool less they do have cut outs to allow screw drives to be used.
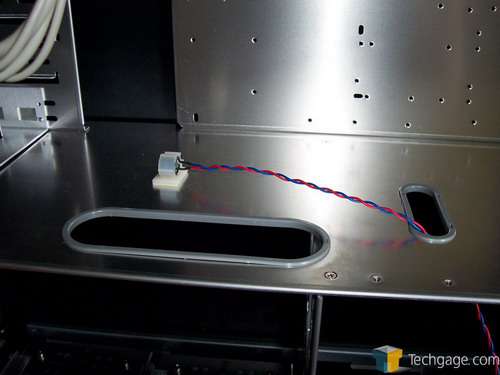
At the bottom of the upper chamber, there is a set of plastic lined holes. These allow the power supply cables to run up to the motherboard. The PC speaker is also situated just above the larger of the two holes.
|
|
Support our efforts! With ad revenue at an all-time low for written websites, we're relying more than ever on reader support to help us continue putting so much effort into this type of content. You can support us by becoming a Patron, or by using our Amazon shopping affiliate links listed through our articles. Thanks for your support!


