- Qualcomm Launches Snapdragon 4 Gen 2 Mobile Platform
- AMD Launches Ryzen PRO 7000 Series Mobile & Desktop Platform
- Intel Launches Sleek Single-Slot Arc Pro A60 Workstation Graphics Card
- NVIDIA Announces Latest Ada Lovelace Additions: GeForce RTX 4060 Ti & RTX 4060
- Maxon Redshift With AMD Radeon GPU Rendering Support Now Available
Thecus N2100
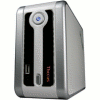
If you are looking for a quality NAS, the N2100 from Thecus is worth your consideration. It can act as a music and photo sharing hub and even an FTP server, among others. Though, the best part might be it’s price.
Page 2 – Inside the N2100
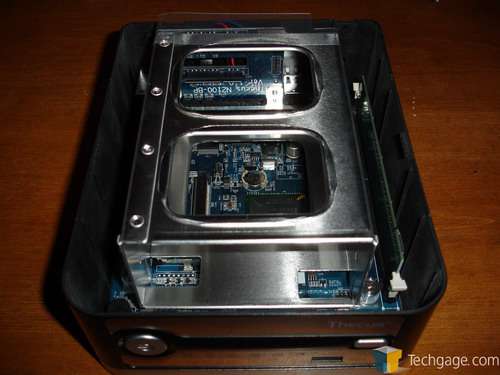
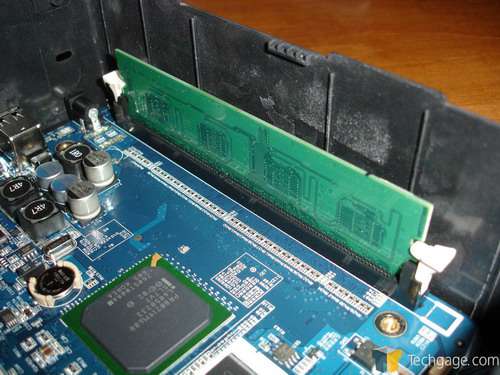
On the back of the unit, at the top, there is a pair of screws. These are all that hold the top of the Y.E.S. box in place. Once those two screws are removed the top can easily be slid back to unlock it from the top and the lifted up. This gives us access to the inside of the NAS box and we initially see the hard drive cage attached to the motherboard and help on by four attached screws. In the image, you can also see the 128MB of DDR RAM used by the N2100 in a standard DDR memory slot.
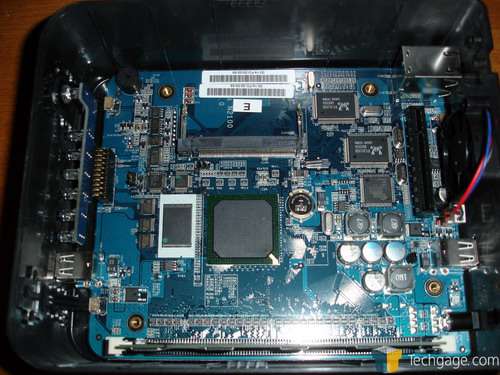
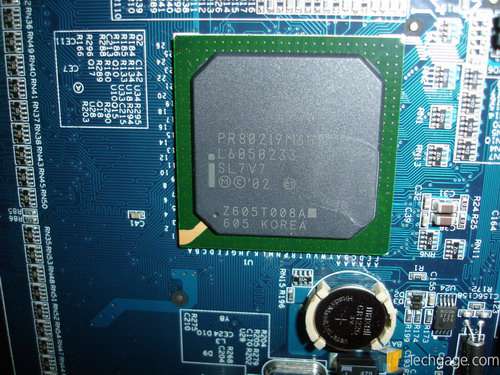
Once the hard drive caddy is removed, we can get a good look at the motherboard itself as well as the assortment of chips that it uses to operate. On the N2100, Thecus decided to arm the Y.E.S. box with a 600MHz Intel XScale 80219 general purpose processor. This is the same chip that can be found in many pocket PCs. As mentioned before, the device uses 128 MB of DDR RAM as well.
Here is a close up of the Intel XScale 80219.
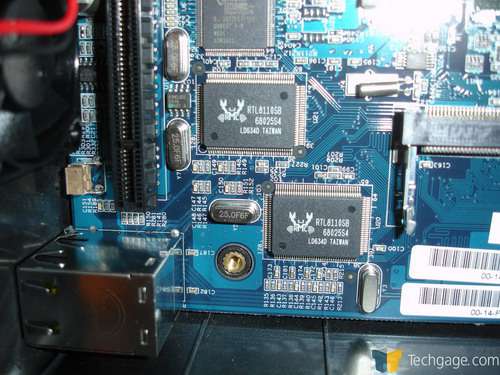
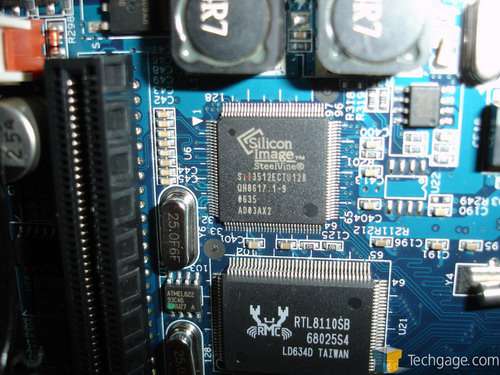
To control the pair of gigabit NICs found at the back of the N2100, there is a set of Realek 8110 chips.
Just above the Realtek chips, there is a Silicon Image SATA chip.
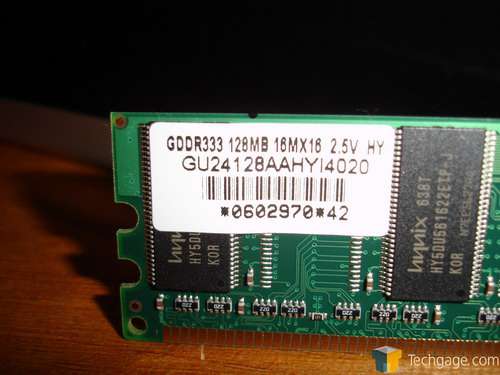
As mentioned earlier, the N2100 Y.E.S. box has 128MB of DDR RAM at its disposal.
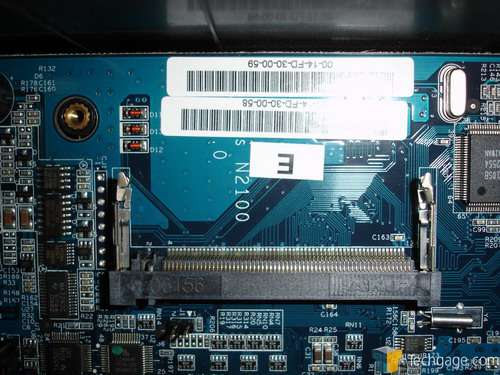
Moving on, right above the XScale processor, there is a space where a wireless NIC card can be installed. While the option is there, we are unsure if the Thecus N2100 supports the use of a wireless card. There is however, a short list of wireless USB adapters that are supported by the Thecus N2100. As stated earlier, there is a spot on the back of the N2100 where an external antenna can be placed should wireless be what you are looking for.
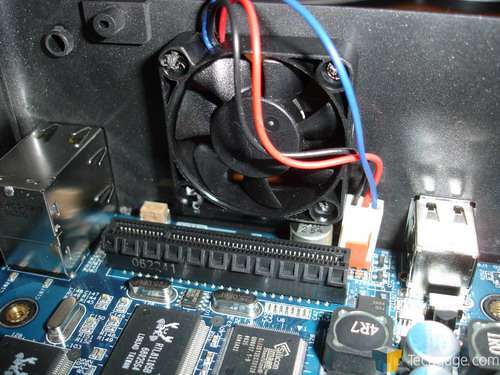
At the back of the motherboard, there is a small slot that the hard drive cage’s bridge card fits into. This is how the hard drives connect to the motherboard. Just behind this slot is the exhaust fan.
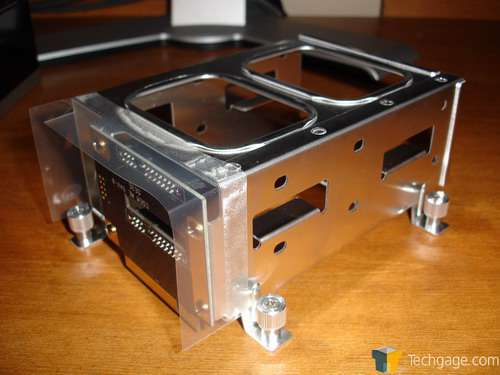
Taking a quick look at the hard drive cage, we can see that there is room for a pair of hard drives and they connect via SATA connectors. The cage is made out of aluminum and is help to the motherboard through 4 small attached screws. At the end of the cage, there is a thin plastic shroud to help keep the airflow from the fan flowing around the hard drives and not put anywhere into the enclosure.
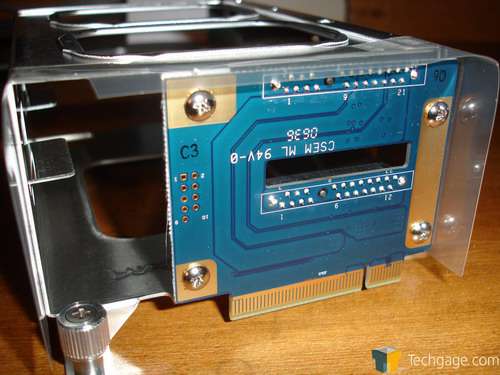
At the back of the cage, we see the bridging card that connects the hard drives to the motherboard. Power and data both run through this card.
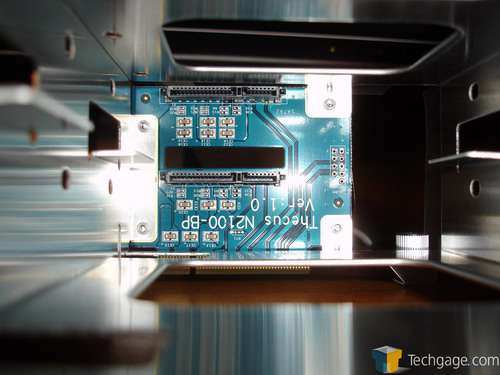
On the inside of the cage, we can see the SATA connections a bit clearer.
Now that you have seen what’s under the hood, let’s get to installing.
|
|
Support our efforts! With ad revenue at an all-time low for written websites, we're relying more than ever on reader support to help us continue putting so much effort into this type of content. You can support us by becoming a Patron, or by using our Amazon shopping affiliate links listed through our articles. Thanks for your support!


