- Qualcomm Launches Snapdragon 4 Gen 2 Mobile Platform
- AMD Launches Ryzen PRO 7000 Series Mobile & Desktop Platform
- Intel Launches Sleek Single-Slot Arc Pro A60 Workstation Graphics Card
- NVIDIA Announces Latest Ada Lovelace Additions: GeForce RTX 4060 Ti & RTX 4060
- Maxon Redshift With AMD Radeon GPU Rendering Support Now Available
Thecus N2100
If you are looking for a quality NAS, the N2100 from Thecus is worth your consideration. It can act as a music and photo sharing hub and even an FTP server, among others. Though, the best part might be it’s price.
Page 3 – Installation and Setup
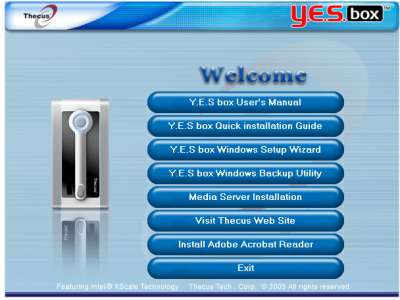
After the hard drives are installed into the cage and then installed onto the motherboard, the next thing that needs to be done is to install the provided software. Prior to installing the programs, make sure to connect your Y.E.S. box to your network as one of the early steps in the install process is letting the software seek out your NAS box. After placing the disk in the drive, we are greeted with this screen…
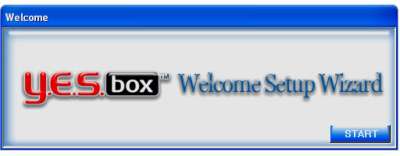
From here, we clicked the Y.E.S. box Windows Setup Wizard to get things started.
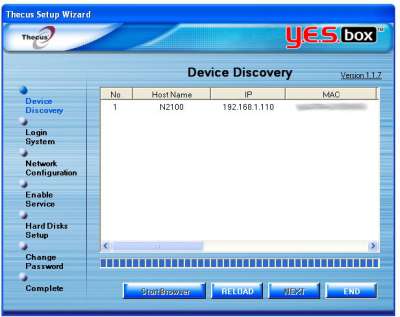
Once the setup wizard is started, and assuming your Y.E.S. box in connected to your network, the installation process will search your network for any connected Thecus products. Once finished, and your Y.E.S. box is detected and selected, click next.
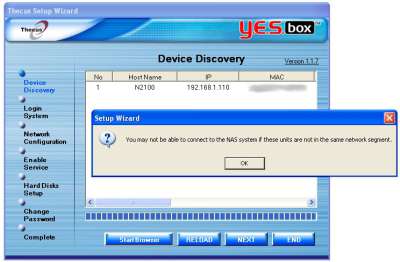
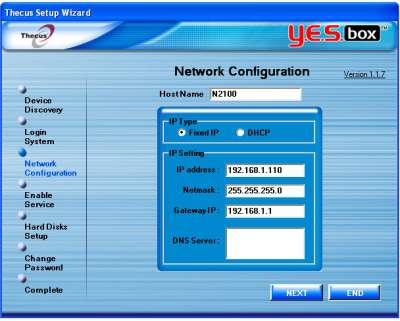
By default, the N2100 comes hard set with the IP address 192.168.1.100. If this is in use in your existing network, it needs to be corrected. As you can see in my picture, I assigned the N2100 an IP of 192.168.1.110. You will be prompted with a warning about the NAS box being in the same network segment as you.
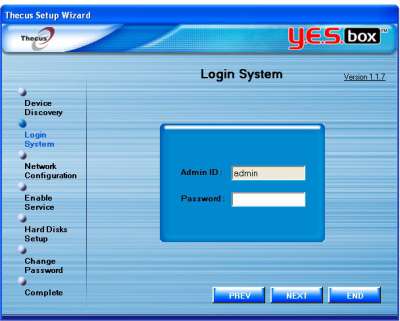
After clicking OK, we are brought to a login screen. The user name is by default "admin" and the password, like many other products, is "admin" too.
From here, we can choose to let DHCP do its thing or assign the N2100 a static IP of your choosing. As stated earlier, I choose to give it a static IP address. For most, DHCP will be the easiest course of action.
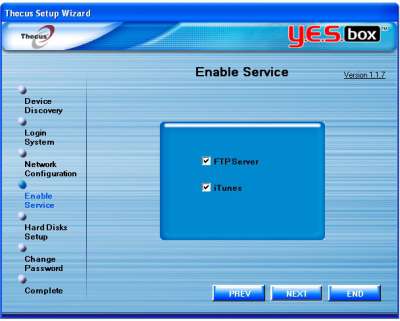
The next screen will allow you to choose how you want to use your Y.E.S. box. If you are content with it acting as a simple storage drive, then you do not need to check anything. However, should you want to sue the N2100 as an iTunes or FTP server, you will need to check either both, or both should you choose to.
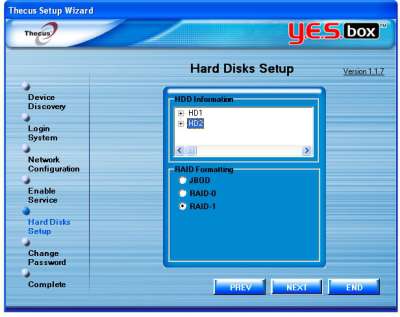
Once you have chosen how you want to use your Y.E.S. box, you now need to decide how you’re hard drives are going to work. On the next screen, you have the options of JBOD (one drive or a pair of mismatched drives), RAID 0 (STRIPED data, increased performance) or RAID 1 (mirrored data, redundant drives for security but storage space is halved.) Once you decide how you want your NAS to behave, and in our testing, we choose RAID 1, you simply click next.
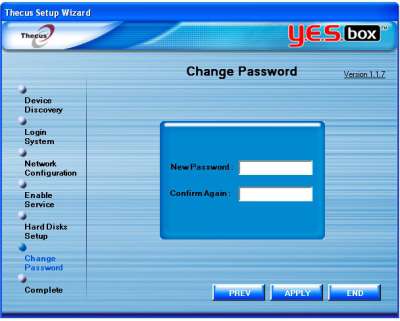
The next screen in the setup process allows us to change the password to something of our choosing. I chose to change ours to something a little less predictable than "admin" but you can leave it be if it’s not something that you are overly concerned with. With everything though, we encourage you to make your network as secure as possible because you didn’t shell out the money for this NAS box if you didn’t care about your data.
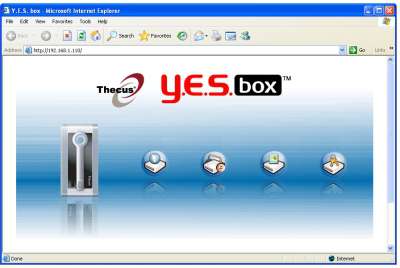
Upon completion, a browser opens up. Notice the address. You can easily access this by typing in the IP address that you assigned to the Y.E.S. box earlier, during setup.
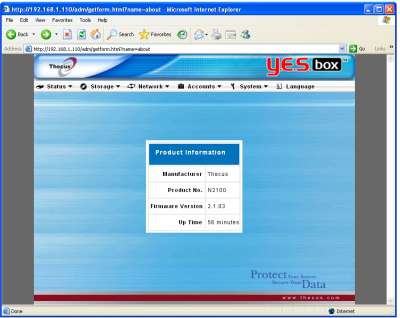
From here, you can check setup your iTunes music folders, your FTP folder as well as your photo publisher folder. On the end is a login screen that will take you to the options page. From here, you can set up your RAID; check the health of your hard drives, check to see how much of the CPU is being used. This is where you can access your folders, delete content, add user permissions and monitor your network activity.
It should also be mentioned that the Y.E.S. box can also be used as a print server. This is not something that we used in the testing of the N2100.
Let’s give the N2100 a good test and then conclude with our final thoughts.
|
|
Support our efforts! With ad revenue at an all-time low for written websites, we're relying more than ever on reader support to help us continue putting so much effort into this type of content. You can support us by becoming a Patron, or by using our Amazon shopping affiliate links listed through our articles. Thanks for your support!


