- Qualcomm Launches Snapdragon 4 Gen 2 Mobile Platform
- AMD Launches Ryzen PRO 7000 Series Mobile & Desktop Platform
- Intel Launches Sleek Single-Slot Arc Pro A60 Workstation Graphics Card
- NVIDIA Announces Latest Ada Lovelace Additions: GeForce RTX 4060 Ti & RTX 4060
- Maxon Redshift With AMD Radeon GPU Rendering Support Now Available
Thermalright HR-01-K8 CPU Cooler
In the prospect of building a quiet PC, cooling the CPU can prove to be a problem. To take care of this ‘tall’ order, Thermalright brings us the HR-01. This passive cooler requires no fan at all to operate. If overclocking suits your fancy, they even offer a duct!
Page 2 – Features, Installation
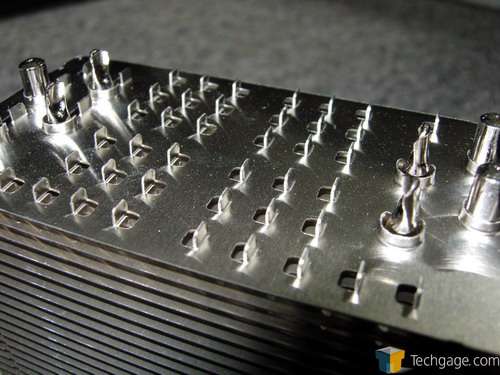
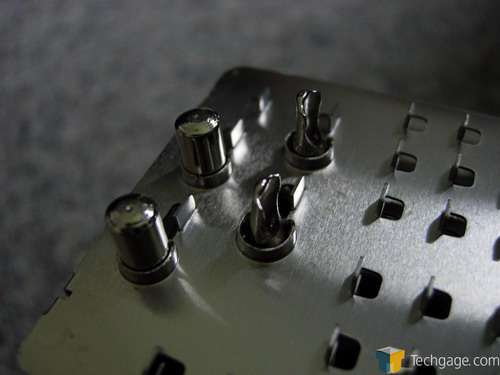
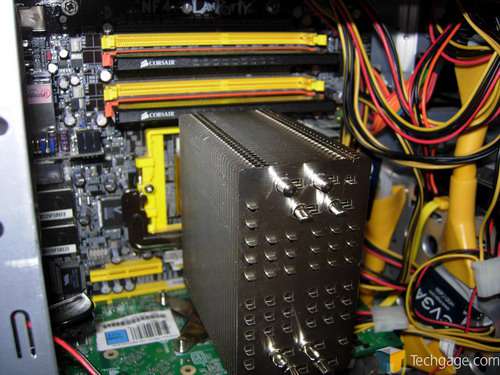
The top of the cooler is different than other tower coolers on the market though. Rather than be completely flat with pipes protruding through, there are notches all the way up, through each fin. This is obviously designed to dissipate heat through the top, and not only the sides.
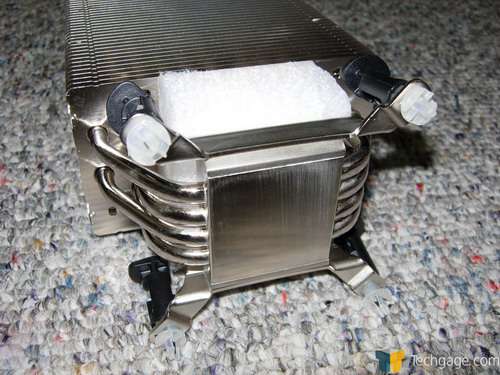
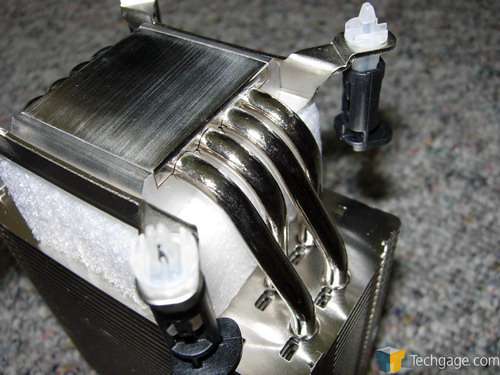
Despite the silver theme, the base and heatpipe are comprised of copper. All of the fins are aluminum, however.
Because this is a passive cooler, it’s highly recommended that you also purchase the fan duct. If you are not overclocking your CPU at -all- though, you may not need to worry. I will get more into the duct and it’s function during my installation report.
Installing the HR for me was going to be interesting because I received the 775 version of the cooler. To modify, I just had to break off the plastic clips and remove the 775 bracket. Incredibly easy to do… surprisingly.
To be honest, I really had to idea how it was supposed to be installed. I received the 775 instructions, not the K8, so I was left on my own. After cleaning off the CPU, I pretended to install the cooler to see how it was supposed to fit. The included bracket is completely different than any I have ever seen, so I was unsure just how it was supposed to be installed.
During installation, I admit I was getting frustrated. I felt I was applying far too much force to the clip, and it still was not secured. When I finally did get it installed, it was a tad easier than the first few times I tried, but I am unsure why. The most tedious part was reaching my finger in the small space to push hard on the clip to lock it into place. There were a few occasions where I almost cut myself on the PWM heatsinks nearby.
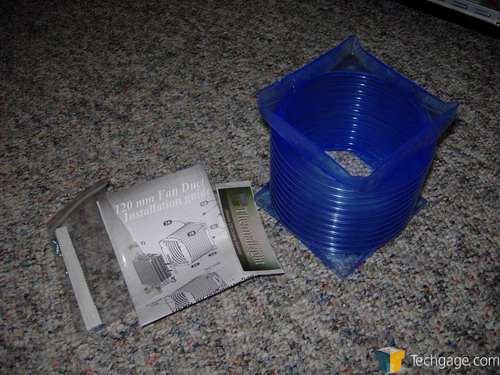
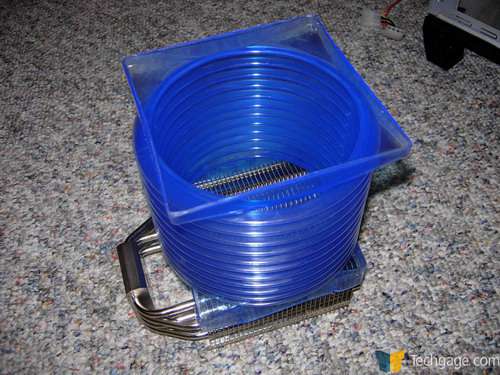
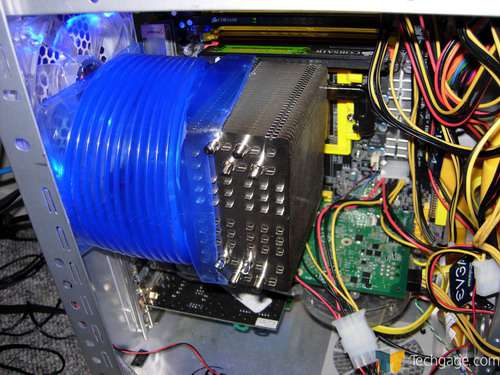
After the cooler was installed, the next step was the duct. The duct attaches itself to one side of your cooler and the opposite end of the duct is supposed to be attached to the 120mm exhaust fan at the back of your PC. Though there are no preset screwholes in the duct, you are supposed to pierce threw to screw it into place. Because this is a completely passive cooler, the duct is designed to route the warm air through and out the back quickly. The 120mm is a large fan, so it does a great job of performing the task at hand.
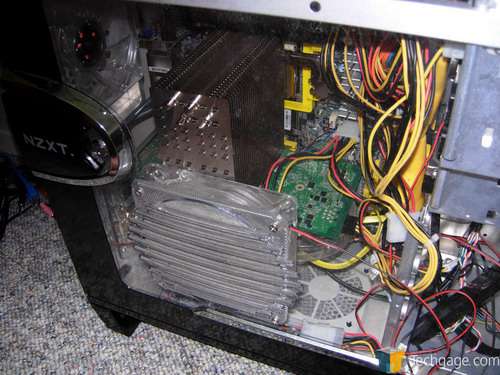
Now as I mentioned, the duct is meant to be screwed onto the fan, and then the other end attached to the heatsink. I found this an impossible job to perform in my case, if I ever wanted it to look decent. Not only that, but trying to stretch the duct to such a degree, would be far more of a problem than it’s worth. So as you can see, I have the duct going straight across, taking up half the fan. In your case, if your CPU socket is better aligned with the fan, you should have no problem installing it the way it’s designed to.
After the arduous chore of the installation, I am happy with how it turned out. This looks like a solid passive cooling solution, but the testing will be the proof of that…
|
|
Support our efforts! With ad revenue at an all-time low for written websites, we're relying more than ever on reader support to help us continue putting so much effort into this type of content. You can support us by becoming a Patron, or by using our Amazon shopping affiliate links listed through our articles. Thanks for your support!


