- Qualcomm Launches Snapdragon 4 Gen 2 Mobile Platform
- AMD Launches Ryzen PRO 7000 Series Mobile & Desktop Platform
- Intel Launches Sleek Single-Slot Arc Pro A60 Workstation Graphics Card
- NVIDIA Announces Latest Ada Lovelace Additions: GeForce RTX 4060 Ti & RTX 4060
- Maxon Redshift With AMD Radeon GPU Rendering Support Now Available
Thermaltake Armor LCS VE2000BWS
Thermaltake has had great success with their Armor and Kandalf cases, and there was a natural step to take to bring them both to the next level… water cooling! For $100 more above the price of a standard Armor case, you can have one complete with a well designed WC setup.
Page 4 – Installation
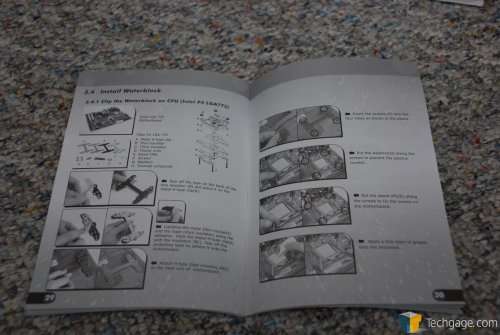
If you have never put together a water cooling rig before, don’t worry. The included manual is well detailed, so you should have no problems at all. You can see a sample below. All of the pages are as detailed, so it’s really hard to go wrong.
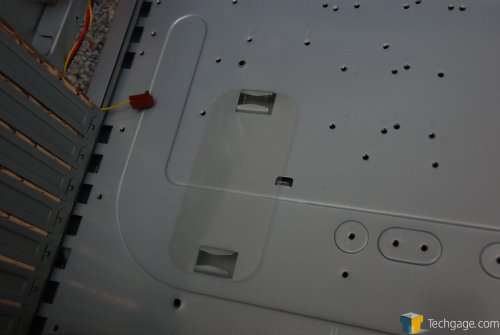
Before installing the motherboard, you need to install this see-thru plastic film to specific areas of the motherboard to prevent the board from touching any of the metal. I had only needed to use this single piece, but if you have a different style motherboard, it may vary.
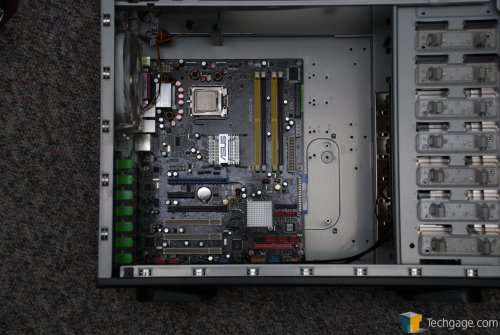
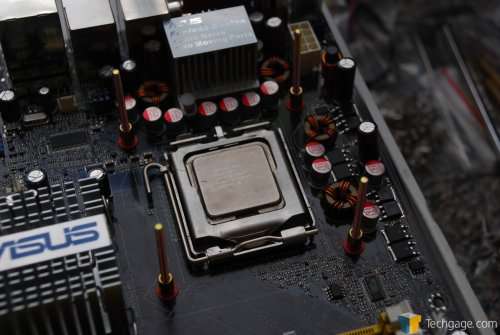
After installing the 9 or so motherboard mounts, you can throw your motherboard in. You will note that everything is well installed in the below photo, but I foolishly did not install the waterblock first. It may vary depending on what CPU you are using, but the 775 method requires you install a bracket on the backside of your motherboard prior to installing the board into the case. Don’t make the same foolish mistake like I did. This is by far the first time I’ve done this, so apparently I never learn my lesson.
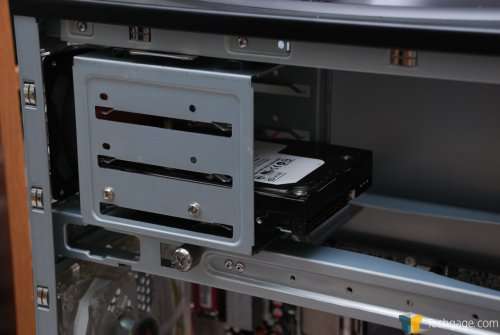
Next up was the hard drive… again not the next step. It was quite easy to install though… just slide it in and screw into place. Could not be easier. Before installing the hard drive here though, that cage can be removed, and -needs- to be in order to fit the PSU in properly. So first remove this, install the power supply and re-insert it.
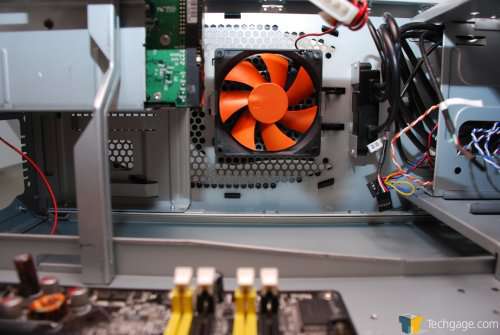
As you may have noticed in an earlier photo, there is an additional 80mm fan included with the case. This is where it can be mounted… the direct top of the case. It will exhaust the warm air to the outside, or vice versa depending on your fan arrangement.
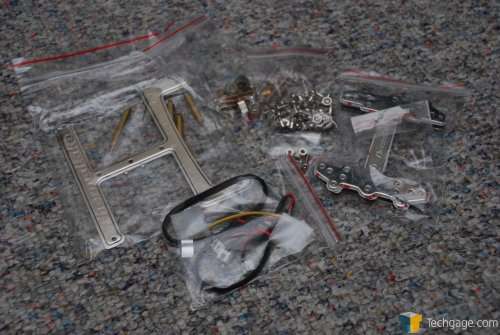
Time for the water cooling installation! First up are all of the included accessories, screws, brackets, et cetera.
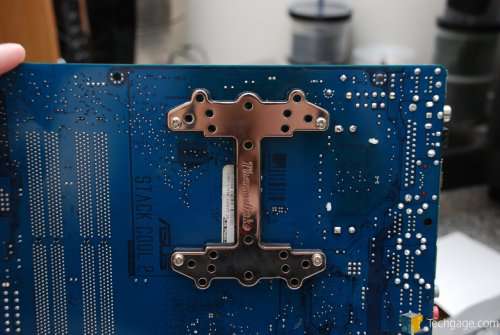
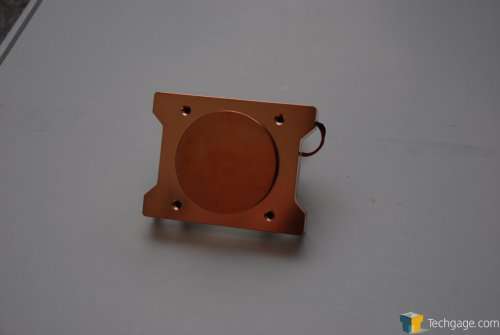
My installation is with a 775 system as mentioned, so it will be different than if you are installing to a 939/940 or AM2. First thing I had to do was remove the motherboard and clean up the CPU, and install the first bracket to the back of the motherboard. The back bracket is comprised of three different parts… one silver thick mount, followed by a black thin mount, similarly shaped. Finally, there is a thick similar shaped foam mount that has a sticky side for you to affix everything properly. Finally, you can line up the screw holes, secure it, and move on.
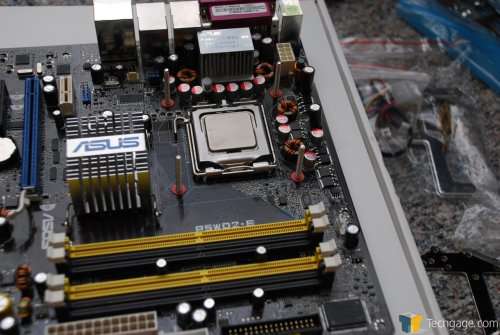
Here you can see the long screws that were fed through. So far so good! The next step is to apply a washer to each one of the screws, followed by a few stand offs.
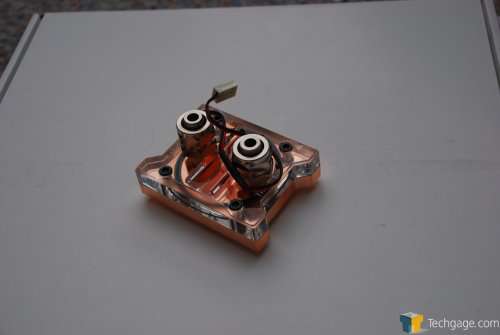
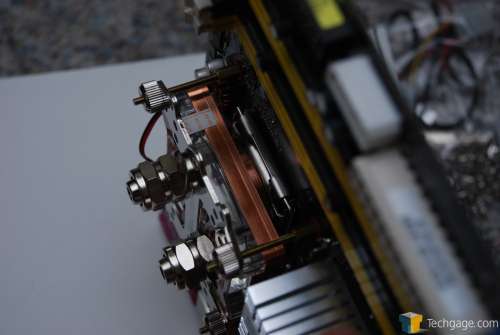
Behold… the waterblock. It’s rather simple in design, but works well. It’s equipped with blue LEDs… because what isn’t nowadays?
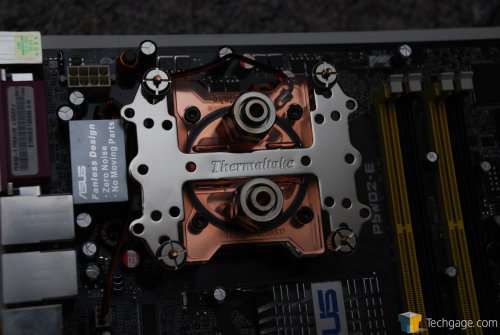
After applying the thermal paste, the block sits on the CPU without a problem. The last step for now, is to throw another bracket on top of the block to keep it in the correction position, and then use a few thumb screws to hold everything tight.
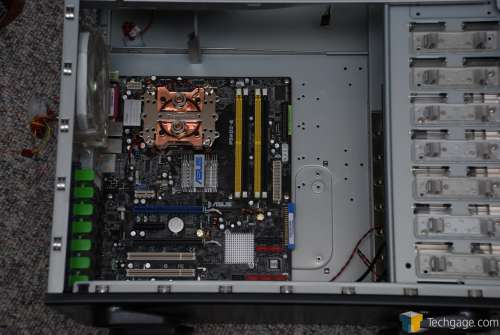
This is a better shot of the board as a whole, once the block is properly installed. It’s a hefty setup, that’s for sure. I am impressed with the installation so far though. While there were more steps to take than I was expecting, the end result is a very sturdy and securely affixed waterblock. It does not budge in the least, but is not so tight that it would break something.
|
|
Support our efforts! With ad revenue at an all-time low for written websites, we're relying more than ever on reader support to help us continue putting so much effort into this type of content. You can support us by becoming a Patron, or by using our Amazon shopping affiliate links listed through our articles. Thanks for your support!


