- Qualcomm Launches Snapdragon 4 Gen 2 Mobile Platform
- AMD Launches Ryzen PRO 7000 Series Mobile & Desktop Platform
- Intel Launches Sleek Single-Slot Arc Pro A60 Workstation Graphics Card
- NVIDIA Announces Latest Ada Lovelace Additions: GeForce RTX 4060 Ti & RTX 4060
- Maxon Redshift With AMD Radeon GPU Rendering Support Now Available
Thermaltake Eureka Aluminum Case
We’ve reviewed many Thermaltake cases in the past that are gamer suited, but as a change of pace we are going to take a look at the Eureka, a case designed for home server use.
Page 2 – Closer Look
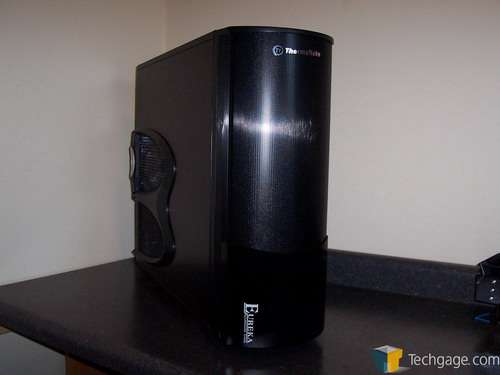
As a home server case, the Eureka is expected to be large. With a design geared towards those who would display the server in plain sight, the front of the Eureka resembles an older home speaker quite a bit. The front door of the case is made out of thick aluminum and curves a great deal, resulting in the middle of the door a good 3 to 4 inches away from the bays.
With the front of the case designed to look like a speaker, the upper three quarters of the door is full of small holes to add to the speaker effect at the top, the Thermaltake logo can be found.
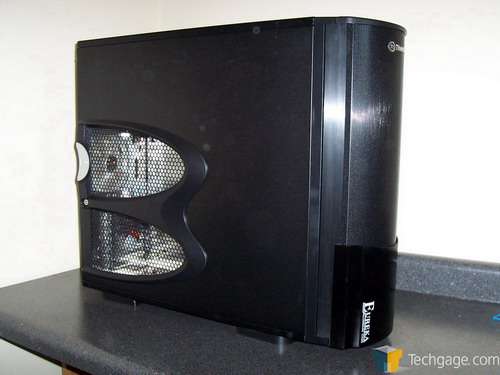
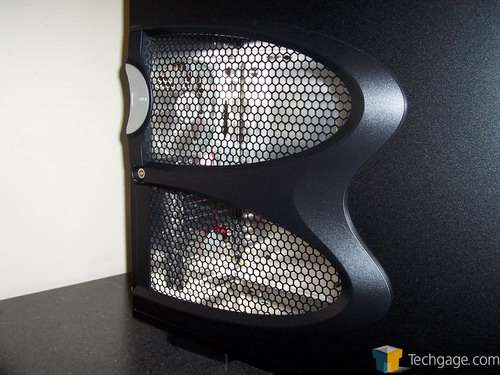
When turned to the side, it’s obvious that the Eureka lacks what most now take for granted, a side window. Instead of this feature, there is a pair of honeycombed openings to allow a great deal of cooler outside air to be brought into the case when in operation.
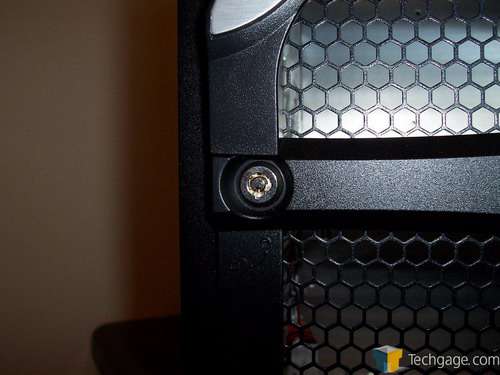
While the ability to lock the case closed is something that all computer cases should offer, Thermaltake has always been good about placing a lock on the tower. In this regard, the Eureka is no different. With a lock at the back of the case on the side panel, the lock gives the users the ability to keep any unwanted hands out of the case. Just above the lock, the panel handle can be found.
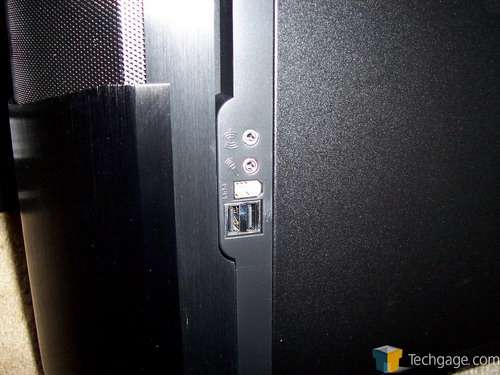
Going from one side to the other, on the right side of the case offers the obligatory I/O ports. Armed with a pair of USB ports, a single FireWire port and the ever popular audio out and microphone in, the Eureka won’t exactly bring home any innovation awards but the I/O ports are in a convenient location and are easy to get to.
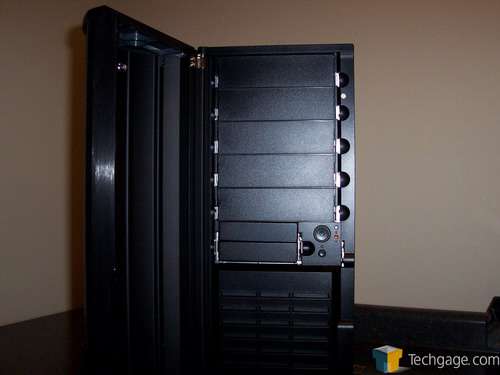
With the lockable door open, we can see the five available 5.25″ bays as well as a pair of 3.5″ drive bays for those of you who still use floppy drives (or dare I even mention ZIP?) Just under the drive bays, there is a significant amount of open slots, allowing the front fan to pull in the needed air from the outside of the case.
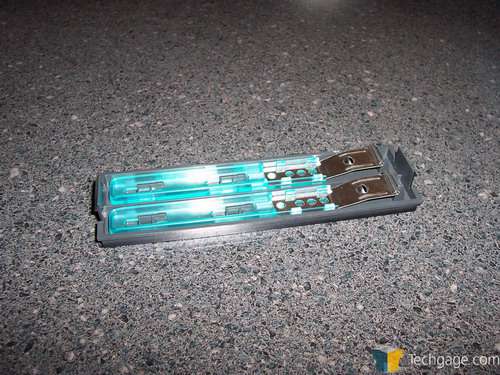
To install the drive bays, one only needs to remove the bay cover of choice and look underneath. Behind each of the bay covers is a pair of drive rails. These can be attached to the CD drives, allowing the drives to be installed with virtually no tools needed.
With the drives installed, we move to the back of the Eureka. With its side panel secured by a pair of thumb screws, the Eureka is a fairly secure chassis.
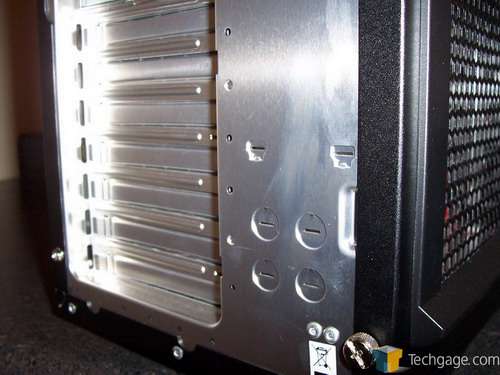
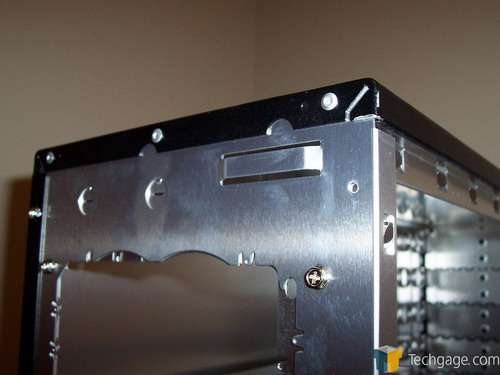
The back of the Eureka is as normal as they come. With a standard layout, the power supply gets installed at the top and the motherboard and CPU occupy the middle and lower sections of the case.
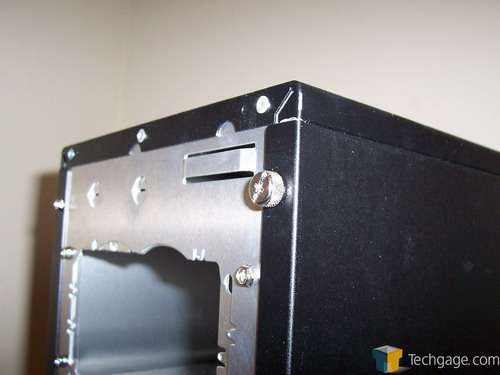
As it the theme of most recently produced cases, the Eureka supports the addition of water coolers. This is more of a testament to the out of control power needs of today’s hardware, but regardless, it’s nice to know that Thermaltake has got our backs and incorporates punch outs to act as tubing pass-throughs. The Eureka’s pass through are a bit limiting as they are designed to accommodate Thermaltake’s small tubing so those of you with ½” tubes, you’re s.o.l. if you use large tubing in your PC.
Next, the installation and final thoughts.
|
|
Support our efforts! With ad revenue at an all-time low for written websites, we're relying more than ever on reader support to help us continue putting so much effort into this type of content. You can support us by becoming a Patron, or by using our Amazon shopping affiliate links listed through our articles. Thanks for your support!


