- Qualcomm Launches Snapdragon 4 Gen 2 Mobile Platform
- AMD Launches Ryzen PRO 7000 Series Mobile & Desktop Platform
- Intel Launches Sleek Single-Slot Arc Pro A60 Workstation Graphics Card
- NVIDIA Announces Latest Ada Lovelace Additions: GeForce RTX 4060 Ti & RTX 4060
- Maxon Redshift With AMD Radeon GPU Rendering Support Now Available
Turtle Beach Ear Force X2 Xbox 360 Headset

If you play on Xbox Live often and are sick of using the flimsy headset you received with your console, then you are in luck. Turtle Beach released their X2 headset earlier this year, and it proves to be a very worthy upgrade to the headset you have now.
Page 2 – Closer Look Cont., Installation
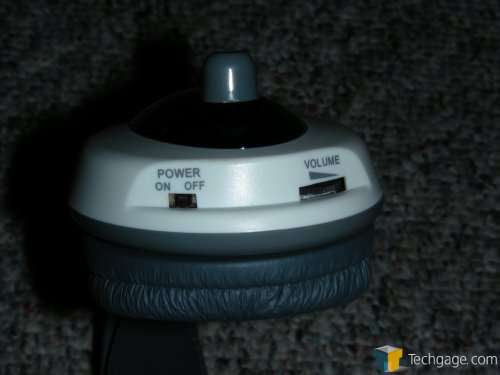
On the right earpiece, there is an on/off button at the bottom, and also the volume control. These are somewhat oddly placed and difficult to reach. At first, I had to take the headset off before I turned the volume up… only because I wasn’t even sure where the button was. The opposite end has the port for the microphone. If you don’t plan to use the microphone, you will never need to touch this.
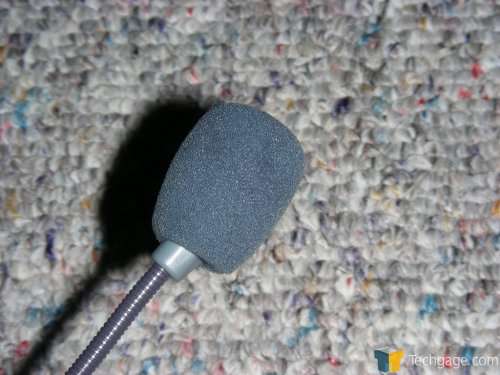
The microphone itself cannot be removed, but that’s fine since it in no way gets in the way. Yeah, way. It pivots up or down, and then you can move the end piece to the desired location.
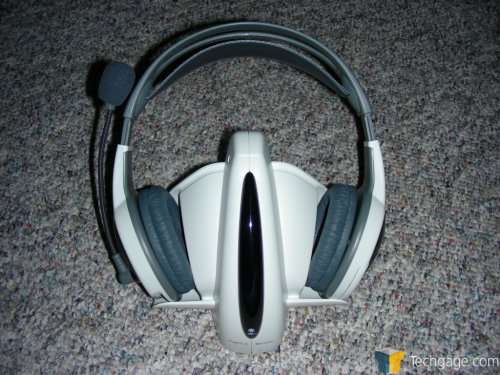
As a whole, you have a rediculous looking base, and then the headset which sits nicely on it. Not -that- nicely though… it almost feels like these two pieces were not made for each other. Usually bases will securely hold the headset, but this one does not hold it straight upwards.
The installation… could not have been easier. If you use digital input to your television from your Xbox, you will have five cables, two of which are red and white. These are the standard audio cables that we’ve used for our consoles for… ever. You simply use the splitter that the headset includes… childs play really. The other end of the splitter plugs into the back of the base. Finally, you have to plug in the AC adapter to the base and into the outlet. Again, this could not have been any more simple… they didn’t even need to include instructions though they have.
The last step is to insert the batteries into the left earcup. Once done that, you are good to go. When you first boot up the 360 though, you will want to go into the headset configuration to set it up accordingly. The default setting will output voice into the headset, but nothing else. Changing a setting will allow you to hear the game as well.
At first, I was unsure if the headset was even working, but after a couple minutes with of fiddling I had figured it out. The easiest way I found to configure these, was to mute the television and deal with the headset solely. I kept the headset at the lowest volume, for the sake of not blowing my eardrums out. After half a minute I had gotten it to a reasonable sound level, and was ready to start playing some games.
Due to the way this is set up, there are a few different ways you can configure the usage of the headset. First off, if you have people in the room watching you play, you can either still use the headset, or take them off and unmute the TV. If you wanted, you could use the headset as normal, and unmute the TV, which would allow others to hear the action. You would be the only person to hear the voice from other players though, probably.
All in all, the installation is so easy… that anyone could do it.
|
|
Support our efforts! With ad revenue at an all-time low for written websites, we're relying more than ever on reader support to help us continue putting so much effort into this type of content. You can support us by becoming a Patron, or by using our Amazon shopping affiliate links listed through our articles. Thanks for your support!


