- Qualcomm Launches Snapdragon 4 Gen 2 Mobile Platform
- AMD Launches Ryzen PRO 7000 Series Mobile & Desktop Platform
- Intel Launches Sleek Single-Slot Arc Pro A60 Workstation Graphics Card
- NVIDIA Announces Latest Ada Lovelace Additions: GeForce RTX 4060 Ti & RTX 4060
- Maxon Redshift With AMD Radeon GPU Rendering Support Now Available
Vizo Luxon External HDD Enclosure
Vizo is a new company that’s making a mark on the peripheral market. Their Luxon hard drive enclosure is one of the reasons they are making that mark, and we are going to find out why.
Page 2 – Installation
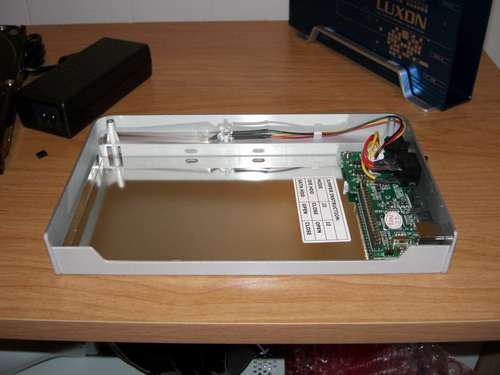
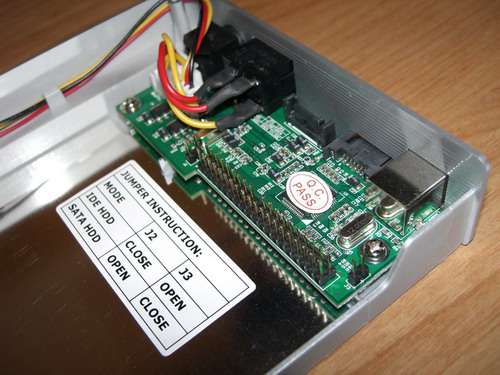
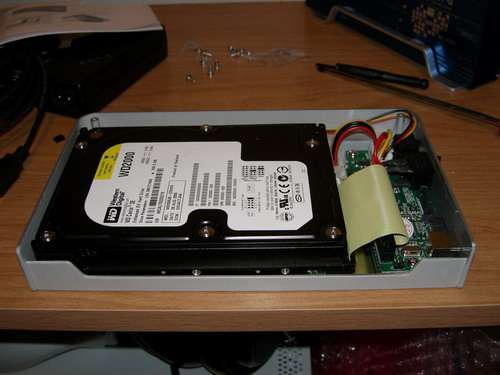
The installation for an enclosure is not usually very difficult, and this one proved to be what I expected. The silver chassis pulls out of it’s blue frame, and because they are both aluminum, you will hear some screeching noise. The “scratch a chalkboard” type. The first thing to do is to take the included plastic jumper and plug it onto the PCB inside. Depending on whether you plan to use an IDE or S-ATA based hard drive, you will need to plug it in a different spot. If you don’t plug either in, you will not get any data transfer from the enclosure.
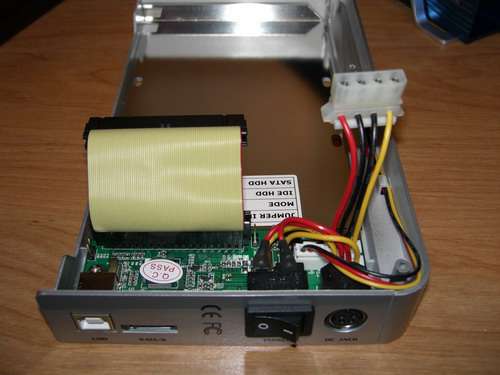
I don’t have a spare S-ATA drive on hand, so I used the drive that was currently in my Thermaltake Max4, another great enclosure. My next step was plugging in the small IDE cable to the PCB and then to my HDD. I made the mistake of actually mounting in my hard drive before securing the IDE cable to it, and that was not a smart move. There is not much room to move around if you screw the drive into place, so you will want to plug it in securely before mounting it.
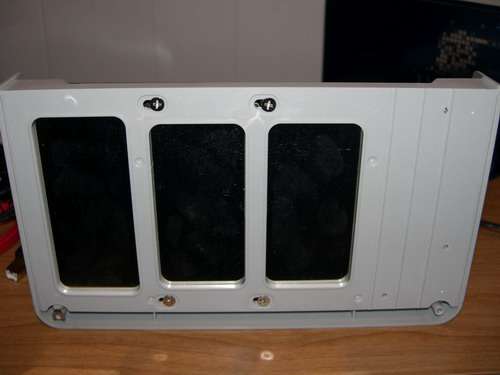
The next step is simply plugging the 4-Pin Molex to the hard drive and then plug the other end into the available power port on the PCB. With the drive in place, you need to turn the enclosure over to access the screw holes. The screws they included worked great and kept the drive extremely secure to the rest of the enclosure.
If you are interested in purchasing this enclosure, I recommend that before putting the enclosure all together, hook up the unit you have so far to your PC just to make sure that it works. I foolishly forgot to use the plastic jumper, so when I hooked it up it just detected a USB device and that’s it. I had to take it apart again to fix my mistake.
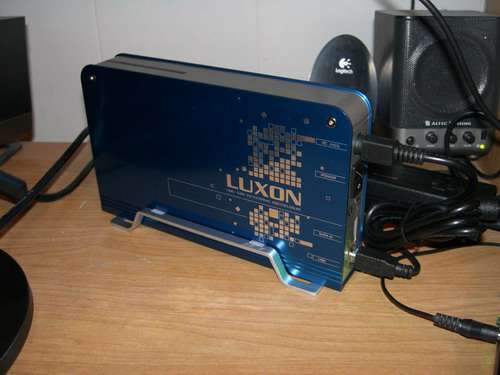
At any rate, the last part is simple. It’s a matter of taking the silver mounting plate and inserting it into the blue enclosure. While there is a Luxon logo on one side, there is not on the other. At this point, you will want to place the silver mounting bracket in there the way you would prefer it. If you want the logo to face you, then make sure it’s on that way. For the ultra clean look, you could just turn it around and view the clean side. After it’s in, you can use the included screws and drive to secure it.
Installation was a pure breeze really, and if it wasn’t for my stupidity, it would have taken at most 5 minutes. The included power cables are quite long, so you won’t need to worry about not reaching the socket. I didn’t even have to bother taking the twist tie off one of the cables because it was long enough as is.
|
|
Support our efforts! With ad revenue at an all-time low for written websites, we're relying more than ever on reader support to help us continue putting so much effort into this type of content. You can support us by becoming a Patron, or by using our Amazon shopping affiliate links listed through our articles. Thanks for your support!


