- Qualcomm Launches Snapdragon 4 Gen 2 Mobile Platform
- AMD Launches Ryzen PRO 7000 Series Mobile & Desktop Platform
- Intel Launches Sleek Single-Slot Arc Pro A60 Workstation Graphics Card
- NVIDIA Announces Latest Ada Lovelace Additions: GeForce RTX 4060 Ti & RTX 4060
- Maxon Redshift With AMD Radeon GPU Rendering Support Now Available
Wacom Intuos4 Professional Pen Tablet
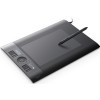
Wacom’s tablets have long been considered an industry standard, and reasons as to why are obvious to anyone who uses them. Though the Intuos3 was a masterpiece of a tablet, the Intuos4 improves things all-around, such as with a higher level of sensitivity, LED-labeled quick-keys, removable USB cable, improved design and more.
Page 2 – Using the Intuos4
Having used the Intuos3 for so long, I was a bit intimidated by the latest model. But, I’m happy to report that working on it has been just as easy as the previous model. In some cases, it’s even more comfortable, thanks to the beveled shape at the top and bottom which makes it easier on your wrists. Also, because it’s so light-weight, I often have been using it on my lap.
The eight express keys are very easy to activate, needing very little pressure, and it’s great to have all of them available to one side, conveniently-placed, and with the LED displays, you will never forget what you program to each one.
One small nuisance, at least for me, is that dust and smudges/fingerprints show up on this tablet like a sore thumb. It is not a big deal, but something I figured worth mentioning. I give it a good wipe down with a partially-damp micro-fiber cloth after every use, to keep it tip-top.
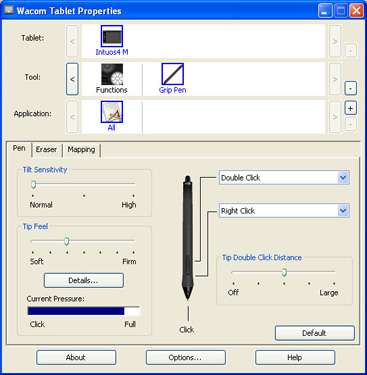
Drawing with the tablet has shown significant difference, and that is with the pen pressure. The pen strokes feel smoother and more fluid, writing and drawing is clean and easy. With the new pen design they were able to give it a whopping 2048 levels of pressure. That gives the Intuos4 double the amount of pressure sensitivity that the Intuos3 did!
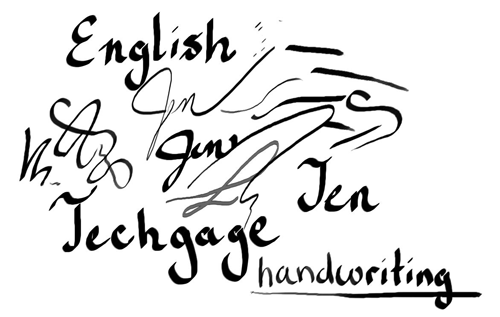
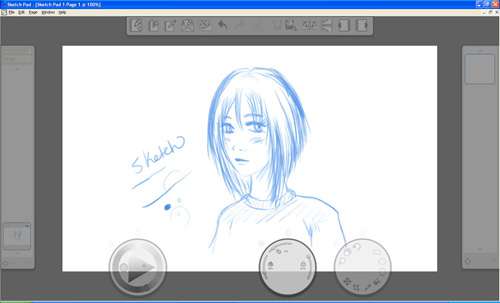
I didn’t think that such a change would make such a large difference, but it does make drawing with the tablet that much easier. I even did some quick calligraphy and a fast sketch with the Intuos4. The sketch was done with Corel Painter Sketch Pad, one of the bundle programs available to download (in the Americas region). The new pen design is really nice; it feels slimmer, lighter and more comfortable than the old one.
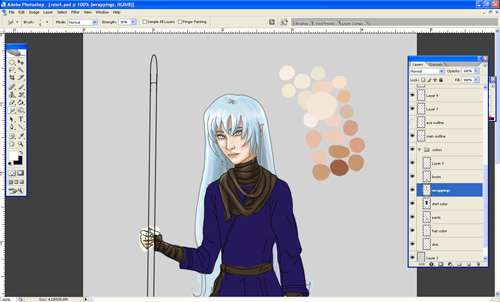
For my first real run with the Intuos4, I started work on a commissioned piece in Photoshop CS2. Again, drawing was fantastic, working lines and coloring has never been easier. During the drawing of my commission, the pen nib seemed to rub off onto the board a bit, leaving some scuff marks on the tablet surface. This pen’s nib is not the same white plastic nibs as the Intuos3’s nibs, but rather a black plastic.
I was worried it might scrape the surface, as these pen nibs feel a bit harder than the Intuos3’s version. Yet, after a wipe down it came off and the board was fine. I now use a sheet of smooth paper over my Intuos4 surface area while working, just in case. It works just fine and keeps the active area clean.
The pen nib does seem to be wearing down significantly with just this use, vs. the pen nib I’ve never changed on my Intuos3. Perhaps it is just normal for them to wear down a little bit to start, but we’ll see how long they last after a year of use. I completed my commission with the Intuos4 and was pleased with how well it worked. I had no real trouble converting from the Intuos3 to the Intuos4, it was an easy transition.
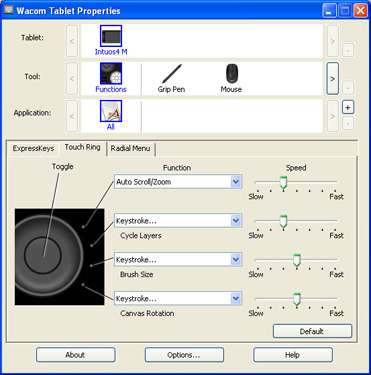
I really do like the new touch ring. This ring works much like the touch strips on the Intuos3. Touch your finger to the surface and either move clock-wise or counter clock-wise to perform a function. There are four small LED lights located on the outer side of the ring (close to the tablet face), which let you know which function you have active on your touch ring. These functions can be programmed, but for my tablet I am using the default settings; top is zooming in/out, second is cycle layers, third is brush size, and fourth is canvas rotation.
I’ll have to say that using the touch ring will take some getting used to. The reason I say this is that in order to use it for specific purposes you have to press the center toggle button inside the touch ring to switch between functions. Often I had my touch ring speed set too high to start, often overshooting where I wanted the zoom or brushes to sit. It isn’t hard to do, though, and I am sure my accuracy on the button presses will be better with practice. I used it a lot during my commissioned piece, and although I was a bit slow with it to start, I grew more comfortable with it and speed picked up.
Support our efforts! With ad revenue at an all-time low for written websites, we're relying more than ever on reader support to help us continue putting so much effort into this type of content. You can support us by becoming a Patron, or by using our Amazon shopping affiliate links listed through our articles. Thanks for your support!


