- Qualcomm Launches Snapdragon 4 Gen 2 Mobile Platform
- AMD Launches Ryzen PRO 7000 Series Mobile & Desktop Platform
- Intel Launches Sleek Single-Slot Arc Pro A60 Workstation Graphics Card
- NVIDIA Announces Latest Ada Lovelace Additions: GeForce RTX 4060 Ti & RTX 4060
- Maxon Redshift With AMD Radeon GPU Rendering Support Now Available
Zalman GS1000 Full-Tower
The first name that comes to mind when pondering a new chassis isn’t likely to be Zalman, but with the few enthusiast models they’ve released so far, it’s easy to see they mean business. We’re taking their brand-new GS1000 for a spin to see if its features and size make up for the $199 price tag.
Page 1 – Introduction
I’d what you would call a constant shopper. I’m always scanning all the online stores for new releases… and it doesn’t matter that I know I don’t need any new parts, but I just can’t help myself. I have been known to completely upgrade a current PC over finding a good deal on a single component. In fact, I can think of at least 3 different chassis’ that upon release were instantly in my heart and under my desk.
While they are better known for CPU cooling than anything else, Zalman has been slowly but surely releasing some really good stuff for the enthusiast. They have one of the first silent chassis’ available and they even released a “Fatal1ty” model for the die hard name recognition enthusiast. The only problem has been the price. Once you start looking to spend $300+ on a single part, you expect near perfection from it.
This time around, they have given us the GS1000. Available for $199 pretty much anywhere I looked online, this is the first mid-level chassis from Zalman. Using lots of lightweight materials, a mostly tool-free design and many other nice features, the GS1000 looks to be a real contender. Let’s take this baby for a drive and see how she does when used in anger.
Close Look at Zalman’s GS1000
First things first, let’s take a look at the manufacturer’s specs.
- Enclosure: Type Full Tower
- Dimensions: 220(W) x 560(H) x 580(D) mm Weight 12kg (26.4lb)
- Material: Aluminum / Plastic (ABS) / Steel (GI)
- Motherboard Compatibility: E-ATX / Standard ATX / microATX
- Power Supply Compatibility: Standard ATX / ATX12V
- PCI/AGP Card Compatibility: Full Size
- Drive Bays: 5.25″ External Bay x 4 * 2 Adaptors & Bezels included for use of two 5.25″ bays as 3.5″
-
Internal (HDD) / External (FDD) Bays:
- 3.5″ Internal Bay x 6
- Hot Swap Bay x 3 (standard)
- Regular / Hot Swap Bay x 3 (optional)
-
Cooling Components (Fans):
- Top Vent: 120mm x 2 (1 Fan included)
- Rear Vent: 120mm x 1 (1 Fan included),
- Bottom Vent: 120mm x 2 (Fans optional)
- Expansion Card Slots: 7 Slots (Tool Free Bolts provided)
- Front I/O Ports: USB Port x 2, IEEE1394 (FireWire) Port x 1, Headphones x 1, Mic x 1
- Available Colors: Black, Titanium
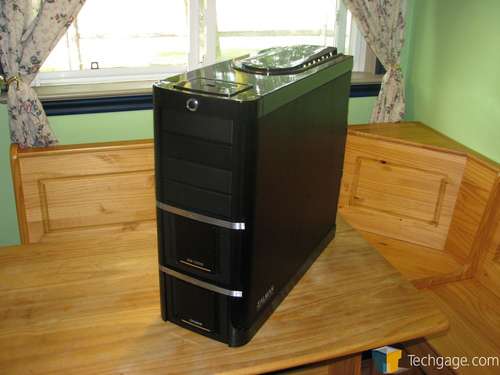
Once out of the box and unwrapped from the protective shipping bag, we get our first look. It is easy to see here that the glossy black top played havoc with my camera as I had a tough time taking a picture without glare. Also, take note of the brushed aluminum side panels.
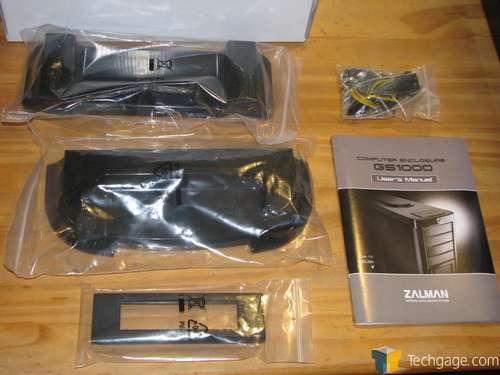
Inside the box of goodies are the included accessories. While most of it is standard fare hardware that pretty much all manufacturers include, it is important to note the included 12″ 8-pin CPU power extension cable, which is hugely appreciated, since many PSUs ship with 8″ or shorter motherboard cables that don’t quite stretch far enough.
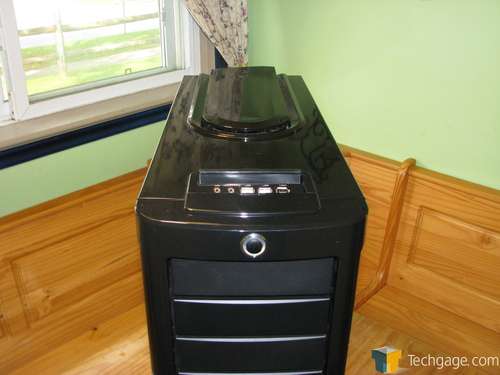
The top panel also houses the front I/O panel connections. A quick flip of the door is all that is required to access them. They are angled to allow use in tight desk spaces where there might not be a lot of room above the case. One notable exception is that there’s no eSATA port here. While there are few devices available to plug into eSATA, they really should have included it since there is plenty of space for it.
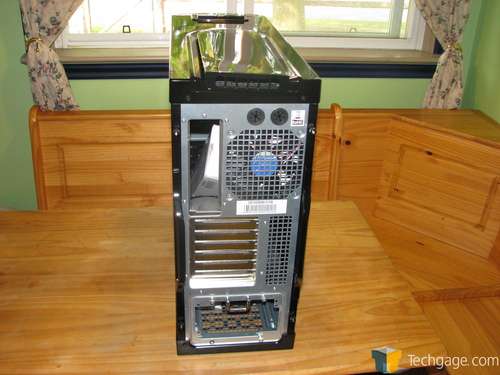
The back of the case is also standard issue as well. Plain and functional, there is little else that can be noted back here.
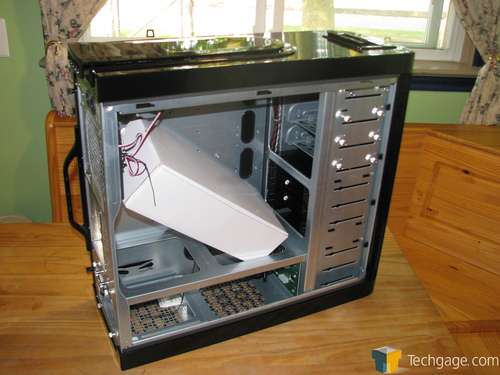
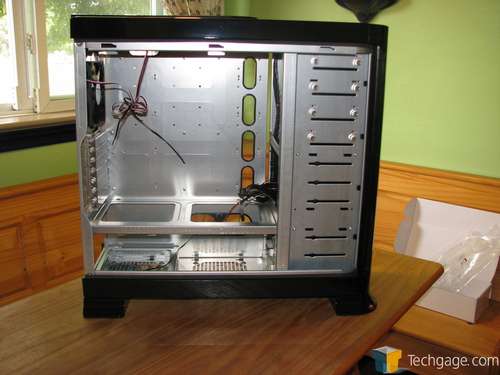
Next we get a quick shot of the interior. You can see the bottom openings for a few more 120MM intake fans.
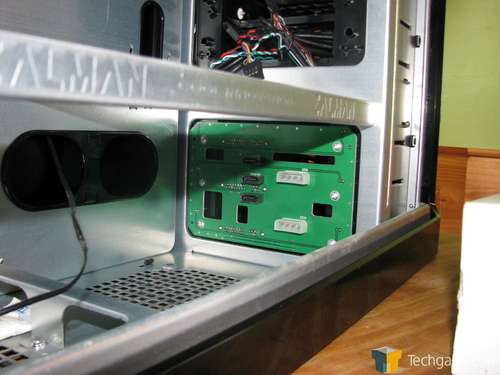
Here is a shot of the PCB for the hot swap SATA drive bays. I really do find this a nice feature that I enjoy having. Not all people really need hot swap bays, but they also make for easy cable routing as well as keeping hard drive installation simple.
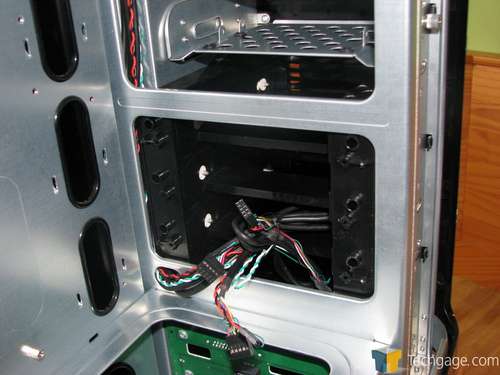
Next up are the 3 HD bays directly above. The same HD trays are used here and there is the option to get another hot swap PCB and install it here. If you ask me, Zalman really should have included it anyways.
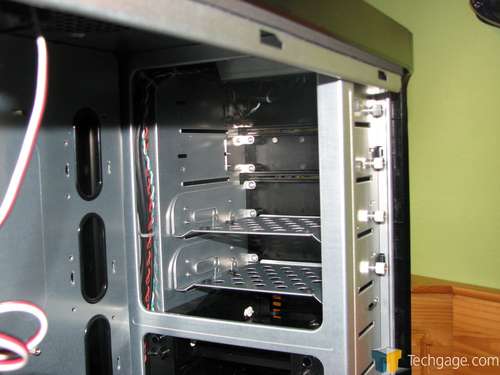
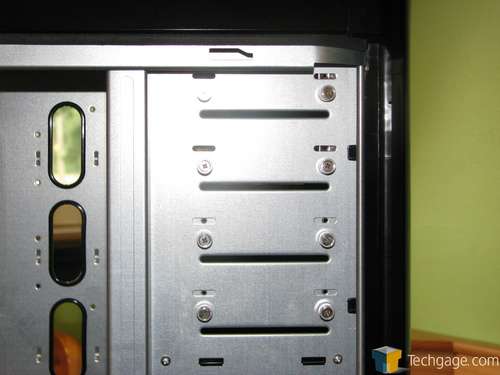
There are four 5 ¼” media bays available and two come with convenient 3 ½ adapters to allow us to install 2 hard drives up here. I find this a very nice addition since most of us will never mount more than 2 DVD drives while many of us will install as many hard drives as we can.
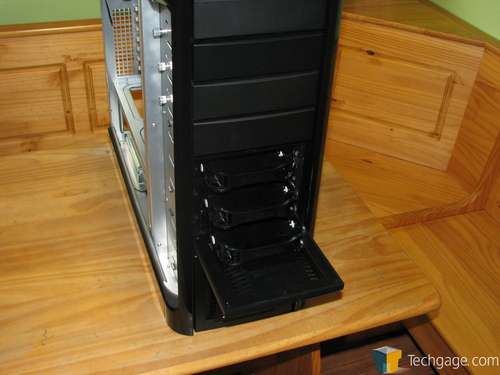
There are two flip-down doors on the front panel that are activated with a simple push giving us access to the hard drive removable cages. A push on the clip and out slides your drives.
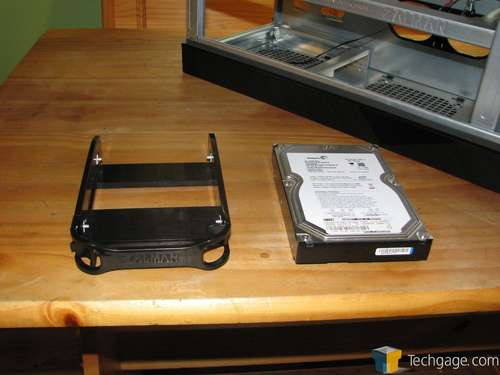
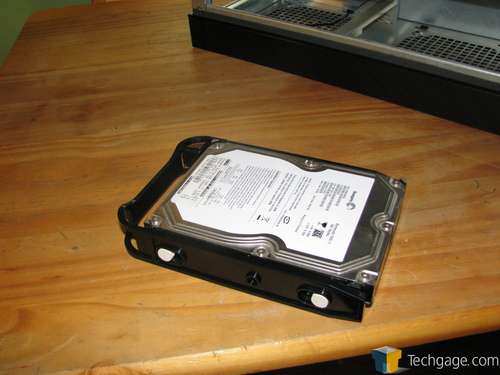
Mounting your drives into the cages is also a simple task of pushing two buttons on the bottom and sliding the drive in. First we take out a cage and ready it for the install.
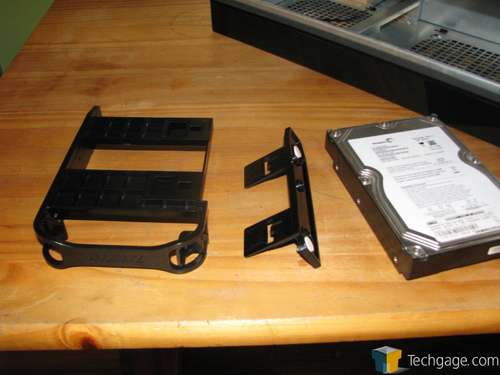
Next, we separate the side which allows the installation. The pins that attach to the drive are suspended in rubber to help isolate noise and vibration too.
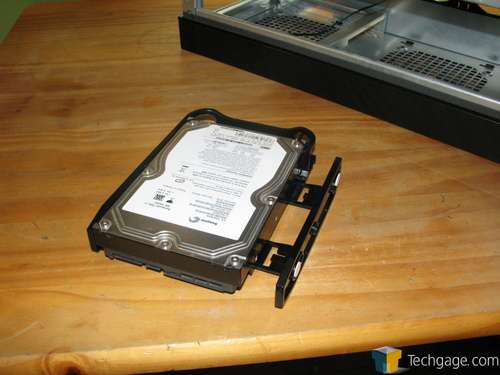
Slide in the side rail and you are done. I really like how easy this system makes the hard drives to handle. I have dealt with many tool-less systems over the years and I do think this one is one of the better ones.
Now the drive is ready to be installed in any of the six slots in the front panel. The drive positively locks in and there is no danger of it slipping out until you are ready to take it out.
Once we install the feet on the case, we take a close look at the wire management system. There are plenty of slots with protective edging to slot the systems wiring. I was less than impressed with the plastic edging as it was relatively easy to dislodge and felt cheap as well. Rubber would have been a much better and safer material to use.
The DVD drives are secured with spring-loaded thumb screws. They were easy to use and made it simple to install any drives. This is a very nice touch and I would like to see more of this in other cases.
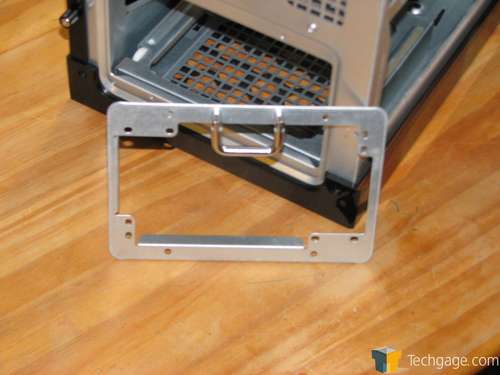
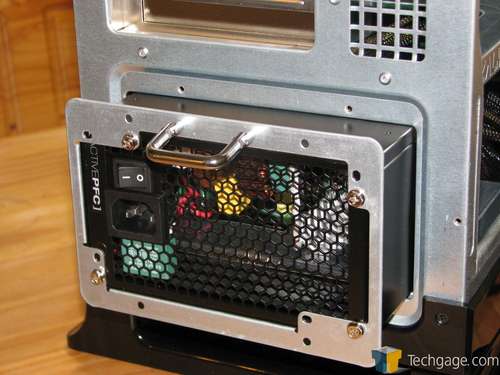
The power supply gets a removable face place for installation. It allows for us to mount in either direction and it also makes it simple to install the PSU as well.
Here is the only spot on the whole case that I actually needed a screw driver. I really would have like to see 4 thumbscrews included here as well. One small detail like this should not be overlooked – not on a $200 chassis.
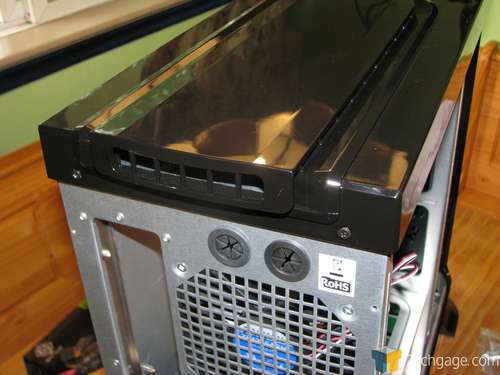
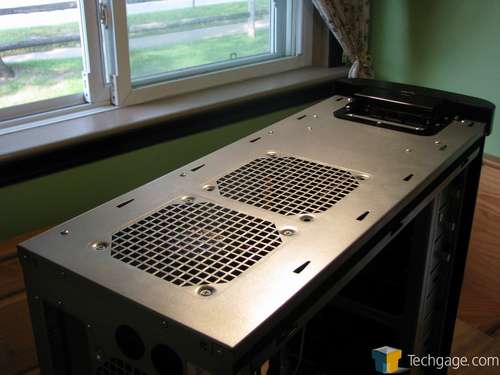
There are grommets for water-cooling lines on the top rear of the case as well. You should also not the venting in the top panel for the dual 120mm fan holes. I really like this feature since it allows you to exhaust the case in the hottest spot with ease. Unfortunately I was once again disappointed in the fact that there was only one fan pre-mounted in the roof of the case.
With the top panel removed, we see the fan arrangement. I did not have a dual 120mm water-cooling radiator available to test mount, but you would have little-to-no problems internally mounting it.
With that look all taken care of, let’s get some hardware installed!
Support our efforts! With ad revenue at an all-time low for written websites, we're relying more than ever on reader support to help us continue putting so much effort into this type of content. You can support us by becoming a Patron, or by using our Amazon shopping affiliate links listed through our articles. Thanks for your support!


