- Qualcomm Launches Snapdragon 4 Gen 2 Mobile Platform
- AMD Launches Ryzen PRO 7000 Series Mobile & Desktop Platform
- Intel Launches Sleek Single-Slot Arc Pro A60 Workstation Graphics Card
- NVIDIA Announces Latest Ada Lovelace Additions: GeForce RTX 4060 Ti & RTX 4060
- Maxon Redshift With AMD Radeon GPU Rendering Support Now Available
Zalman Reserator 1 V2 and Fan Kit
Water cooling has a lot of benefits. First off it’s more effective, water removes heat close to ten times better than air. Secondly it’s generally quieter, this is owed to waters better thermal capacity and the fact that the radiators used have way more area than a simple HSF does. Today we take a look at an un-traditional water cooling system that’s about as quiet as you’ll ever get.
Page 6 – Installation Cont.
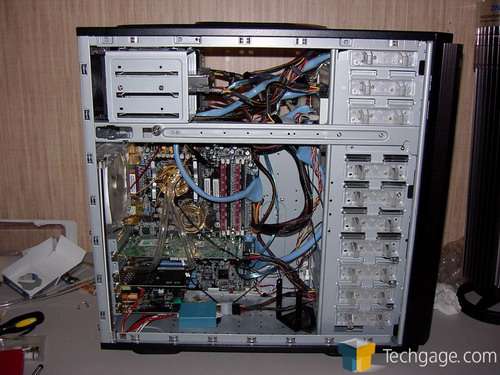
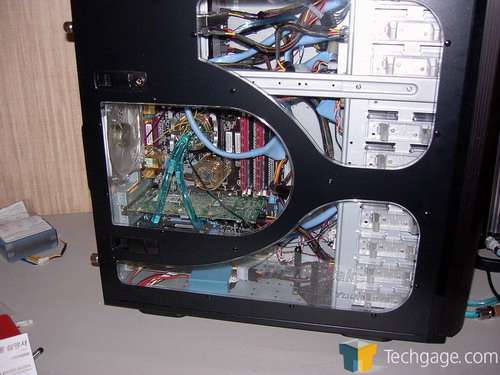
After the blocks are mounted install the graphics card into the case and begin routing the tubing. Start by attaching one end of the tubing to the GPU block after passing it through the pass-thru plate (which is also installed). After that measure the length of tubing needed to reach from the CPU block to the GPU block by holding the free end of the tubing up to the blocks. Cut to length then attach them. After that feed the other end of the tubing through the pass-thru plate and attach it to the input on the CPU block. This leaves the tubing in a loop as I’ve demonstrated in the second picture. The reason behind this is so that you can pull the tubing taut and cut it in half giving you the same amount of tubing for each side.
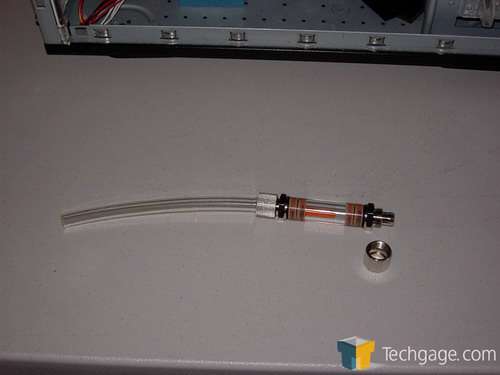
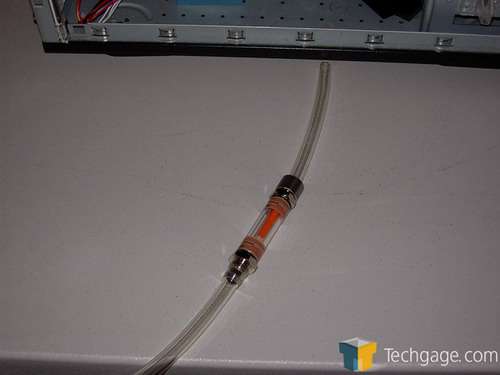
To install the flow meter you want to lay it next to the tubing going to the CPU inlet with the caps off, measure the length of the body in the tubing then cut that section of tubing out. This keeps the overall length of the tubing the same. After that push the tubing on the fitting and screw the cap on. The cap acts as a clamp holding the tubing in place. Make sure to slide the cap on the tubing half that’s going into the PC first and also put the flow meter in place with the arrow pointing towards the PC. This will stop the flow meter from acting as a valve and clamping the flow off.
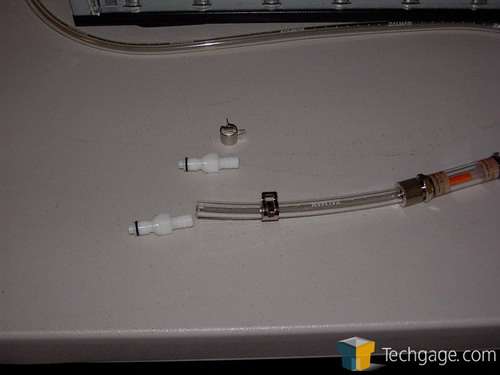
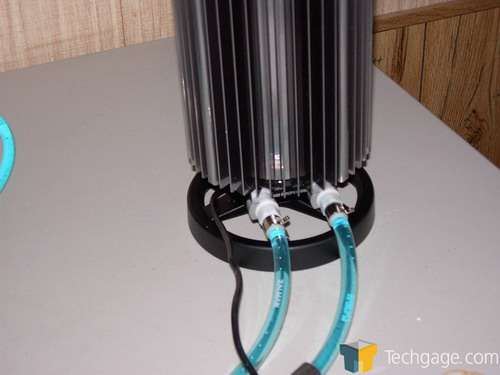
After you’ve installed the flow meter you install the quick disconnects and plug them into the Reserator. Make sure to plug the one with the flow meter into the port labeled "out". After that fill up the Reserator with your water and coolant then plug in the power and switch the pump on. Let it run for a few hours and check for leaks before powering up the PC. Zalman recommends an hour, I say go for at least 8hrs. Pull on the tubing a bit where it goes onto the fittings to make sure you’ve got good connection there that won’t start spewing water the first time you need to move something in your case.
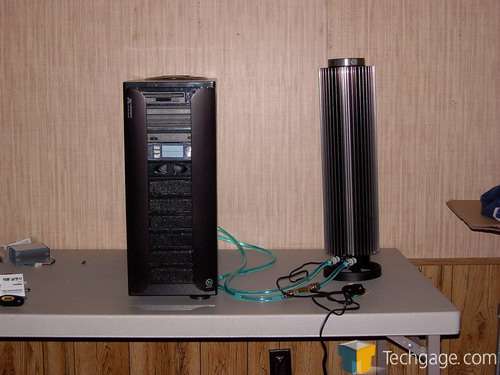
After it’s all said and done the Zalman is a very svelte setup that adds a minimal amount of clutter to your PC. To move your PC you only need to unplug the quick disconnects, pop the tubing loose and wander off with the case then come back and get the Reserator. Overall the setup is pretty painless and should be done by the average enthusiast in a couple of hours and by a water dog in under an hour. Overall it took yours truly 2 hours to install and I had to strip out my integrated loop, un mount the motherboard and put the retaining bracket back on the motherboard then remount it.
|
|
Support our efforts! With ad revenue at an all-time low for written websites, we're relying more than ever on reader support to help us continue putting so much effort into this type of content. You can support us by becoming a Patron, or by using our Amazon shopping affiliate links listed through our articles. Thanks for your support!


