- Qualcomm Launches Snapdragon 4 Gen 2 Mobile Platform
- AMD Launches Ryzen PRO 7000 Series Mobile & Desktop Platform
- Intel Launches Sleek Single-Slot Arc Pro A60 Workstation Graphics Card
- NVIDIA Announces Latest Ada Lovelace Additions: GeForce RTX 4060 Ti & RTX 4060
- Maxon Redshift With AMD Radeon GPU Rendering Support Now Available
Zalman Reserator 2 Fanless Water Cooling
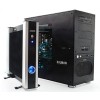
Sporting a longer box design rather than the slender tower, the Reserator 2 provides far more surface area than its older brother. With Matt’s opinion of the first generation product in mind, we are now set to work with the second round of liquid cooling from Zalman. Can the new design improve on performance over the original product? Let’s take a closer look to find out.
Page 2 – Waterblocks
Included in the bundle is a pair of water blocks. One block is for the CPU while the other one is intended for, you guessed it, the GPU. Zalman also offers blocks for the motherboard chipset as well as one for your video card’s RAM. In this review, due to the limitations of the hardware, only the CPU water block will be used. More on this later though.
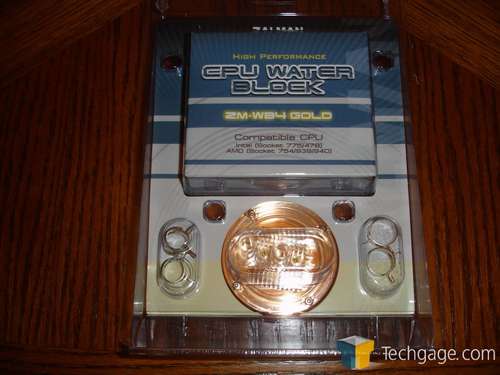
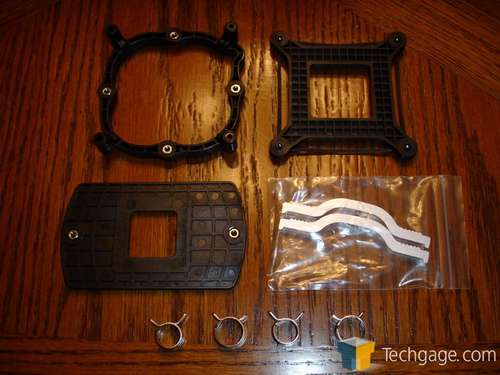
To start off with, the CPU water block comes in its retail packaging as well. The package is colorful, informative and easy to open. Included with the block are all the necessary adapters for AMD socket 939, 940 and AM2 as well as Intel’s 478 and vastly popular 775. Also included is a set of clamps to hold the tubing securely around the inlet and outlet on the top of the water block itself.
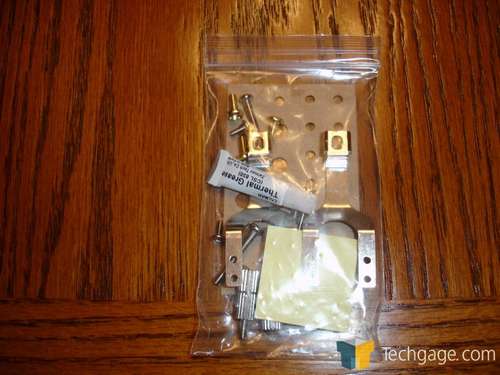
Along with everything else, there is also a kit of paper washers for the motherboard bolts, some Zalman thermal paste as well as the adapters to hold the waterblock down on the CPU.
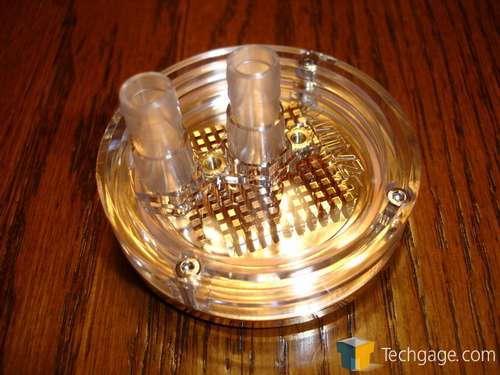
The waterblock itself consists of a pure copper base and a clear plastic top. The copper is coated with gold to prevent corrosion but this also gives the block an incredible look with an almost perfect mirror finish. On the inside of the block, Zalman has designed it with rows of small cube shaped towers to increase the surface area greatly. This will allow more water to flow over more area of the block, taking more heat with it as it does.
As with any water block, the inlet should be in the middle with the outlet being the nozzle closer to the side. This allows the incoming water to flow directly onto the center of the CPU, presumably where the most heat is being generated, thus resulting in a better cooling effect.
Flanking the center nozzle, 2 small threaded holes can be seen. These are where the mounting brackets are attached to the block itself.
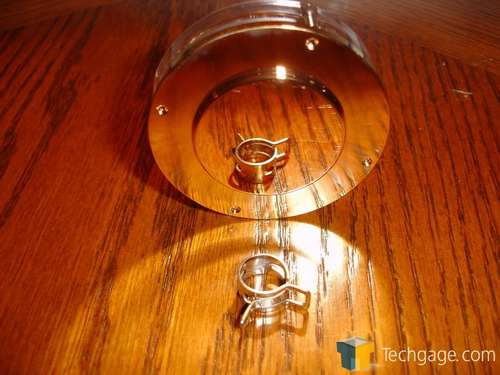
The following picture is a prime example of the near perfect finish that Zalman has machined the base of the waterblock to. With the tubing clamp just in front of the block, an almost perfect reflection can be seen. Kudos to Zalman for taking the effort and going the extra mile.
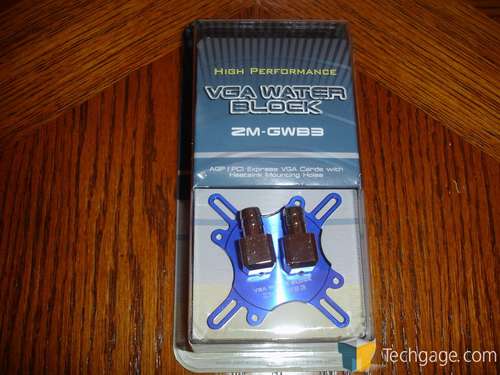
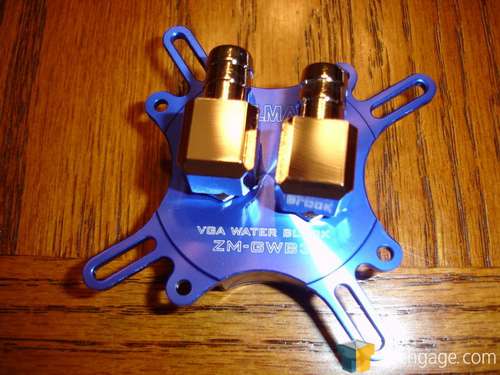
The GPU waterblock, while not as attractive as the CPU block, is a solid piece of hardware none the less. With a blue anodized aluminum top and a silver aluminum bottom, the ZM-GWB3, as Zalman so lovingly refers to it as, fits almost every video card known to man. While not listed on their site, we cannot say with 100% certainty that this block will fit on NVIDIA’s series 8 cards.
Also coming in the retail packaging, the ZM-GWB3 was built for kits like this in mind.
Being a GPU block, the barbs cannot come straight out of the top. This is solved with a pair of 90 degree angles that allow the user to run a line from their CPU, around the side of the video card and then into the GPU block itself. This also makes the entire setup slimmer, allowing it to fit into spaces without taking up any more slots than it has to.
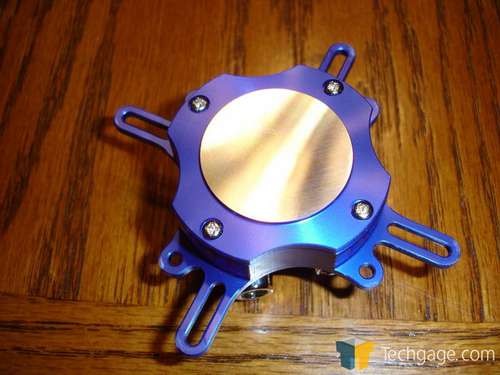
As we can see, there wasn’t near as much attention paid to the GPU waterblock as there was to the CPU. The bottom surface is smooth, but not near as much as it’s CPU cooling counterpart. While this isn’t a huge deal, the difference between the two, appearance wise, is night and day.
|
|
Support our efforts! With ad revenue at an all-time low for written websites, we're relying more than ever on reader support to help us continue putting so much effort into this type of content. You can support us by becoming a Patron, or by using our Amazon shopping affiliate links listed through our articles. Thanks for your support!


