- Qualcomm Launches Snapdragon 4 Gen 2 Mobile Platform
- AMD Launches Ryzen PRO 7000 Series Mobile & Desktop Platform
- Intel Launches Sleek Single-Slot Arc Pro A60 Workstation Graphics Card
- NVIDIA Announces Latest Ada Lovelace Additions: GeForce RTX 4060 Ti & RTX 4060
- Maxon Redshift With AMD Radeon GPU Rendering Support Now Available
Building A Modest PC For The Professional Photographer
A couple of months ago, my sister’s PC of five years gave up the ghost. If five years doesn’t sound too impressive for the lifespan of a PC, it should help to know that the PC was actually a hand-me-down, having been used by my mother for a handful of years prior to my sister adopting it. When a build has an Intel Core 2 Q6600 (remember that one?), there’s no room for disappointment: just fuel to get another PC built.
Naturally, being the family member with system components kicking about, my sister tasked me to build her a new PC. The requirements were simple, for the most part. My sister is a photographer, and thus makes heavy use of Adobe Photoshop and Lightroom. Fortunately, as advanced as image editing can get, even the roughest scenarios are light in comparison to others, like high-end gaming or video editing.
It seemed obvious from the get-go that this should be an AMD-based build, because the ultimate goal was to build a system that offered the best bang for the buck. Fortunately for my sister, I had certain parts kicking around that I no longer needed, so she ended up building this for much less than most would. I’d anticipate that the entire build cost shouldn’t exceed $500 for one of this caliber. There are exceptions in this particular case only because I had parts to contribute. Without further ado, the build is:
| Photographer PC Specs | |
| Processors | AMD A10-7860K (4-core) |
| Motherboard | GIGABYTE F2A88X-UP4 |
| Memory | Corsair Vengeance (2x4GB) |
| Graphics | PowerColor Radeon R9 380 4GB |
| Audio | Onboard |
| Storage | Corsair Neutron XT 240GB SSD Seagate 2TB Hard Drive |
| Power Supply | Corsair CX500M |
| Chassis | Corsair Carbide 330R Mid-Tower |
| Cooling | AMD Wraith Air Cooler |
| Et cetera | ASUS DVD-RW ODD |
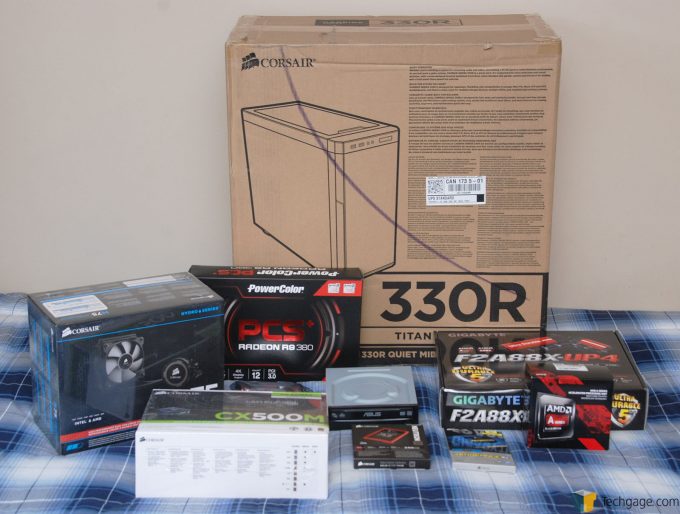
You might notice that in the top photo, a Corsair liquid cooler sits. Yet, it’s not listed in the table. This is due to the fact that I wasn’t thinking straight, as from the get-go, I had planned to give AMD’s Wraith cooler (our look) a long-term test with the help of this PC. So, between the time I shot the photo and built the rig, the liquid cooler was deemed to be overkill and was replaced with the Wraith, seen below:
Everything else in the build remained the same. I should note that the graphics card chosen was specifically included only because I had it as a spare. Ordinarily, a PC built for the purpose of photography could get by without a discrete card at all, and would soar with any modest modern one. A card like NVIDIA’s GeForce GTX 950 or AMD’s upcoming Radeon RX 460 would be a perfect fit in a build like this.
What really impressed me most about this build wasn’t how cheaply it could be built, but just how high-end the entire thing felt despite being a “modest” build. The chassis helped out a lot with that. It’s Corsair’s Carbide 330R, and truly floored me with its quality. Check it out:
This ~$100 chassis isn’t brand-new, but it remains popular for some great reasons. For starters, it’s an absolute breeze to build inside of. This is one build where nothing turned into a roadblock – it was all a cinch. The chassis conveniently offers its USB and audio ports at the top front of the chassis, and hides the optical drives behind a door (which is integrated so well, it wasn’t until my sister needed to burn a DVD that she realized there was a door at all!).
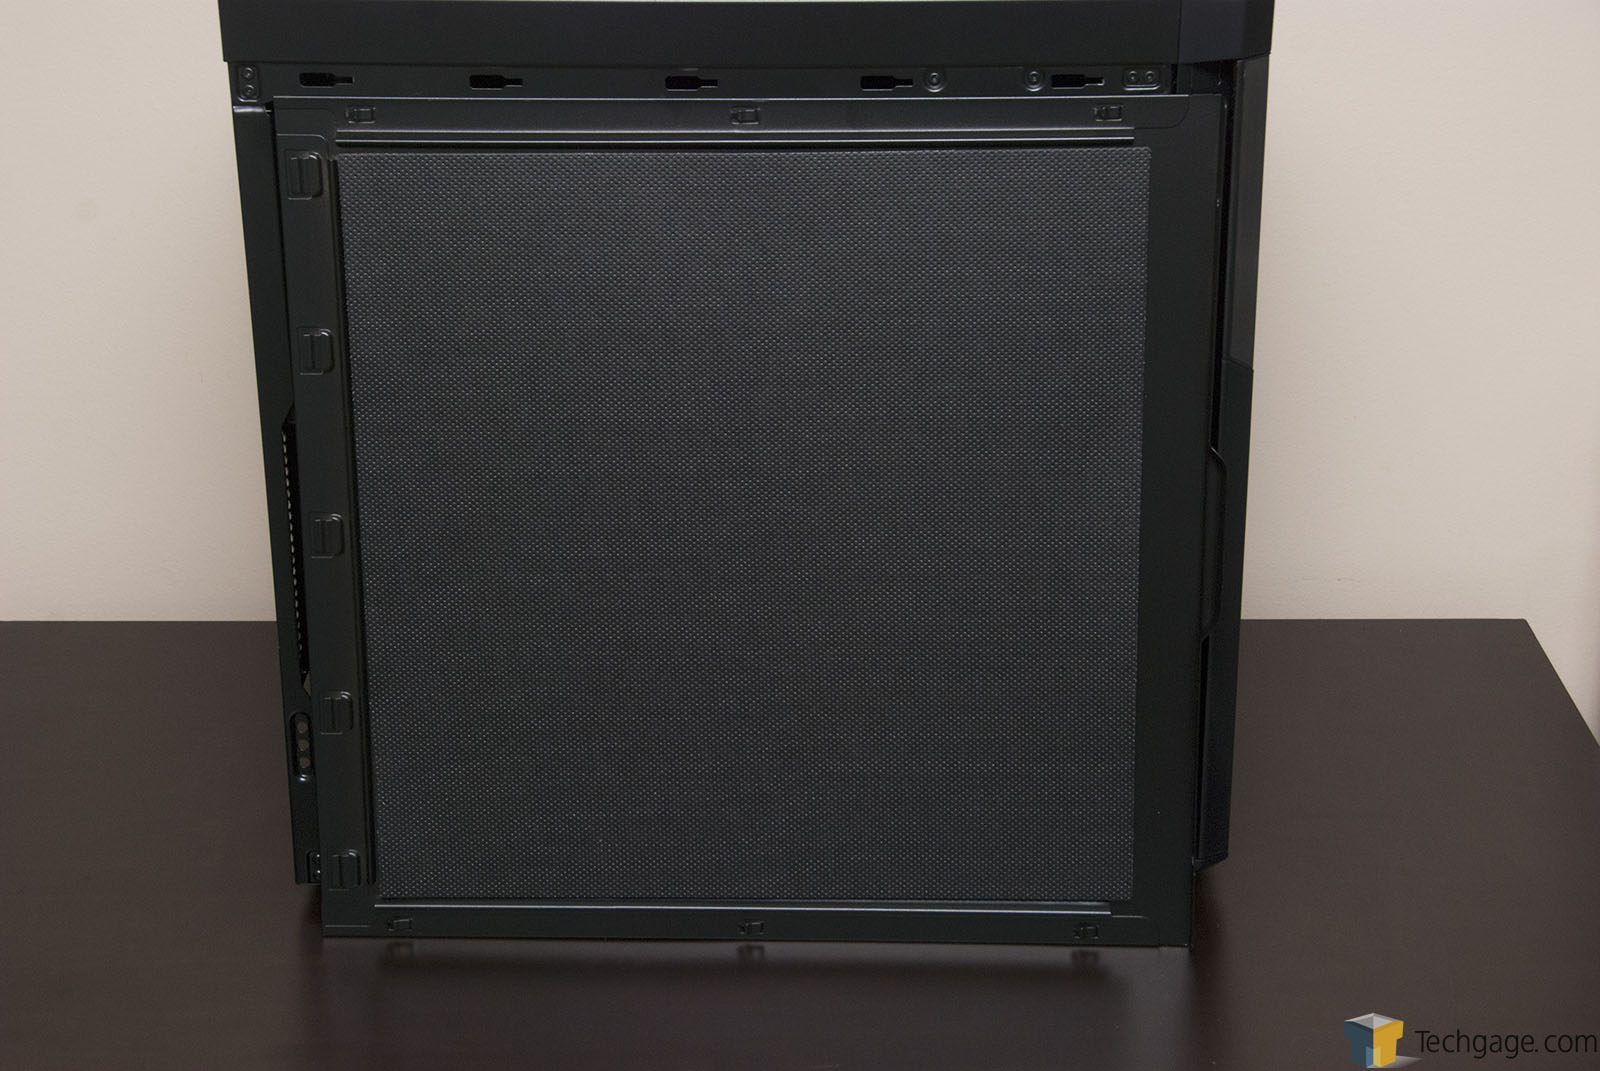
What really made me love the 330R is the fact that it’s kitted out to the nines with sound dampening material. Both sides of the chassis are lined with it, and so is a top removable piece. There’s even sound dampening behind the door at the front. What’s this all mean? It means that when the PC is turned on, you’d be hard-pressed to even hear it. Yet again, this was another thing that led my sister to some confusion: it’s a weird sensation to turn a PC on and simply not hear it. At one point I ended up turning it off because I didn’t realize it was on (it was the monitor that was off).
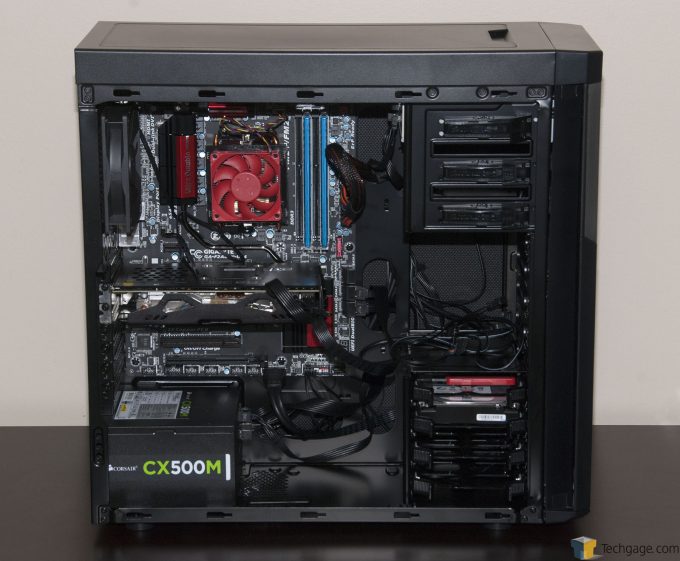
The completed build:
Overall, this build was quite straight-forward to put together, although I did have an initial issue with the SSD that required me to get an RMA (the first such issue I’ve ever had). Once that was resolved, the build performed like a dream.
It’s not worth getting into performance too much here since this was just a quick build for a family member, and as this was built a couple of months ago, its performance won’t matter that much given the R9 380 is about to be replaced with a new AMD Polaris card. I am confident though that if you are really on a budget, and you can build a great-performing PC for around $500, thanks especially to the affordable AMD CPU and motherboard options that are out there.
If you’re building a PC which won’t do anything more strenuous than edit photos, you could get by just fine without a discrete GPU, which will save a good chunk of money. Otherwise, as mentioned above, there are less expensive options that would serve your purposes just fine, such as the upcoming Radeon RX 460, which we expect will cost around $125 and should be able to power 1080p gaming like nobody’s business.
As mentioned above, I chose AMD’s Wraith cooler for this build because I wanted to give it a long-term test, and there’s no better way to do that than by installing it in the PC of someone who couldn’t care less about what’s inside that PC. If something goes wrong, I’ll be the first to hear about it!
When all said and done, I can’t really find a complaint about this build, or wished I did something differently. What I did find out is that it’s easy to build a great-looking, good-performing, and affordable PC. In some ways, this PC is a bit overkill for its use, but that should hopefully mean that it will serve my sister’s purposes for quite a while (aka: increase the time it takes to be tasked to build another!).


