- Qualcomm Launches Snapdragon 4 Gen 2 Mobile Platform
- AMD Launches Ryzen PRO 7000 Series Mobile & Desktop Platform
- Intel Launches Sleek Single-Slot Arc Pro A60 Workstation Graphics Card
- NVIDIA Announces Latest Ada Lovelace Additions: GeForce RTX 4060 Ti & RTX 4060
- Maxon Redshift With AMD Radeon GPU Rendering Support Now Available
An In-Depth Look at Fedora 15

Fedora has long been touted as being one of the most professional, stable, cutting-edge distros out there, and seeing as though its latest version brings GNOME 3 along for the ride, I couldn’t help but download and install it. I’ve since used Fedora 15 for an entire month, so read on as I take a look at this release from all angles.
Page 2 – Installing Fedora 15
Catering to both the novice and the professional, Fedora’s Anaconda installer makes the process of copying over the required bits to your hard drive a painless one.
Like most things Linux, there isn’t just one Fedora download option available. The ‘Default’ includes the GNOME 3 desktop, while additional ‘Spins’ include others; KDE, LXDE and Xfce. Also available are bulkier DVDs that include a lot more software, weighing in at about 3.4GB for both the x86 and x64 editions.
For even more specific needs, the official Fedora Spins page lists a couple of extra niche choices; Security, Electronic Lab (specialized for hardware design and simulation), Games and also Design Suite.
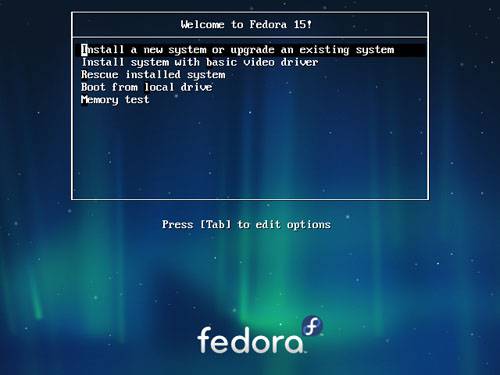
Upon booting up with one of the discs, you’ll see a screen like this:
The options listed here will differ depending on the version of the ISO you downloaded. The screen above is taken from the DVD x64 edition, while the ‘Default’ CD edition will not feature options to go straight to the installer, but rather go to the Live CD environment first for a richer experience.
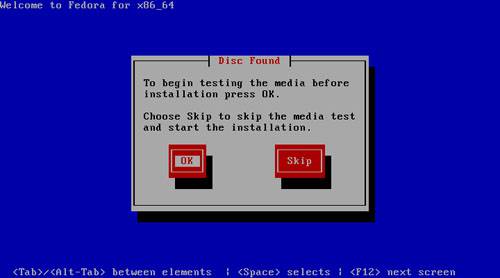
One of the features that sets Anaconda apart from most other installers is that it asks you up-front if you’d like to test the install media for faults, which is something I always recommend unless you just burned the CD and are confident in the result – or even not, just to be safe. It may not seem like a big deal, since if it installs it shouldn’t matter, but it could matter. I’ve had distros seemingly install fine only to discover burn-related issues not long after (I’ve had the same with Windows).
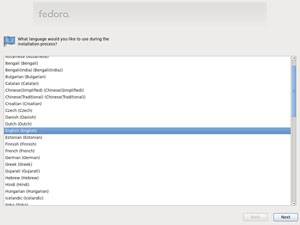
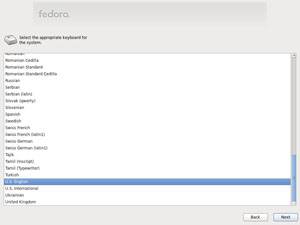
The first prompted options involve selecting both a language and keyboard layout.
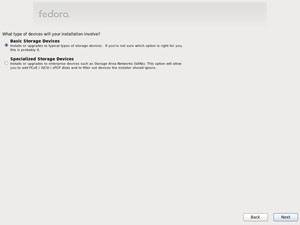
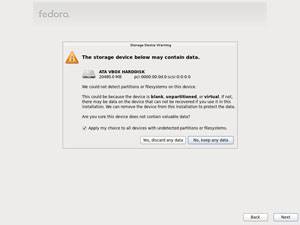
The next screen is where the “professional” comes in, with a choice of installing to advanced storage devices such as iSCSI or FCoE. The vast majority of users are fine to leave the default blank… you know if you need the second option. After choosing it, you’ll be prompted to prep the hard drive if no partitions exist.
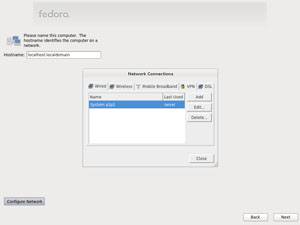
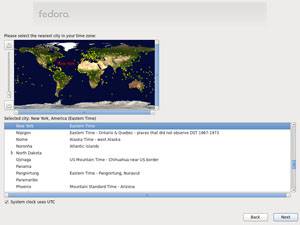
You’ll then be able to choose a better name than ‘localhost.localdomain’ for your hostname and also take the opportunity to configure your network. Unfortunately, the Fedora installer doesn’t seem to have taken a card from Canonical’s Ubiquity installer and choose your timezone for you (requiring Internet connectivity), but it doesn’t take much effort to either click your location on the map or select it from the list. After clearing these two screens, you’ll be required to enter a root password before continuing on.
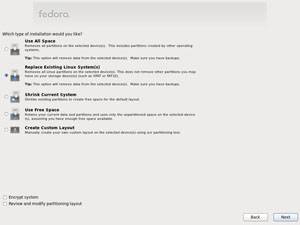
Onto the good stuff – partitioning! Novice or not, the partitioner is the part of any Linux installer (or any OS installer for that matter) where attention must be paid, else catastrophic results can occur. If you’re installing Fedora to a completely blank hard drive, then ‘Use All Space’ can be chosen. If you are looking to replace a currently-installed version of Linux, the ‘Replace Existing Linux System(s)’ option will take care of that.
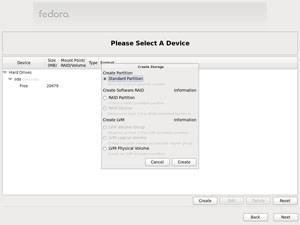
In the event you have multiple hard drives, the best idea is to choose the custom layout option, where your tweaking options will allow you to configure things just the way you want. After choosing any option, Anaconda will prompt to ask you whether or not you want to setup a standard partition (suitable for most people), a software RAID, or a logical volume (LVM).
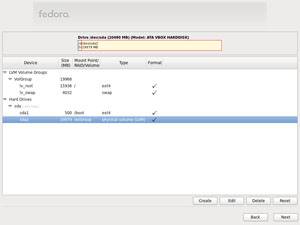
Once at the partition configuration screen, you’ll be able to create and modify partitions to your heart’s content. If you’re a novice Linux user and not all-too-familiar with partitions, I’d recommend creating a 500MB ext4 with /boot mounted to it, an 8GB linux-swap, and then an ext4 or Btrfs mounted to / that uses the remainder of the space. If you did not make free space available on your hard drive prior to running the installer, I recommend instead using a tool such as GParted (available on the live CD) to make your changes, since it’s a much easier partitioning tool to use than Anaconda.
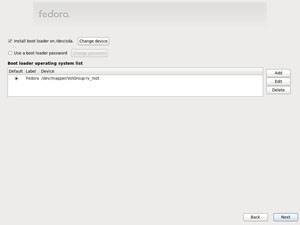
Once your configuration is OK’d, you can choose which drive you want to install the GRUB boot-loader to – usually fine to be left default.
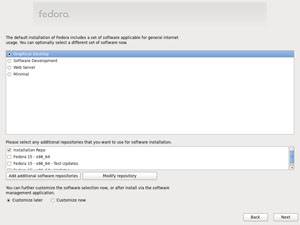
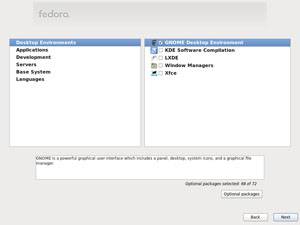
Alright… I lied earlier. This is where the fun begins. Here, you can choose which software base you’d like to use for the OS. If you’re a software developer, the option is here for that, and ditto for the other options. Once a selection is made, you can click on “Customize Now”, which will give you fine-tuning options once you continue onto the next screen.
For those looking to just get the install over with, you can simply leave the options default. Once you reach the desktop, you can install anything you like. Doing it here simply saves you some time.
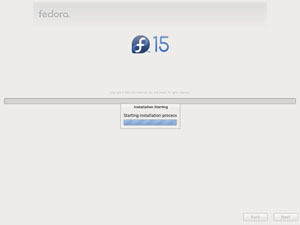
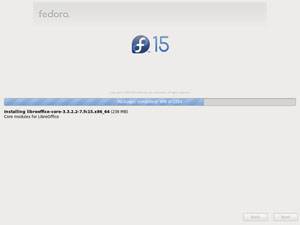
At this point, you’re pretty much near the end. Depending on the number of packages you chose on the earlier screen, installation could take a couple of minutes or a half an hour.
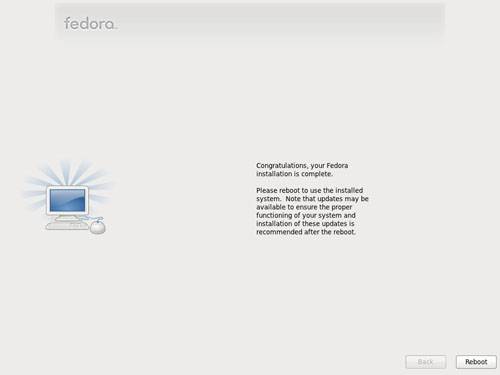
Fin! Time to reboot.
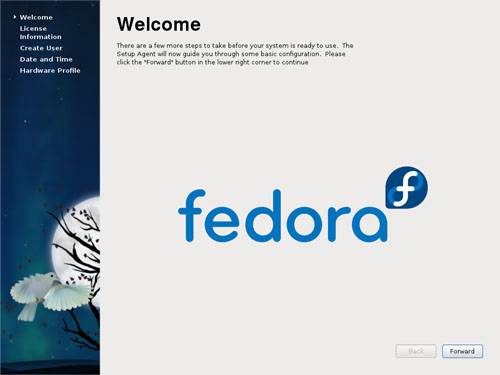
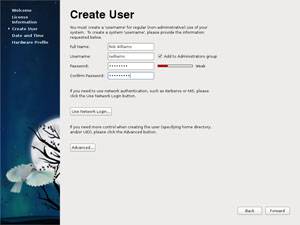
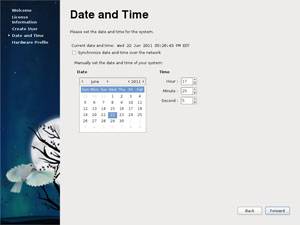
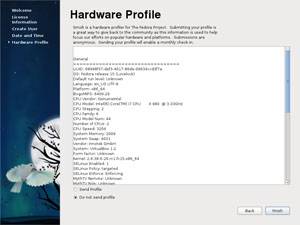
On the first boot into your live environment, Fedora will prompt you with a couple of simple questions, such as your name, username, password and also the date and time. For those wanting to make sure their time is always accurate, you can choose the ‘Synchronize date and time over the network’ option on its respective screen. This will keep your time in sync based on your timezone choice.
I’m not sure I’d call Anaconda one of the ‘best’ installers out there, since most of them are quite good, but it’d be right up there. The only real complaint I have is that its partitioner can be a bit flaky, but aside from that, it’s powerful, simple to use and offers quite a bit of flexibility.
Support our efforts! With ad revenue at an all-time low for written websites, we're relying more than ever on reader support to help us continue putting so much effort into this type of content. You can support us by becoming a Patron, or by using our Amazon shopping affiliate links listed through our articles. Thanks for your support!


