- Qualcomm Launches Snapdragon 4 Gen 2 Mobile Platform
- AMD Launches Ryzen PRO 7000 Series Mobile & Desktop Platform
- Intel Launches Sleek Single-Slot Arc Pro A60 Workstation Graphics Card
- NVIDIA Announces Latest Ada Lovelace Additions: GeForce RTX 4060 Ti & RTX 4060
- Maxon Redshift With AMD Radeon GPU Rendering Support Now Available
eVGA nForce 680i SLI
eVGA has released numerous motherboards in the past two years, but we are going to take a look at their most recent top offering, the nForce 680i SLI. Coming from a company who knows how to cater to enthusiasts, will the board leave us impressed like their graphics cards do?
Page 3 – The BIOS
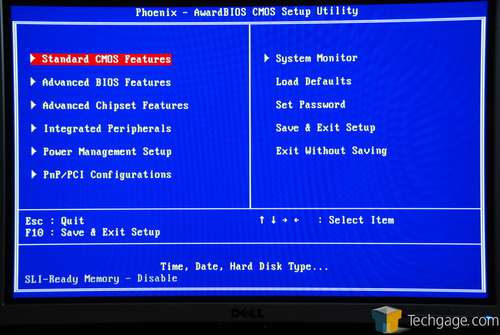
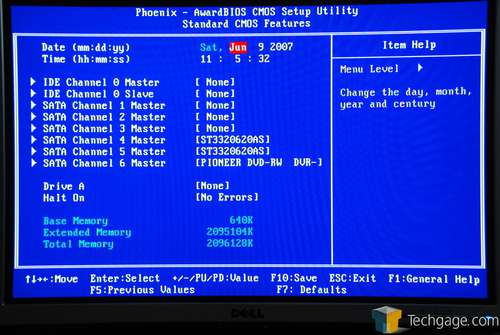
eVGA knows that a good fraction of customers who buy their board are interested in overclocking, so it’s no surprise that the BIOS reflects that. Before we move into our performance reports, we will take a stroll through the BIOS to see all that it offers. The first few screens need no introduction.
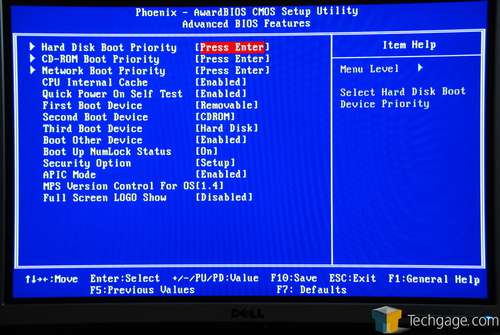
Under the Advance BIOS Features menu, you are able to set boot devices, priorities and also enable the full screen logo, if you prefer it.
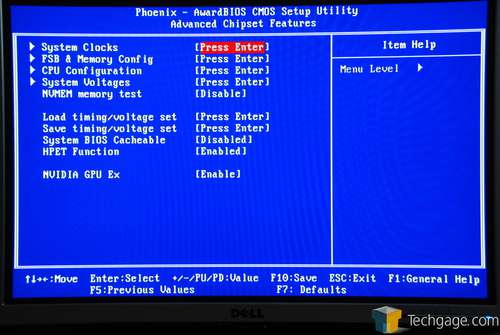
Advance Chipset Features is where you will find all of the overclocking and tweaking options. Everything is split into different sections. On the main page here, you can save your overclocking profiles with the Save timing/voltage set. It’s not as blatantly obvious as on other boards, but it’s here.
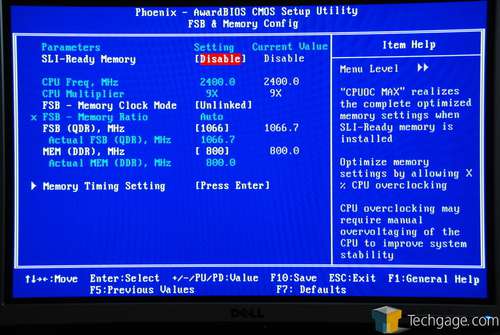
As with most recent 775 boards, eVGA’s 680i offers a wide range of overclocking headroom. On the FSB & Memory Config, you can enable EPP memory and also adjust your FSB and memory frequencies. You have an option to keep it Linked, Auto or Unlinked, which is of most interest.
Unlinked allows you to manually select FSB and MEM differently, so that your memory will not hold back a CPU overclock. For example, if you are using 1600FSB but your memory won’t overclock alongside it, you can manually set the memories frequency and the board will select the ratio closest to it.
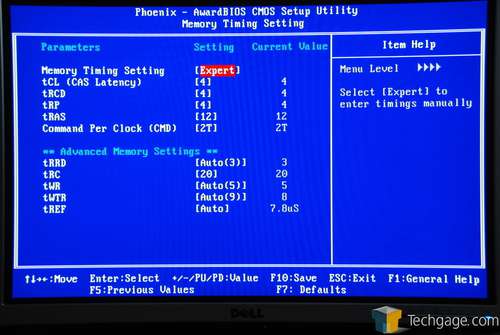
The sub menu here is to adjust your memory timings, which all of the common ones listed. It is by no way as in-depth as some other motherboards on the market, such as the DFI RD600, but it should get the job done.
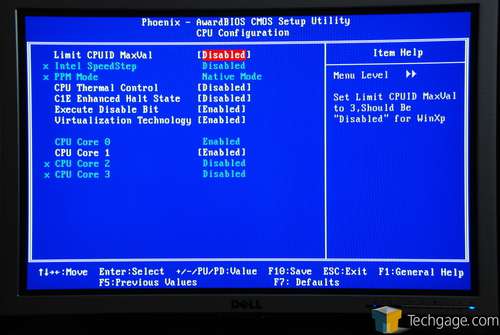
You will not likely be spending much time in the CPU Configuration screen, but if for some reason you wish to disable a core or two, you have the ability.
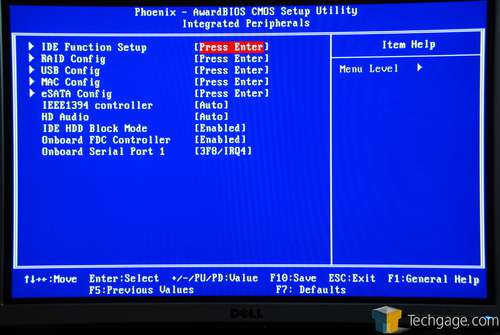
Under the Integrated Peripherals section you can set up a RAID, alter USB settings, config your eSATA and also disable or enable onboard audio, firewire and floppy controller.
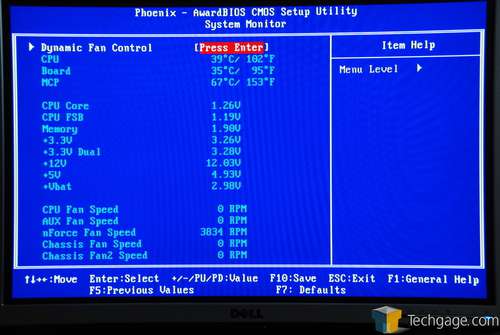
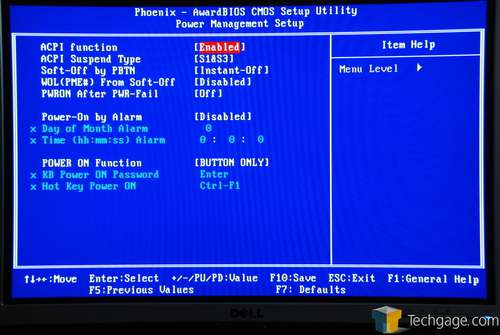
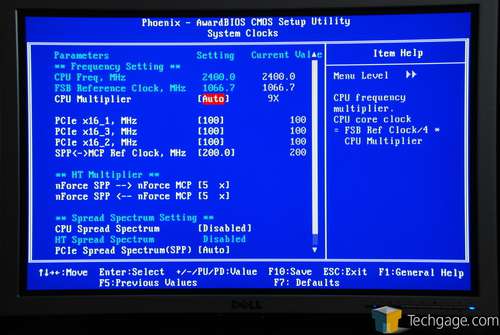
Here are a few more screens, the most important one being the System Clocks, where you can alter your CPU multiplier.
The BIOS on the board is not feature-packed, but it gives you all the necessary overclocking headroom to get things done.
|
|
Support our efforts! With ad revenue at an all-time low for written websites, we're relying more than ever on reader support to help us continue putting so much effort into this type of content. You can support us by becoming a Patron, or by using our Amazon shopping affiliate links listed through our articles. Thanks for your support!


