- Qualcomm Launches Snapdragon 4 Gen 2 Mobile Platform
- AMD Launches Ryzen PRO 7000 Series Mobile & Desktop Platform
- Intel Launches Sleek Single-Slot Arc Pro A60 Workstation Graphics Card
- NVIDIA Announces Latest Ada Lovelace Additions: GeForce RTX 4060 Ti & RTX 4060
- Maxon Redshift With AMD Radeon GPU Rendering Support Now Available
eVGA nForce 750i SLI FTW
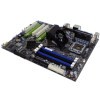
Need an SLI motherboard but have less than $200 to spend? No need to stress, as the 750i SLI chipset was designed with you in mind. We are taking a look at how eVGA put the chipset to good use in the form of their 750i SLI FTW board, which offers solid performance and overclocking-ability, in addition to great board design.
Page 2 – Checking out the BIOS
If there is one area where NVIDIA’s motherboards excel, it might be with overclocking. Although we haven’t had too many nForce-based boards in our labs in the past few years, the ones we have thoroughly tested have delivered what we were looking for in terms of overclocking. eVGA’s own 680i SLI was my absolute favorite overclocking board for quite a while, especially on the memory front.
The 680i SLI was an enthusiast board, however, and the 750i today is catered more towards the mid-range market. Well, as we saw in our look at the ASUS P5N-E SLI way back in December of 2006, NVIDIA’s ‘budget’ chipsets aren’t too limiting where overclocking is concerned. That board hit 500MHz FSB without much work, and for the given price-point of the board at that time, it was a stellar offering all around.
That said, while NVIDIA’s boards are nice overclockers, the BIOS’ tend to be nowhere near as robust as some seen with Intel’s latest chipsets. That might not matter for some, however, me included, but if you take overclocking seriously, Intel’s P45 or X48 chipset might be the route for you to take.
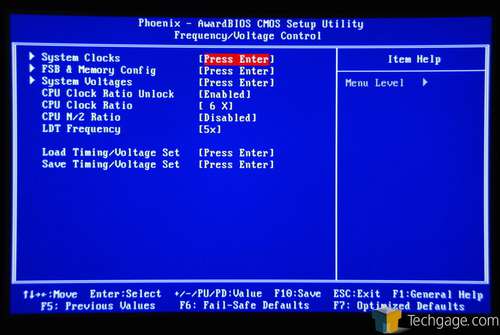
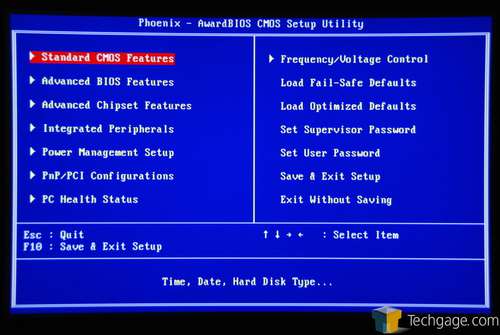
The first overclocking-related screen is simply the top-menu for the sub-sections, although the multiplier can be altered here. This is also the one-stop-shop for saving and loading overclocked profiles.
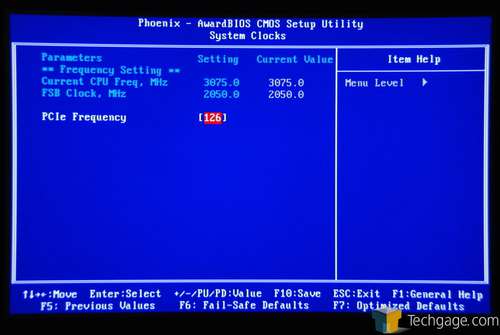
The first sub-menu in itself is not too interesting, but the fact that the default PCI-E frequency is 126MHz is. All Intel-based boards we’ve taken a look at recently have defaulted to 100MHz, so eVGA undoubtedly want to make sure that the beefiest of cards have the bandwidth and speed they’ll need.
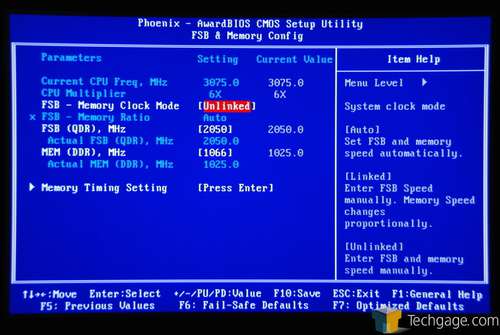
The second sub-menu is where the front-side-bus and memory frequencies are handled. One way that NVIDIA’s boards are different than others with Intel’s chipsets is that the FSB frequency displayed is the real value, not the simplified base value. This in itself is not an issue, but if you normally rely on the – and + keys to adjust values, it will take literally four times as long. Luckily, if your Num Lock is active, you’ll be able to simply type in the value you want.
I accidentally forgot to photograph the sub-menu here for memory timings, but the options are as follows: tCL, tRCD, tRP, tRAS and CMD. Secondary timings include tRC, tRRD, tWR, tWTR, tREF. As I’ve already mentioned, some other boards (with different chipsets) offer far more memory overclocking ability, but the options found here should suffice for all casual overclockers.
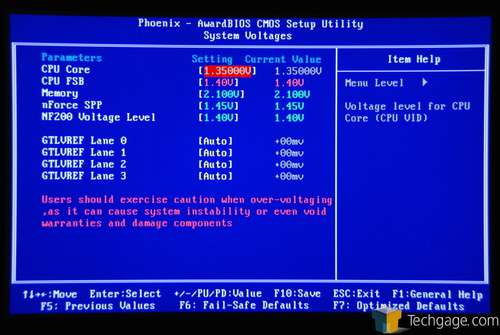
Where voltages are concerned, this board again delivers all of what most users will need. The most ‘hardcore’ of them all is the CPU voltage, which ranges between 0.5v – 1.8v, allowing insane underclocking and overclocking potential.
The other voltages include the FSB, which tops out at 1.45v, the SPP at 1.55v and the NF200, also at 1.55v. The DDR2 voltage ranges between the JEDEC standard of 1.5v all the way up to 2.5v.
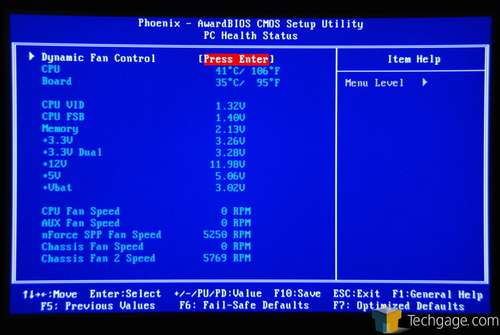
One thing I came to enjoy about this board was the fact that the PC Health section actually delivers more information than many other Intel-based ‘budget’ boards. Included are all the important voltages and fan speeds, and of course, the temperatures as well.
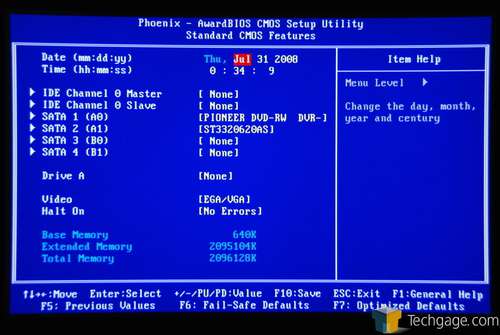
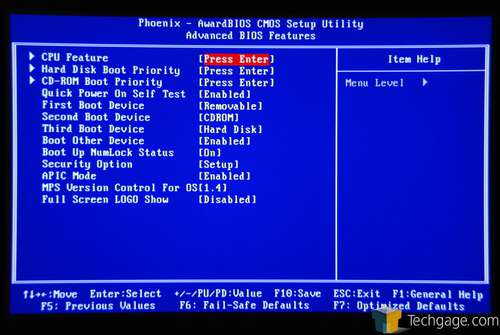
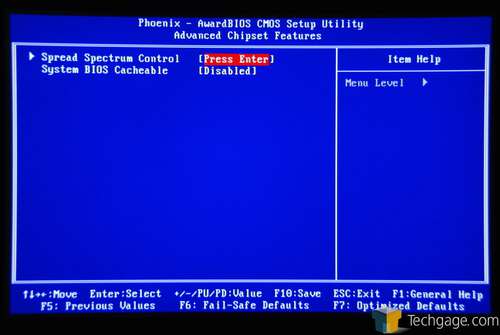
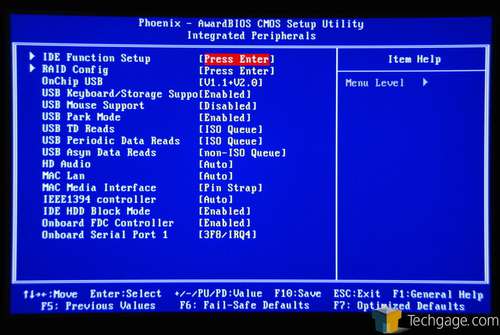
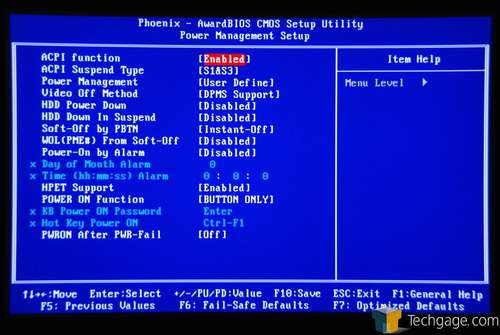
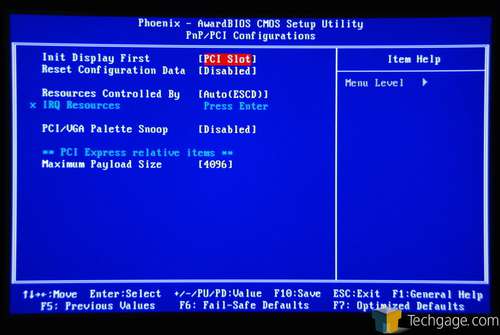
I’ll let the remaining pictures speak for themselves:
Before we tackle our performance results, we first present our test machine and methodology on the following page. If you have never read through it before, we highly recommend you do. If you have been reading our reviews for a while, you are good to skip to page four.
Support our efforts! With ad revenue at an all-time low for written websites, we're relying more than ever on reader support to help us continue putting so much effort into this type of content. You can support us by becoming a Patron, or by using our Amazon shopping affiliate links listed through our articles. Thanks for your support!


