- Qualcomm Launches Snapdragon 4 Gen 2 Mobile Platform
- AMD Launches Ryzen PRO 7000 Series Mobile & Desktop Platform
- Intel Launches Sleek Single-Slot Arc Pro A60 Workstation Graphics Card
- NVIDIA Announces Latest Ada Lovelace Additions: GeForce RTX 4060 Ti & RTX 4060
- Maxon Redshift With AMD Radeon GPU Rendering Support Now Available
In Need of Polish: Sentey Nebulus Gaming Mouse Review
A rough diamond is still a diamond, right? Well, not really. The bling-tastic stones women love are only really desirable after they’ve been shaped and polished. The same is true for PC components and peripherals. To see what we mean, read on for our look at Sentey’s Nebulus gaming mouse.
Page 2 – A Look at the Software
Per my usual practice, I’d like to remind our readers that the Nebulus works perfectly fine using just the generic Windows USB device driver. However, to take full advantage of all of the Nebulus’ features, you must download the correct software from the Sentey website.
At the very outset it must be said that the software component of the Nebulus isn’t the most robust in the world. This is certainly true when it is compared to most of its competitors. But it still is worthwhile to install the software, I think, just to be able to get the most out of the mouse.
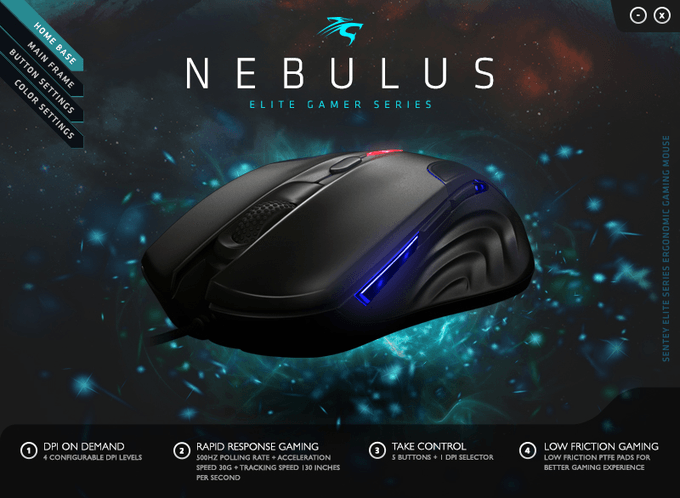
After installing the software, you’ll see the Home Base portion of the GUI. There’s really nothing of use here, to be perfectly honest, unless you want to be reminded of the Nebulus’ four most significant and salient features. It is quite good-looking, though, for whatever that’s worth.
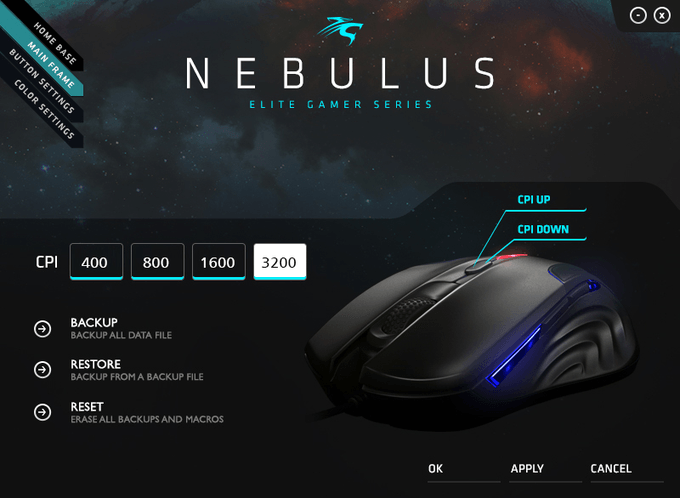
Main Frame is where you can see (but, strangely, not change) the four different CPI settings (400/800/1600/3200 DPI). You can, however, backup, restore, or reset the mouse’s saved profile settings from this part of the UI.
(As an aside, I find it very strange that Sentey would refer to the mouse resolution setting as both CPI and DPI. Most companies refer to this unit as DPI; SteelSeries is the only exception I know about, calling its version CPI. But Sentey uses both in reference to the same exact metric. It’s weird and, honestly, a bit confusing.)
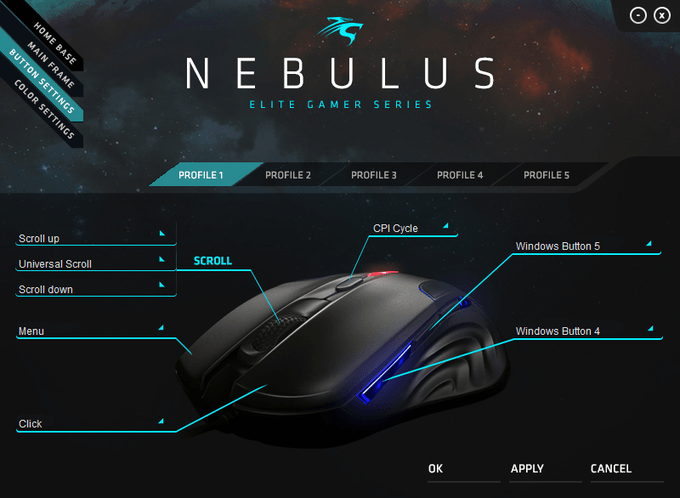
Button Settings, as the name suggests, is where you can assign different functions to the Nebulus’ buttons. Moreover, you can also program macro commands for each button in this section, as well as save your settings to one of five different profiles. The profiles are saved onto the host machine. This is indubitably the most feature-packed portion of the software.
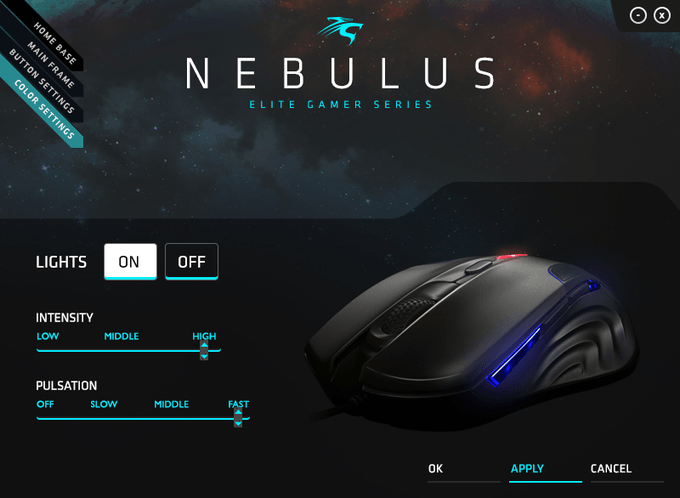
Finally, the Color Settings portion is where you can control the settings of the Nebulus’ LEDs. There is a global on/off switch for the lighting effects; if you want to keep the LEDs on, you can control both the intensity of their brightness as well as select from one of four pulsation effects.
That’s really all there is to the software package. It might not wow you because it doesn’t give you more control over the hardware (not as much as you might want or expect, anyway) than just the generic Windows USB device driver, but it’s very simple and straightforward. In other words, it’s quite basic.
Let’s wrap things up with some testing and final thoughts.
Support our efforts! With ad revenue at an all-time low for written websites, we're relying more than ever on reader support to help us continue putting so much effort into this type of content. You can support us by becoming a Patron, or by using our Amazon shopping affiliate links listed through our articles. Thanks for your support!


