- Qualcomm Launches Snapdragon 4 Gen 2 Mobile Platform
- AMD Launches Ryzen PRO 7000 Series Mobile & Desktop Platform
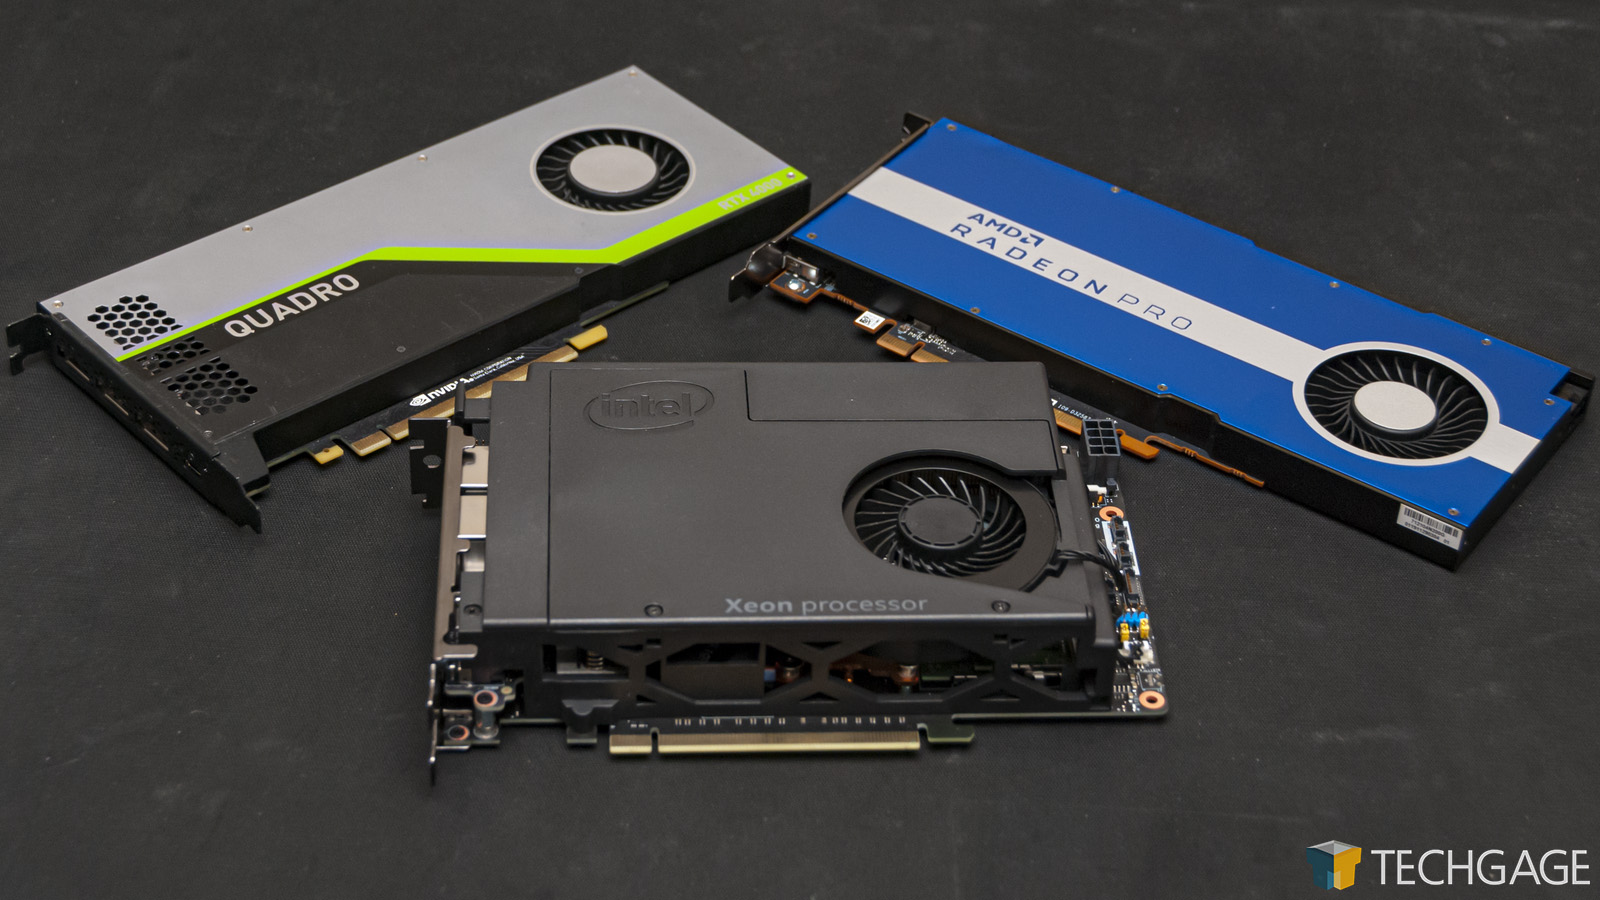
- Intel Launches Sleek Single-Slot Arc Pro A60 Workstation Graphics Card
- NVIDIA Announces Latest Ada Lovelace Additions: GeForce RTX 4060 Ti & RTX 4060
- Maxon Redshift With AMD Radeon GPU Rendering Support Now Available
Social & RSS Feeds
Latest Videos


Latest News
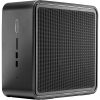
Intel NUC 9 Pro Quartz Canyon Workstation Review
by Rob Williams on May 5, 2020 in Processors, Systems
Intel’s NUC family has evolved a lot over the years, but the core goals remain the same: to deliver a lot of performance in a small form-factor. The latest NUC, built around the Quartz Canyon platform, is bigger than most others, but it also packs a real performance punch – and even offers a bit of modularity.
Page 1 – Introduction, A Look At The Hardware
Over the past year, we’ve taken a look at a handful of PCs from a workstation perspective, including the mobile-bound Razer Blade 15 Advanced notebook, and the Corsair ONE i164 compact tower. Both of those machines were impressive in their own right, and while we don’t want to spoil things too soon, we’re about to dive into another that can join the club.
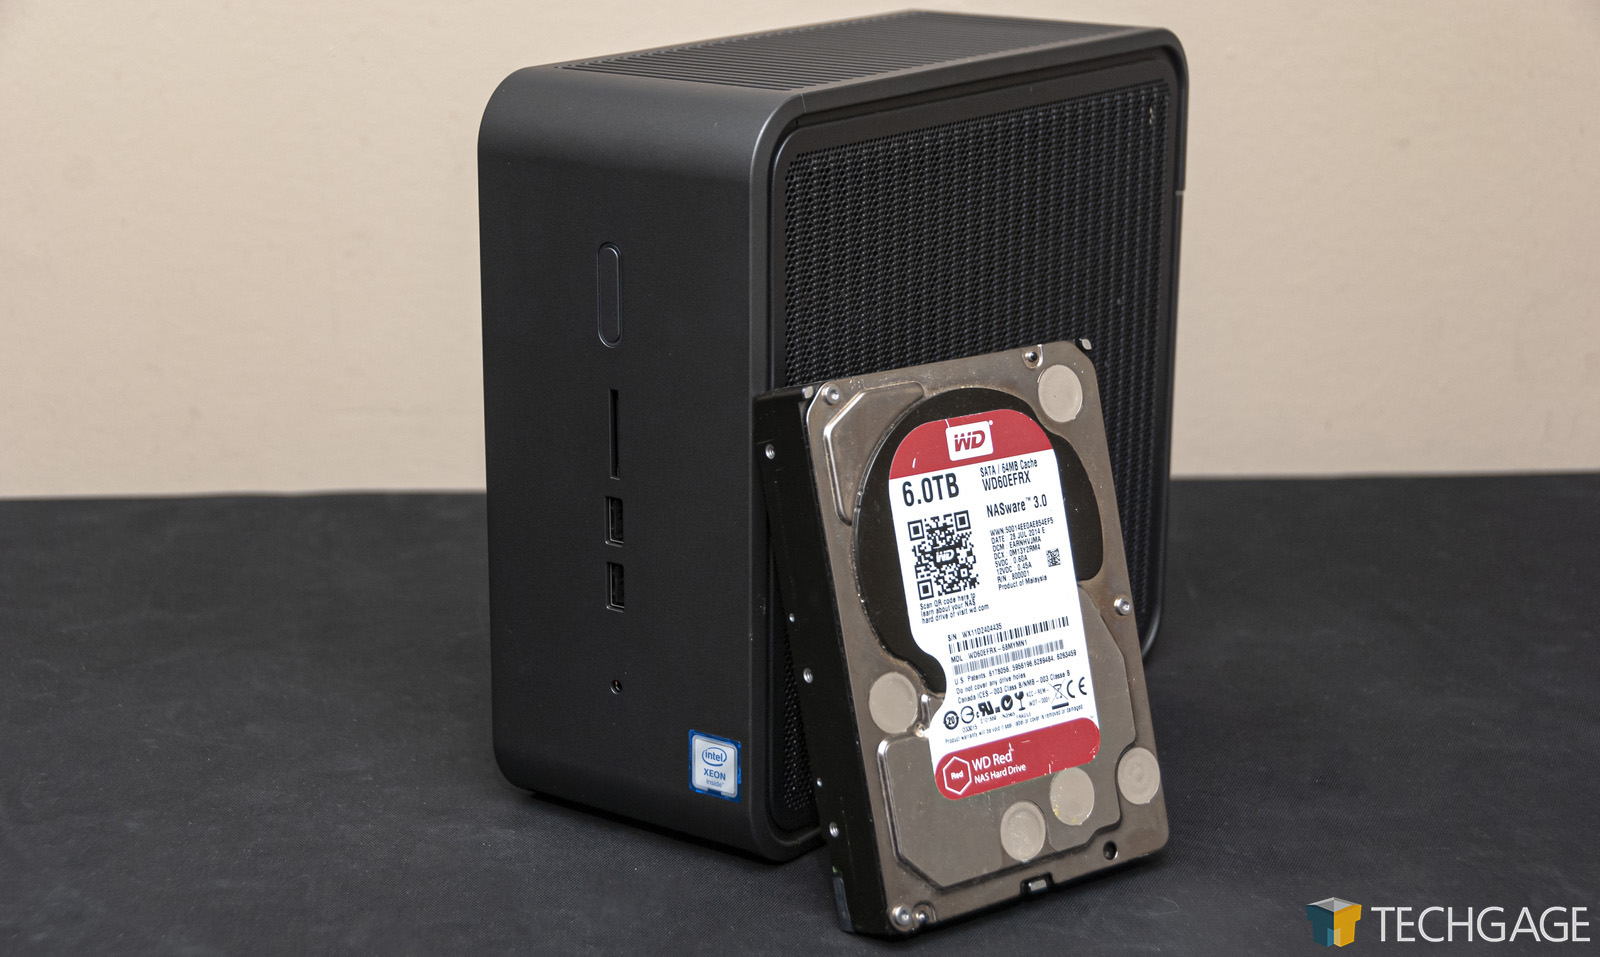
It may be modest in appearance, but the Quartz Canyon NUCs have got some powerful hardware inside. Our sample includes an eight-core Xeon processor, 32GB of ECC memory, and an NVIDIA Quadro graphics card. Being a Xeon, there’s also full support for vPro, making this an intriguing platform for a managed work environment.

We’re going to provide plenty of photos later so that you can better understand how this NUC comes together, but despite its compact size, it’s not complicated inside. The motherboard and CPU are built into the same “Compute Element”, which can later be replaced with a faster model. Even if you don’t have plans to upgrade the Compute Element, the nature of this NUC will allow you to continue upgrading your discrete GPU – as long as it fits!
Over the past month, some publications posted looks at “Ghost Canyon” NUCs, focused on the gamer. Those specific builds included a GeForce RTX 2070 graphics card, and Core i9 processor in lieu of Xeon. Our “Quartz Canyon” model shifts everything to the pro side, where we move from Core to Xeon, GeForce to Quadro, and see the introduction of error correction memory.
The Ghost Canyon NUCs are targeted at the gamer who want a simple all-in-one system that still allows them to upgrade their memory, storage, or graphics solution when necessary. Once future Compute Elements release with updated processors and technologies, users will be able to upgrade and swap what’s effectively the heart of the PC themselves.
Quartz Canyon, by contrast, skews its focus towards the professional workstation market. As mentioned before, that involves introducing ECC memory and opting for a workstation CPU and GPU . With vPro support baked in, this NUC becomes an attractive option for end-users looking for a modest-sized but still upgradeable machine, or production houses that want to provide team members with a capable, reliable machine that fits neatly behind or next to their monitor.
A Look At The Hardware
As of the time of writing, Intel has launched five versions of its NUC 9 “Compute Element”, each of which has been made available as a complete kit. Of these five, three belong to the gamer-focused Extreme series, while the other two are branded as “Pro”. The Pro kit we’re looking at includes a Xeon E-2286M eight-core processor, which can reach a top Turbo clock of 5GHz. The other option is a six-core Core i7-9850H, which pulls back to a 4.6GHz peak clock.


While none of the Extreme models support Intel’s vPro features, both of the Pro models do – even the Core i7 (which ordinarily wouldn’t). All of these NUCs include both the i210-AT and i219-LM network adapters, but only the latter can be used with vPro’s management features. The -LM port is not specified on the unit itself, but on our tested rig, that reflected the bottom port.
Intel sells both Compute Elements and their full kit counterparts, so vendors can either integrate the elements into their own designs, a la Razer’s Tomahawk, or sell varied configurations of Intel’s “reference” design, a la SimplyNUC. If you actually want to use this NUC as a proper workstation, you will need a discrete GPU. You can either configure for one with a provider like SimplyNUC, or buy the standalone kit and put your own in. Just be warned: this platform has notable GPU size and power limitations.
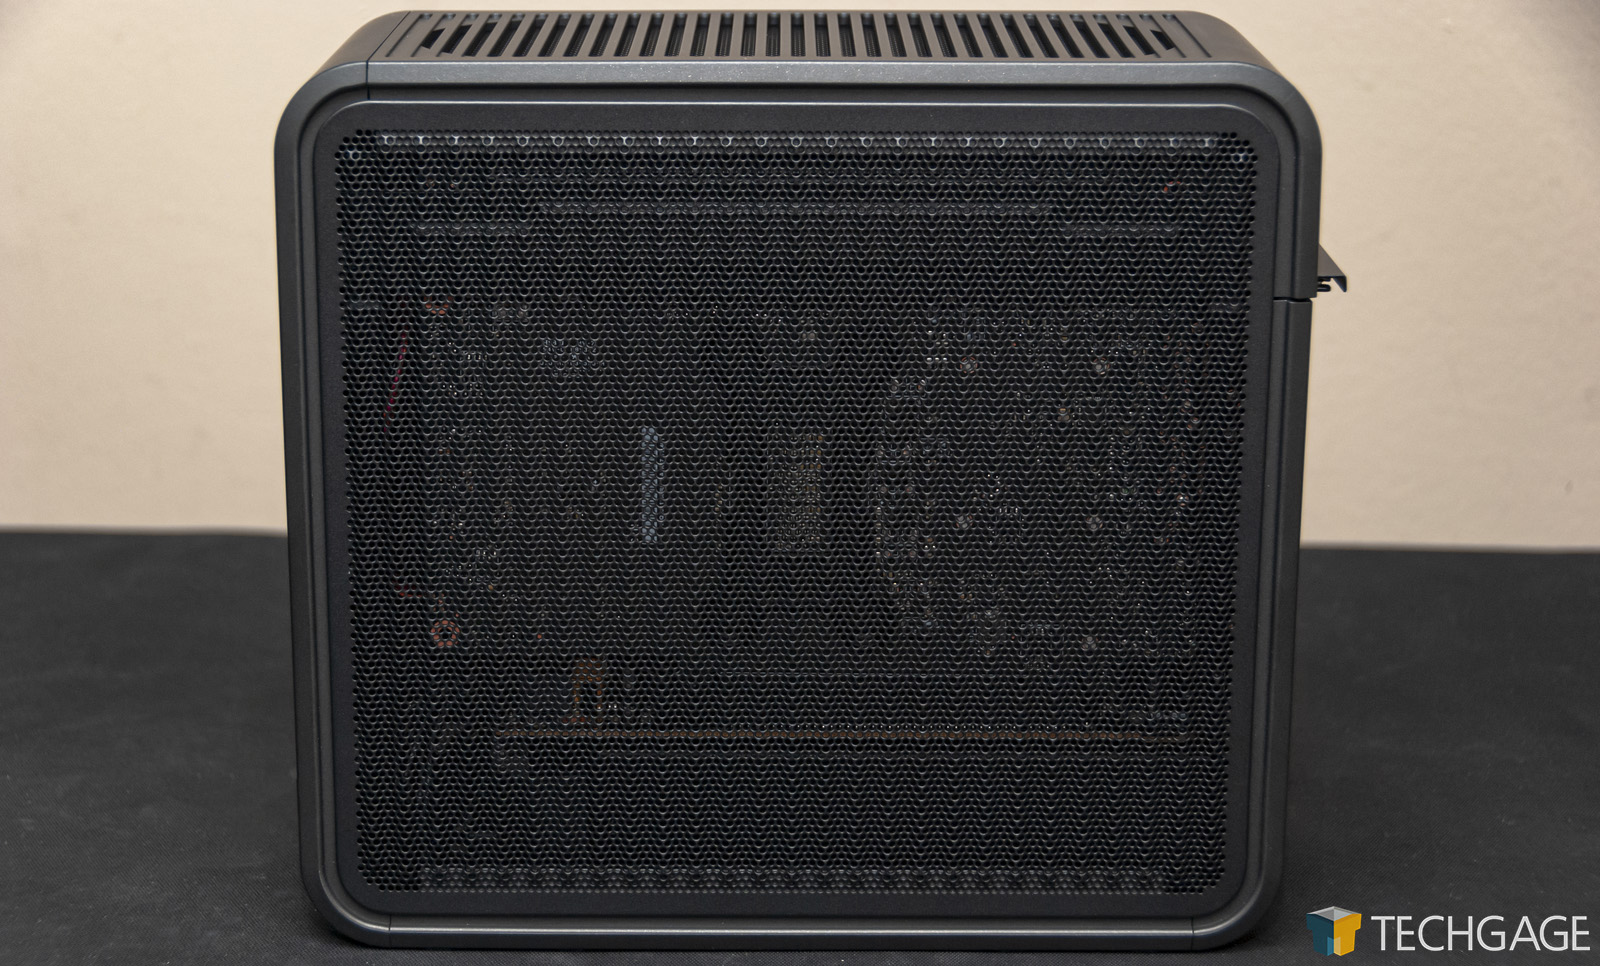
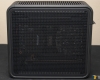
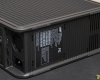
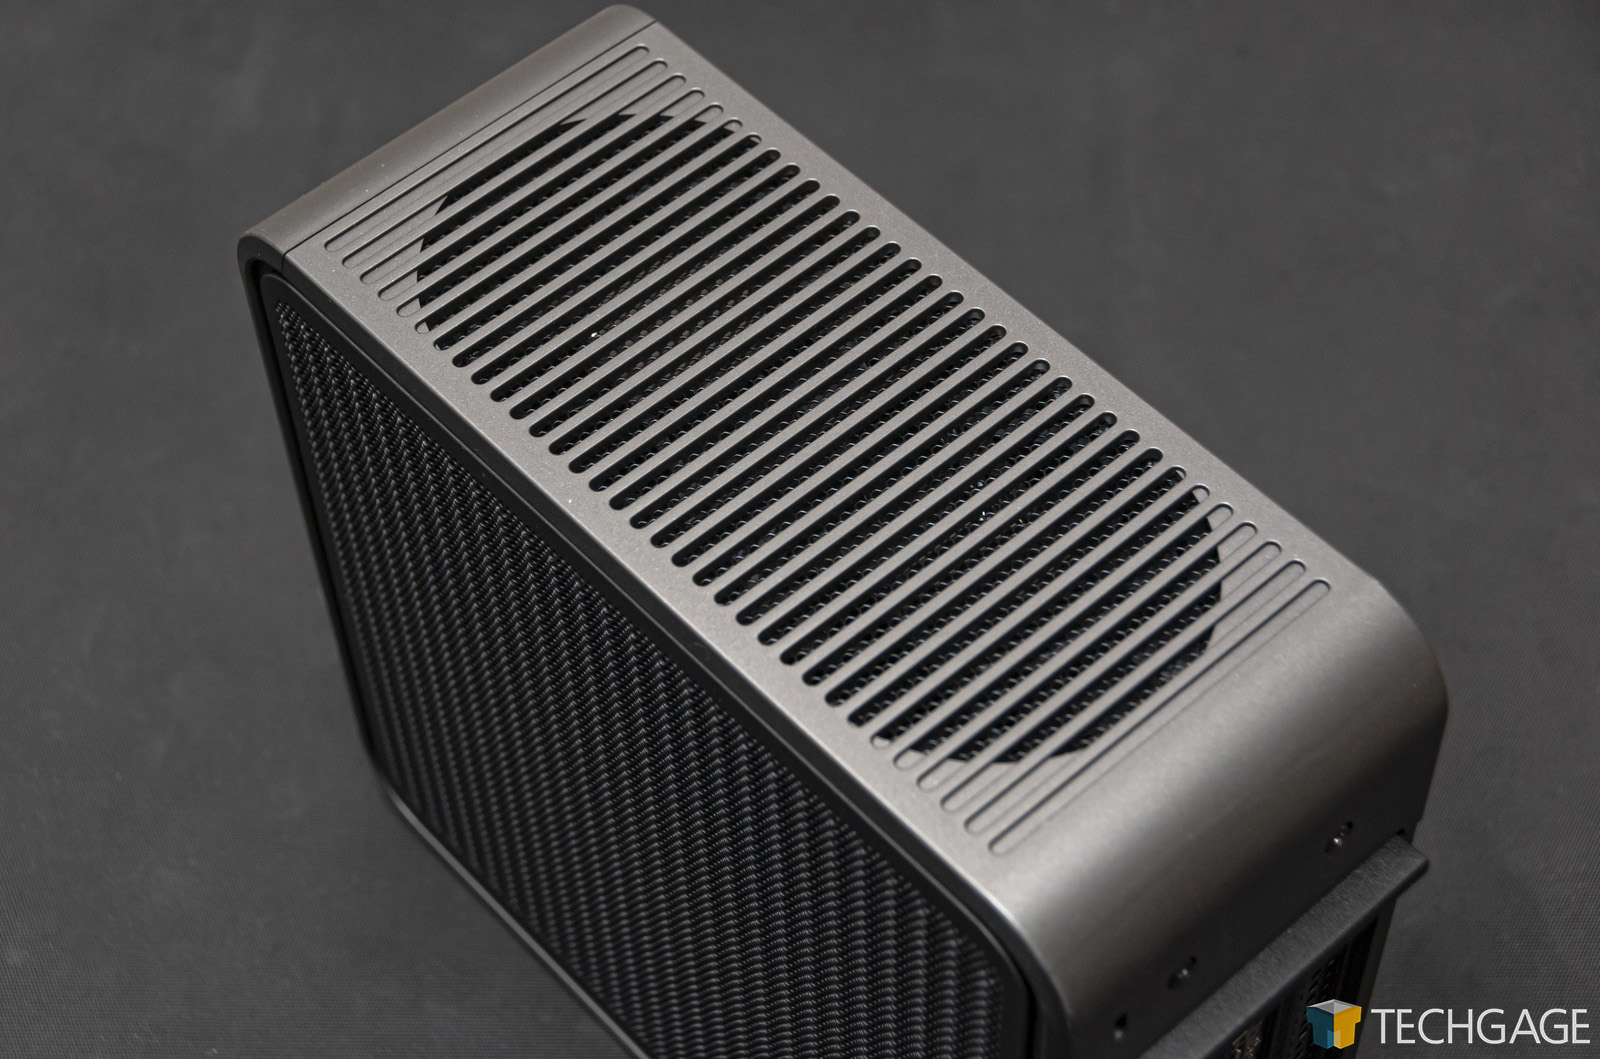
For a professional workstation, this NUC has got the right looks. It’s unassuming, and compared to a mid-tower desktop, it takes up almost no space. Yet, despite its modest form-factor, the amount of power inside is significant. The reason the hardware doesn’t get too toasty owes some thanks to the breathable side panels, and blower fans for exhausting air efficiently out the back.
| Intel Quartz Canyon Workstation NUC (NUC9VXQNX) | |
| Processor | Intel Xeon E-2286M 8-core/16-thread @ 2.4GHz 5.0GHz Turbo; 16MB L3 Cache; HyperThreading |
| Motherboard | Intel Quartz Canyon |
| Memory | Kingston 9965657-015.A00G 32GB ECC (16GBx2, 19-19-19 @ DDR4-2666) |
| Graphics | Intel UHD Graphics P630 NVIDIA Quadro P2200 |
| Display | N/A |
| Storage | Intel Optane H10 1TB (HBRPEKNX0203A) 3x M.2 Slots Total |
| Optical | N/A |
| Audio | Realtek HD Audio |
| Network/Wireless | Intel I219-LM 1Gbps Ethernet Intel I210 1Gbps Ethernet Intel Wi-Fi 6 AX200 Bluetooth 5.1 |
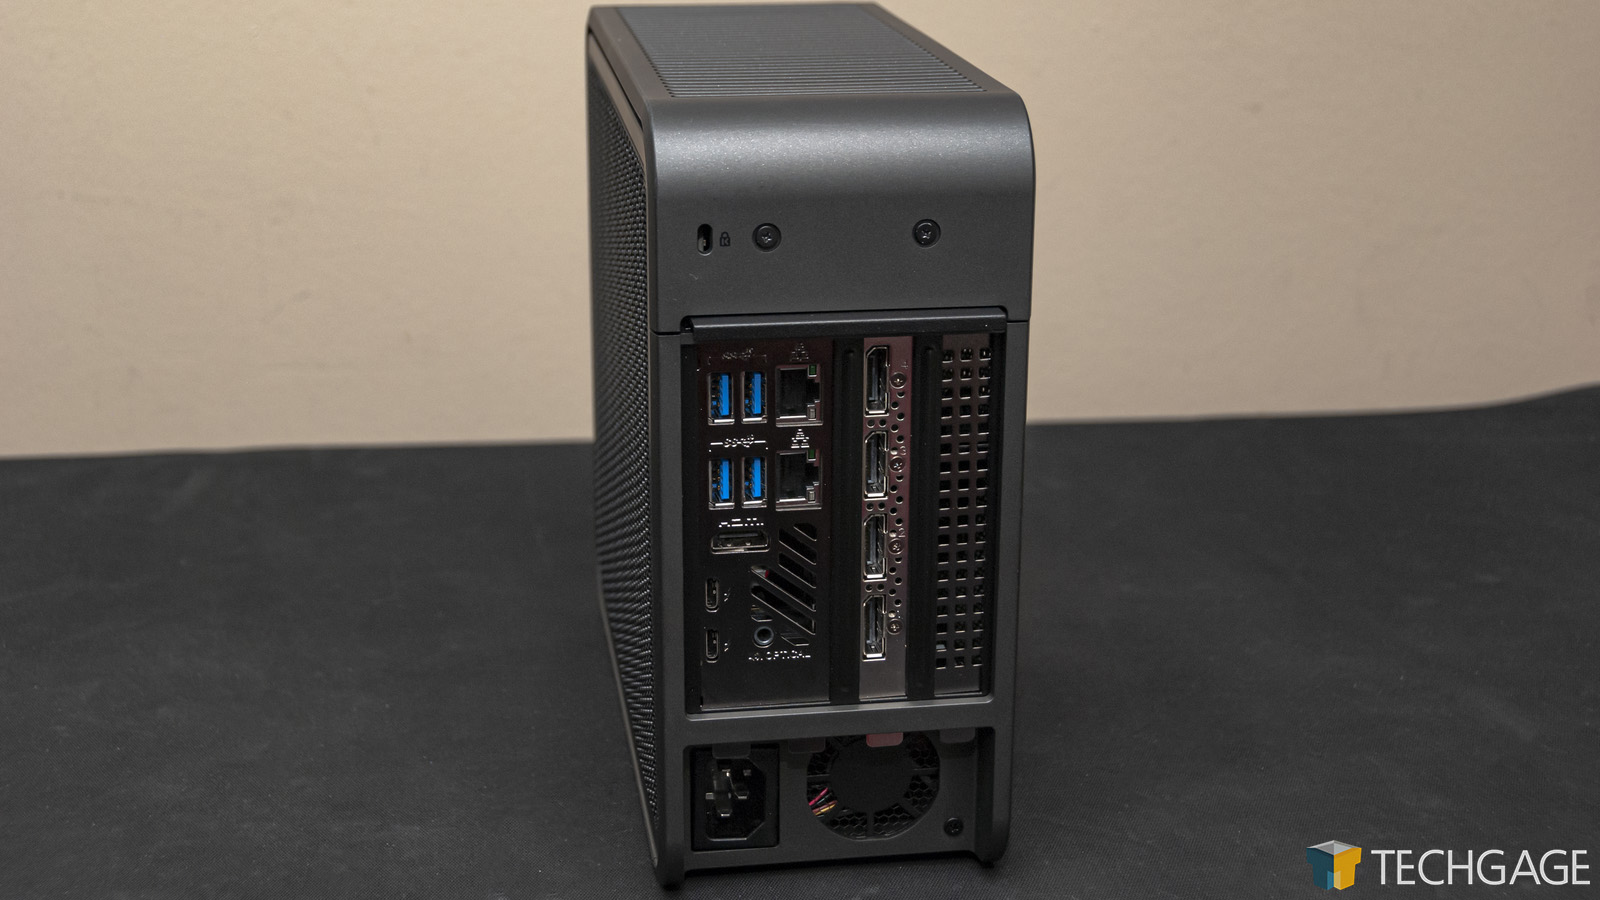
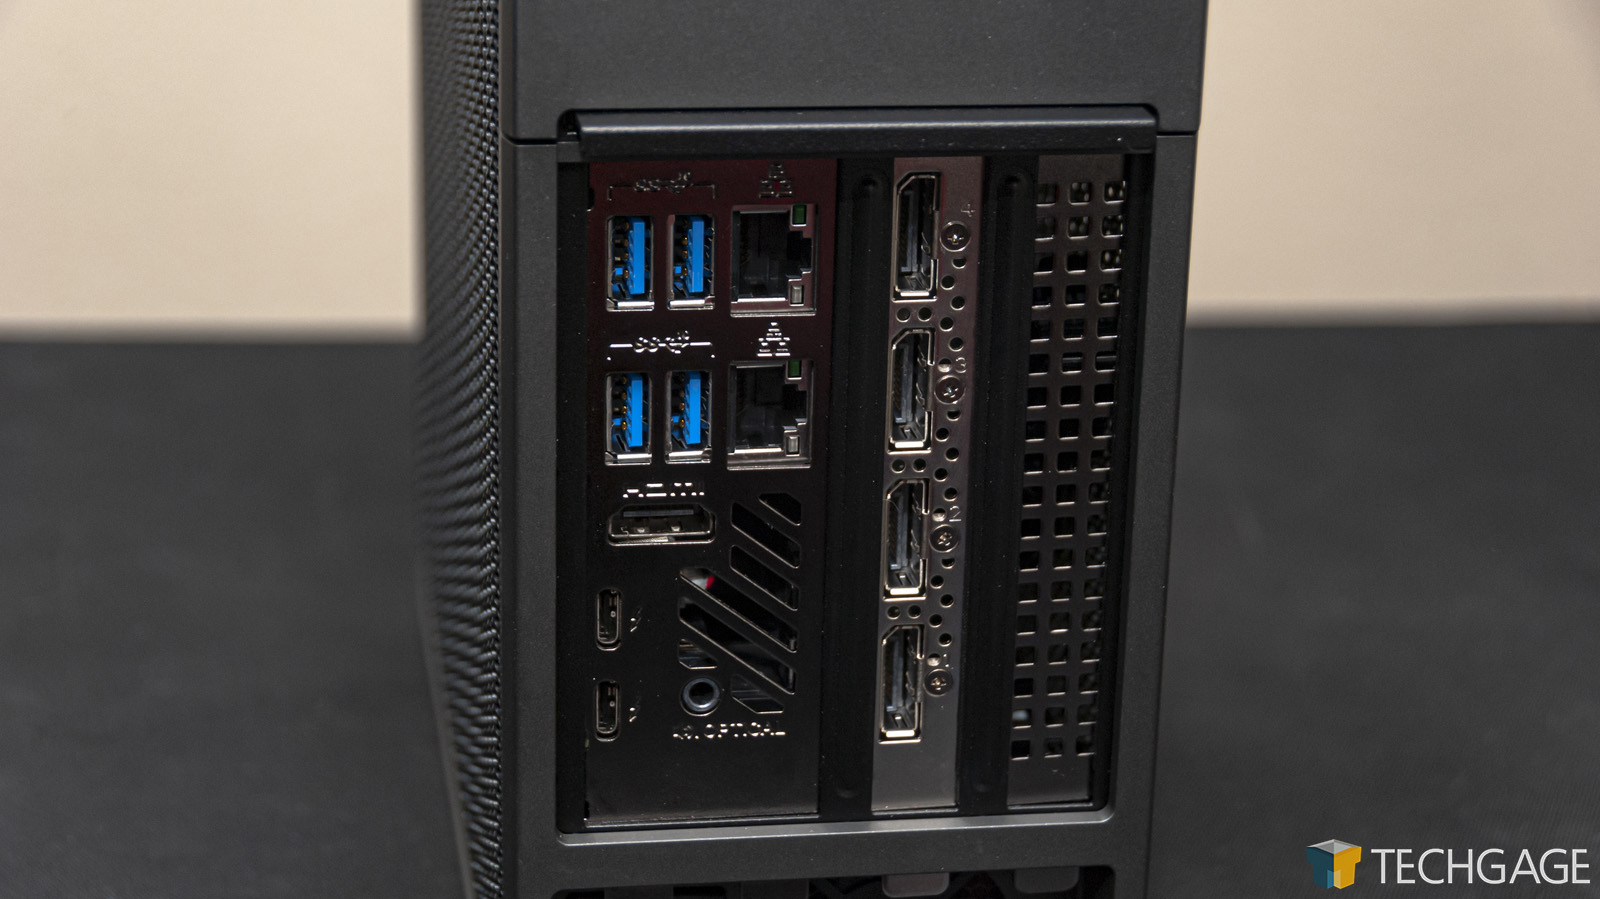
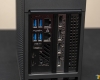
| Connectivity | 2x Thunderbolt 3 4x USB 3.1 Type-A (Back) 2x USB 3.1 Type-A (Front) HDMI 2.0a 4x DisplayPort (from discrete GPU) SDXC Reader (UHS-II) (Front) Audio In/Out (inc. TOSLINK) (Back) Audio Out (Front) |
| Dimensions | 9.4″ x 8.5″ x 3.8″ |
| Price | ~$2,993.00 USD (As Tested) |
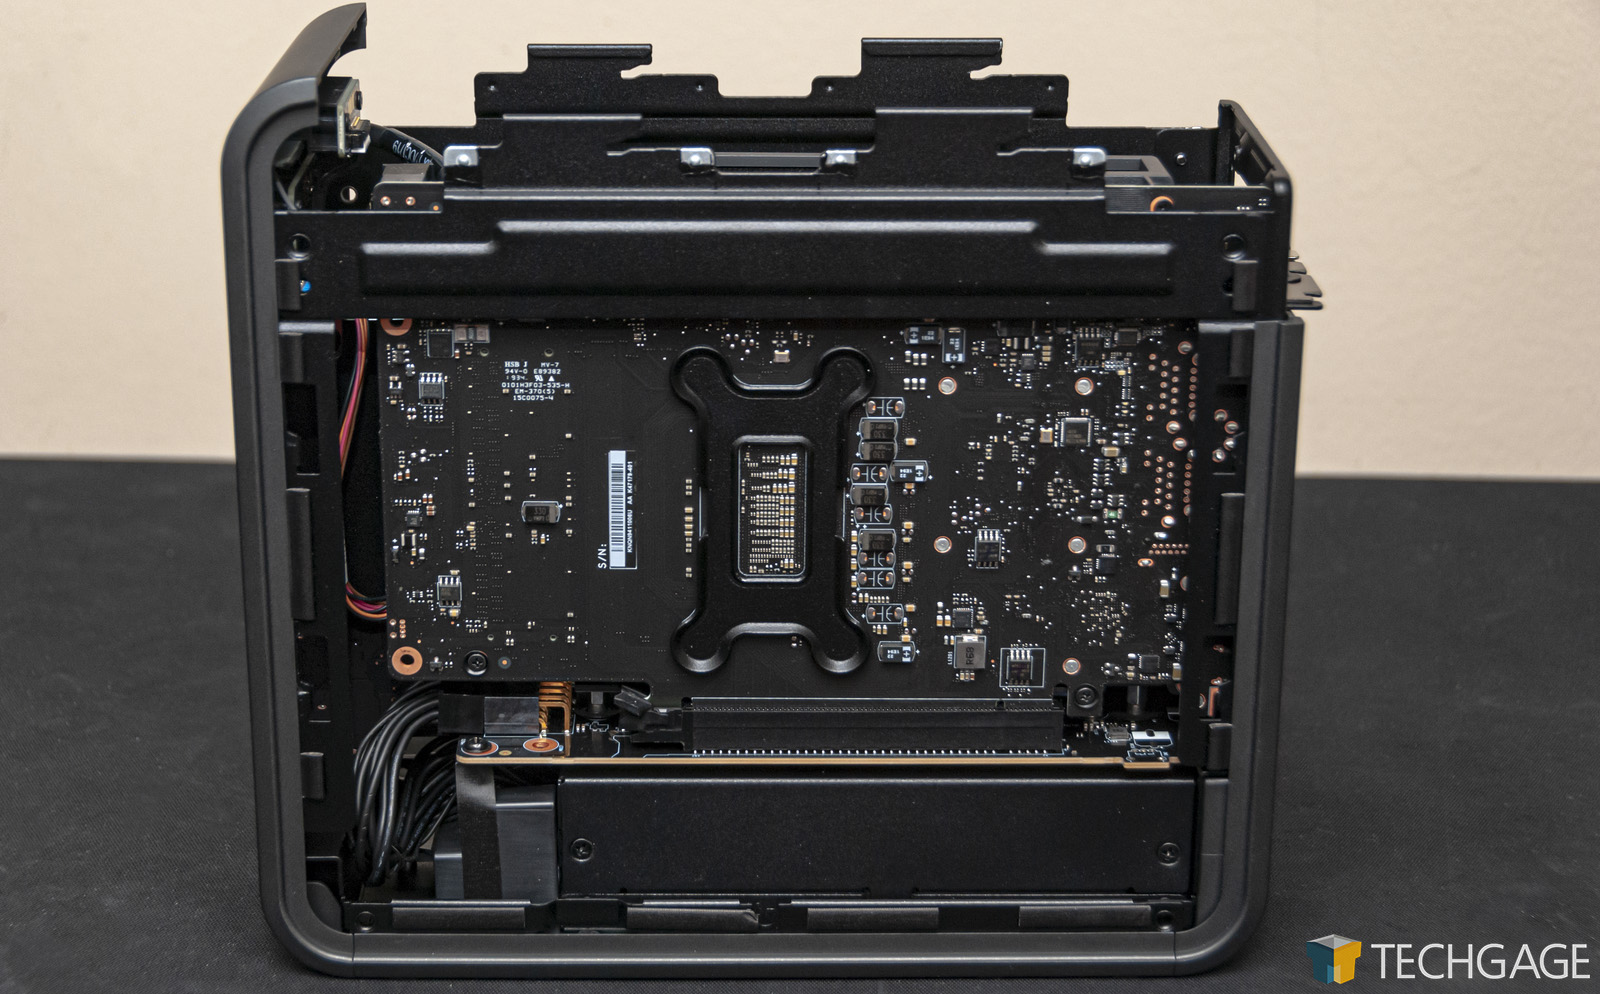
Alright, let’s get dirty and tear this thing apart:
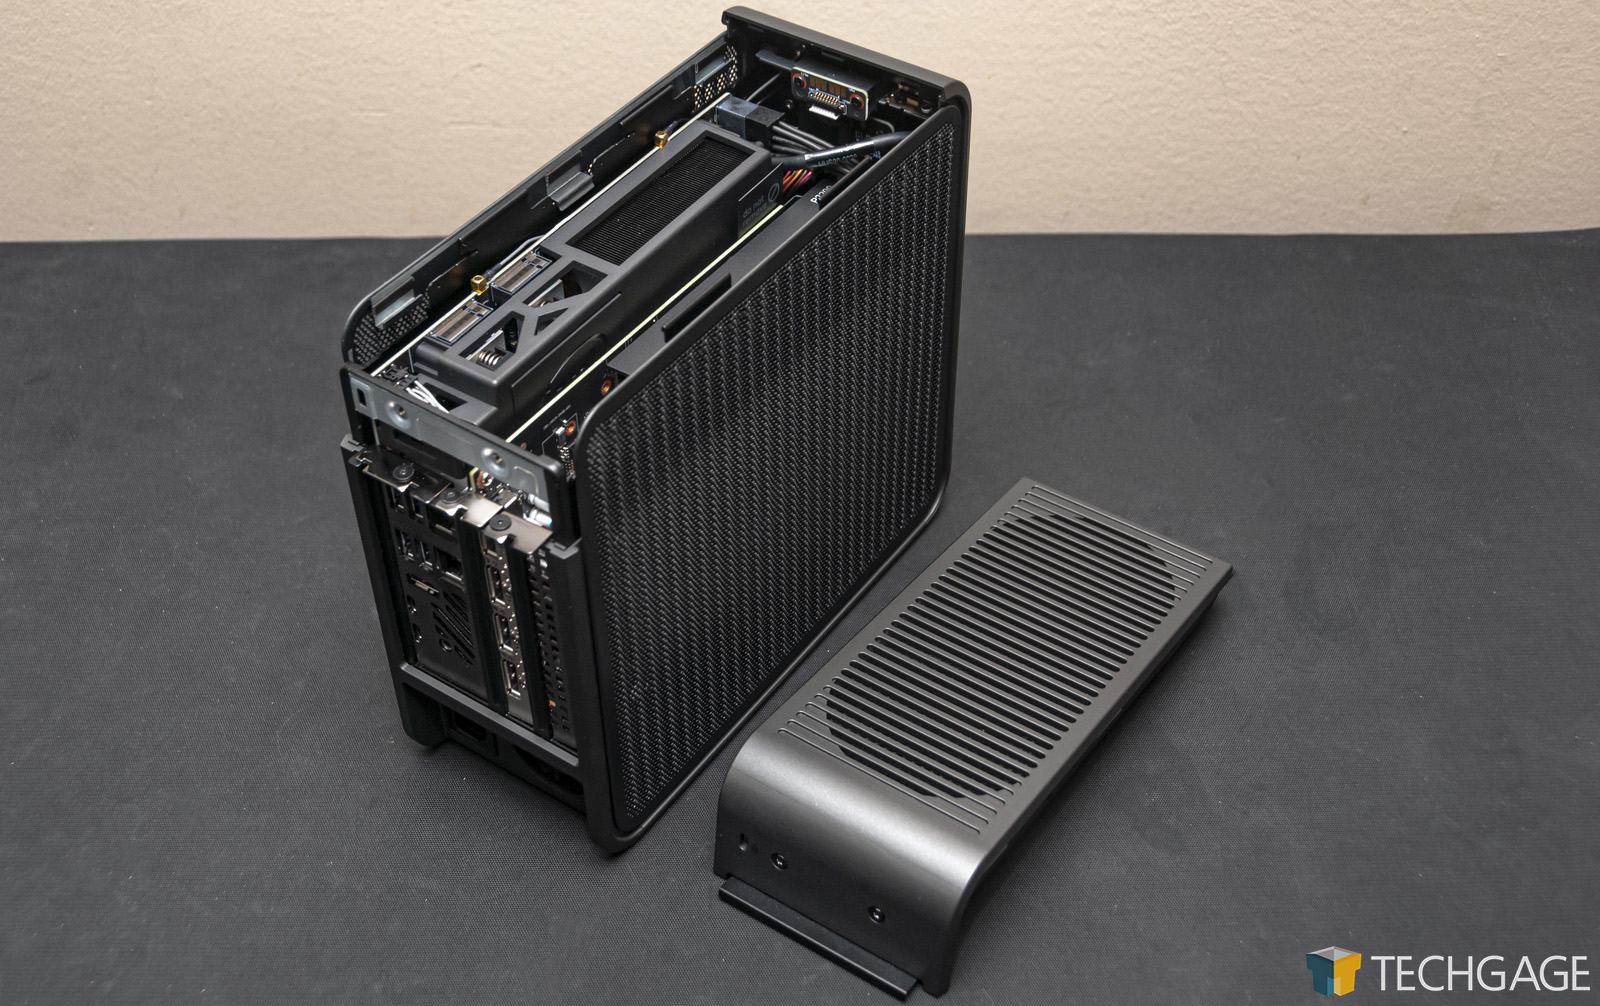
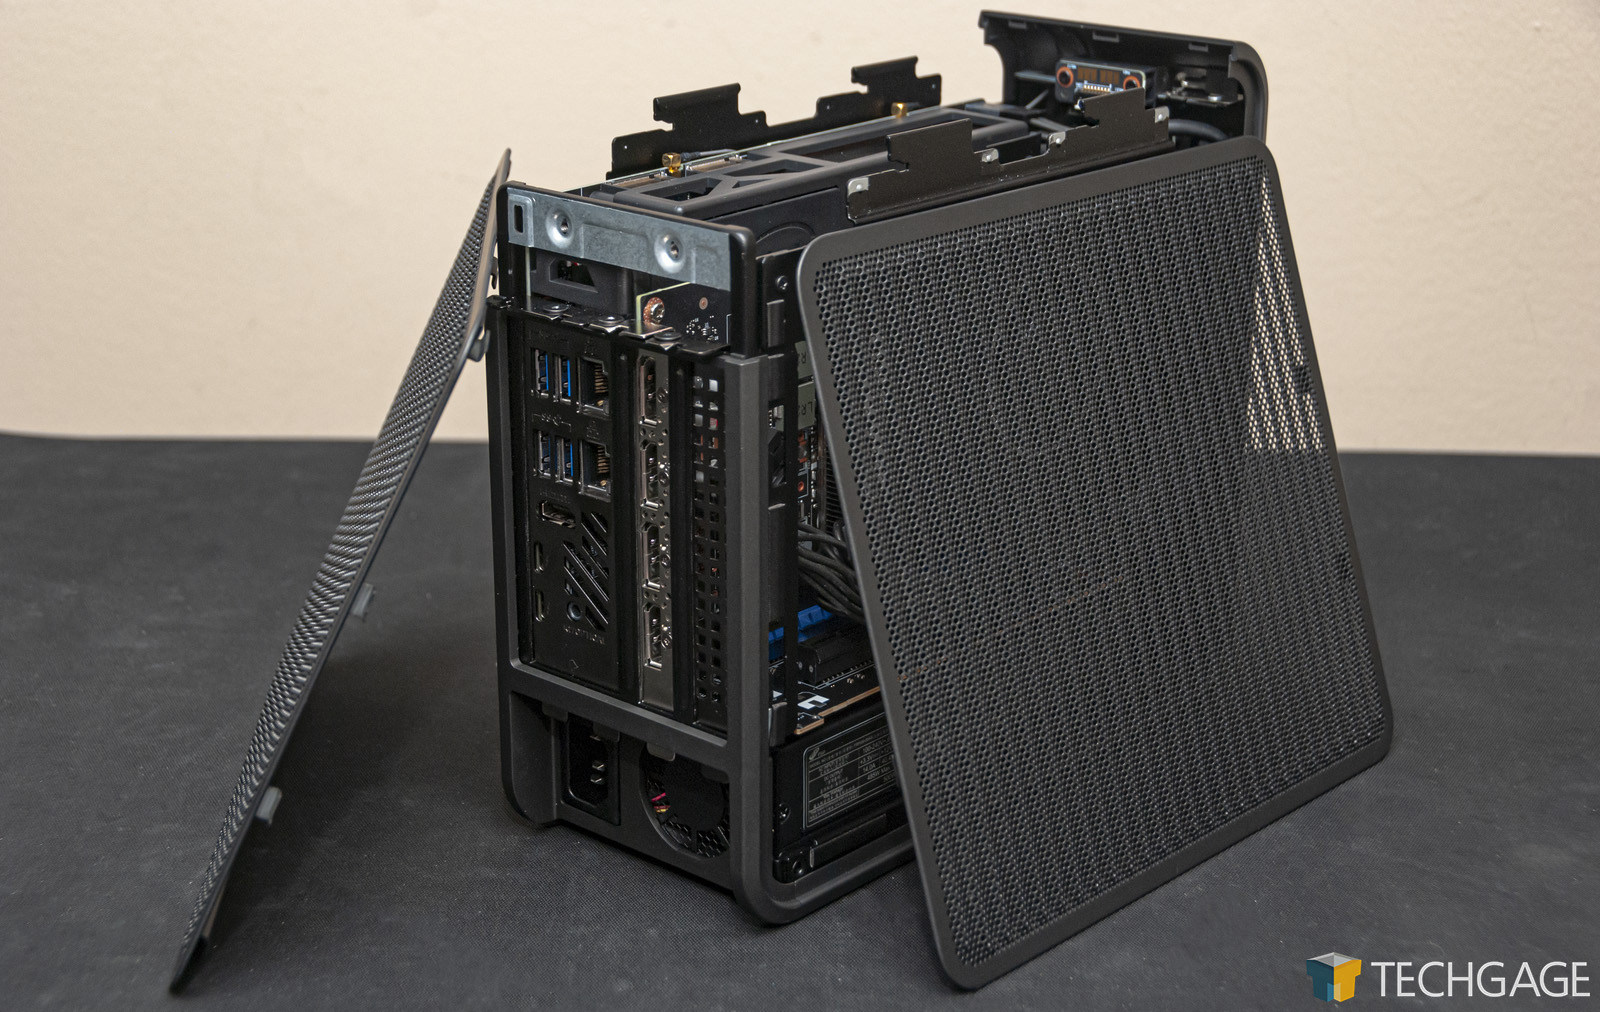
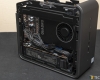

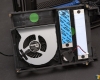
The ease of getting inside of this NUC surprised us, since with most small form-factor PCs, significant effort will be required. On this design, two screws is all that stands between you and getting simple access to the hardware, and another two screws to swap either the GPU or the Compute Element.
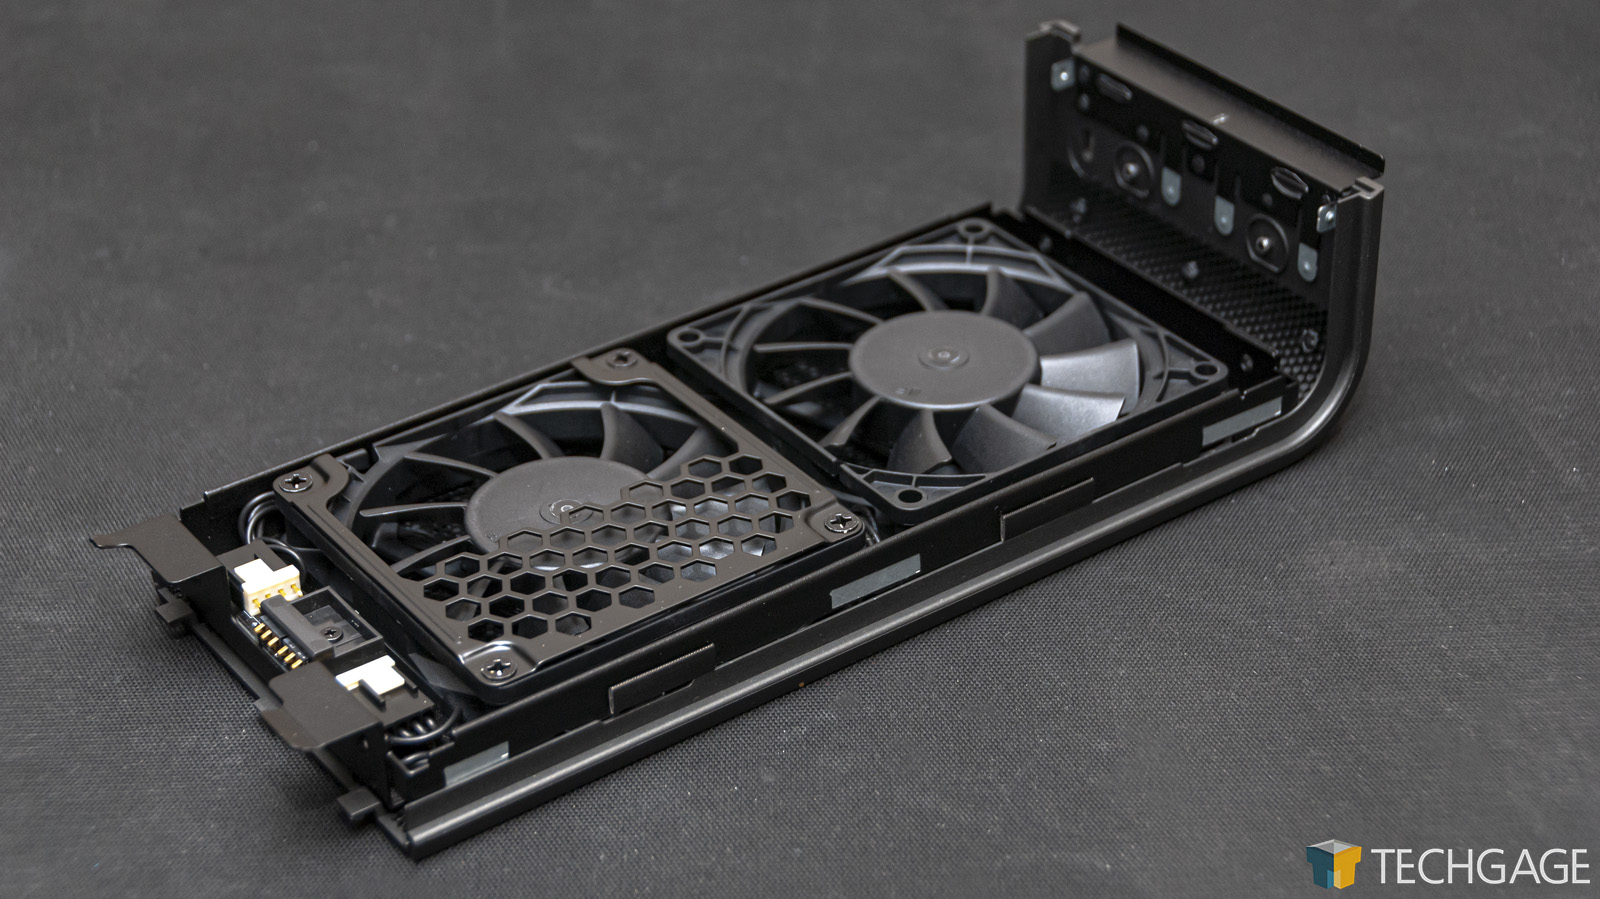
The two screws in the fan enclosure come with an added bonus of not being removable, so you don’t need to be wary of losing them. This top piece houses two exhaust fans, which use a proprietary connector that connects with the chassis to power them. Ease-of-use is the name of the game here. That extends to the panels, which slip off easily, without the need for more screws.
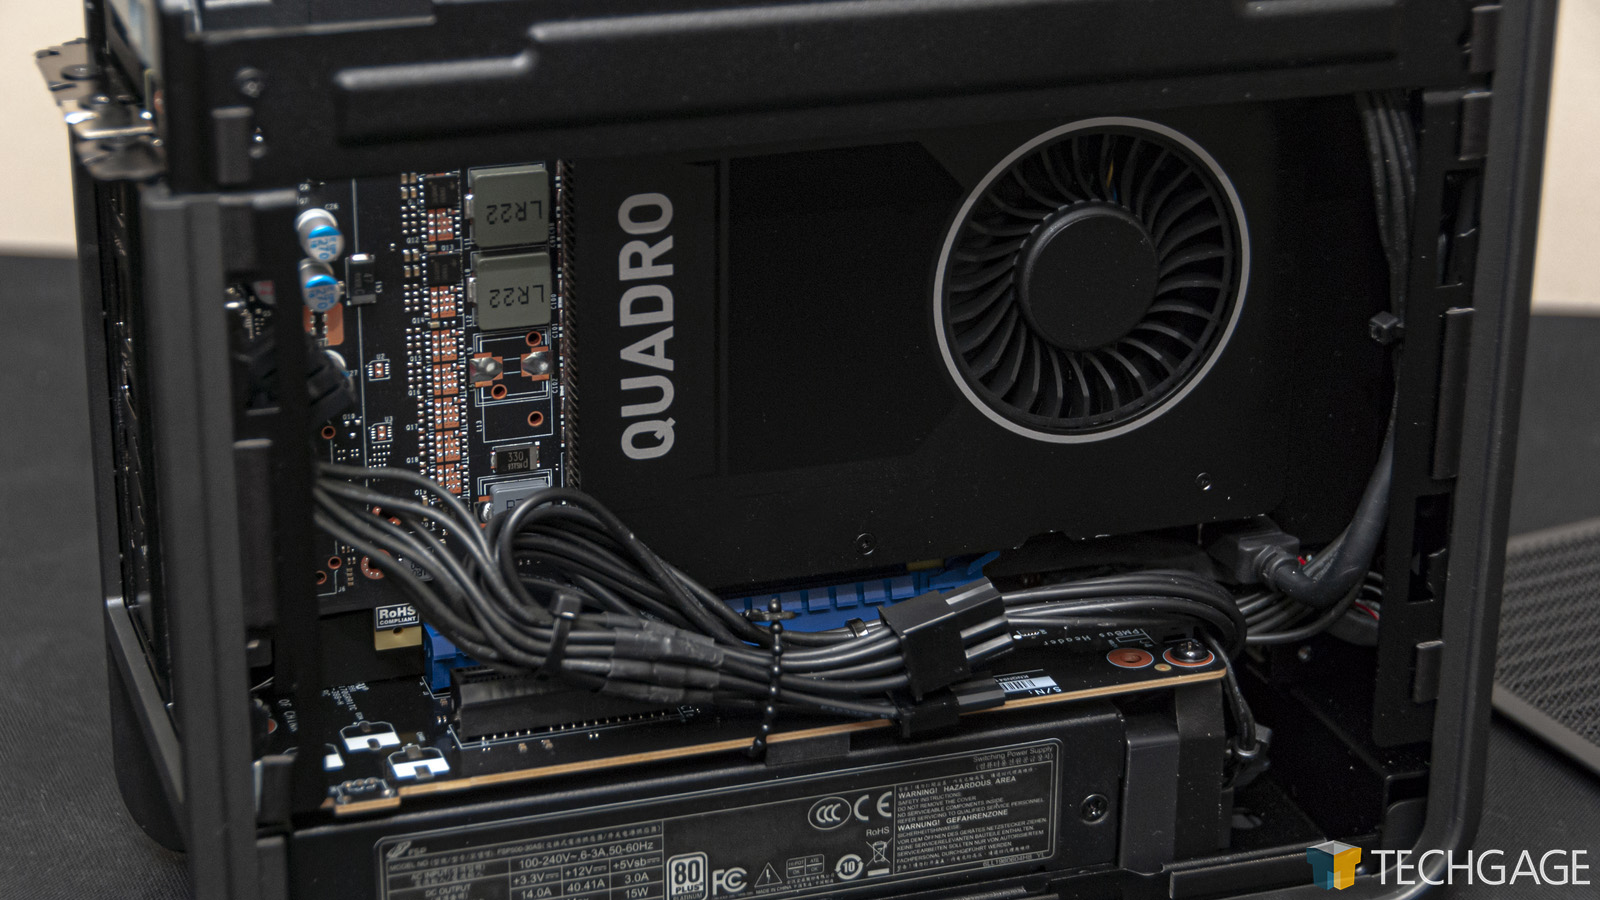
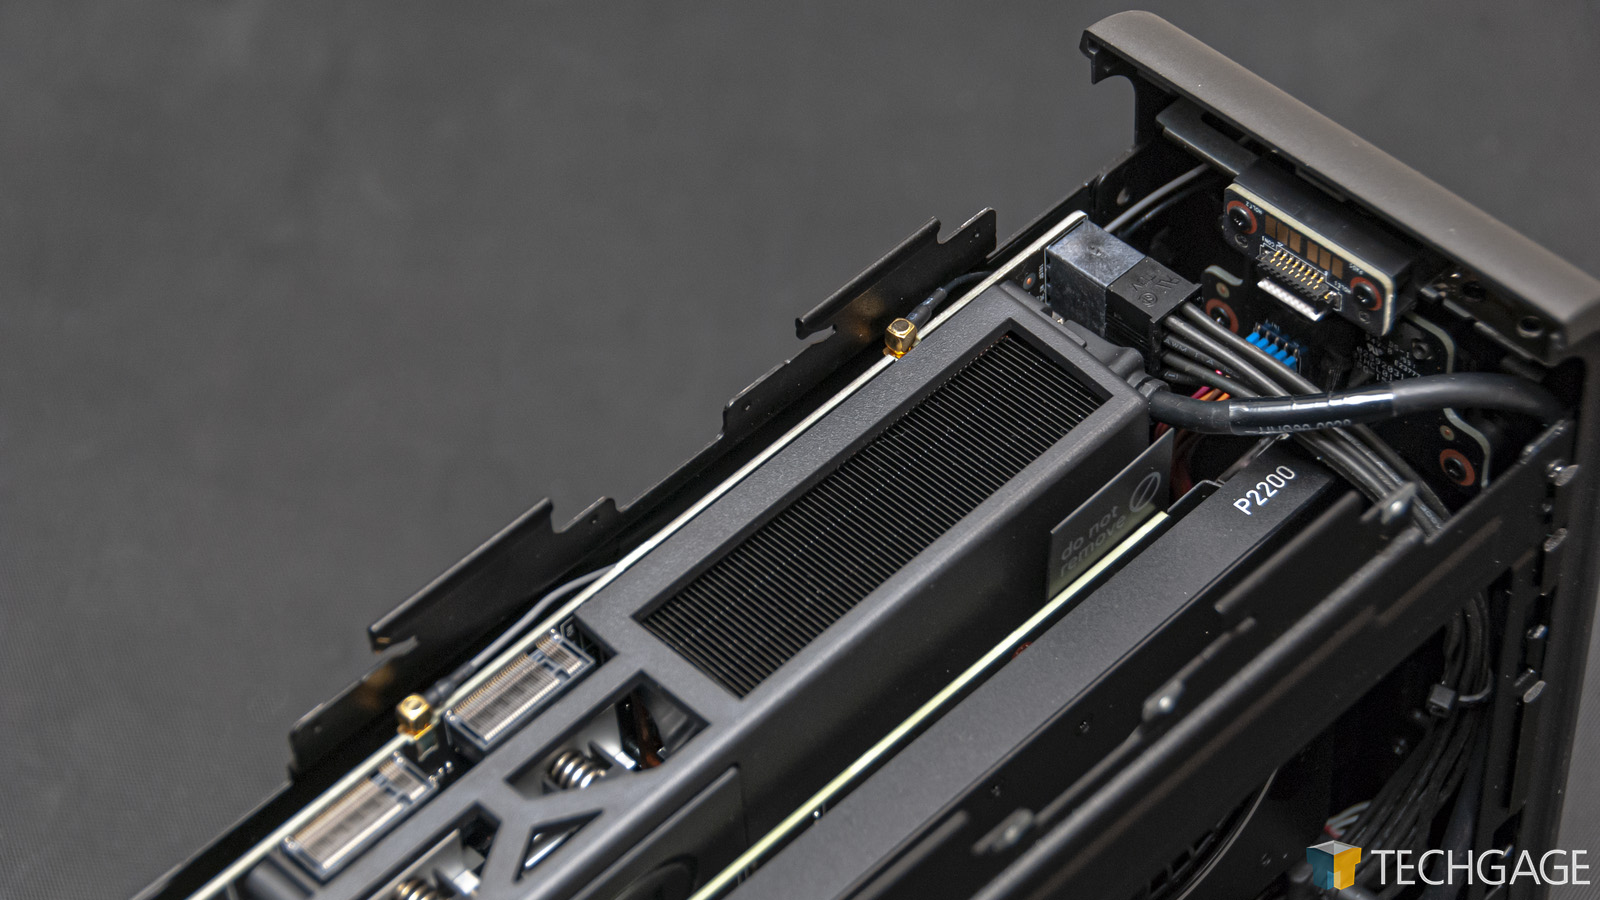
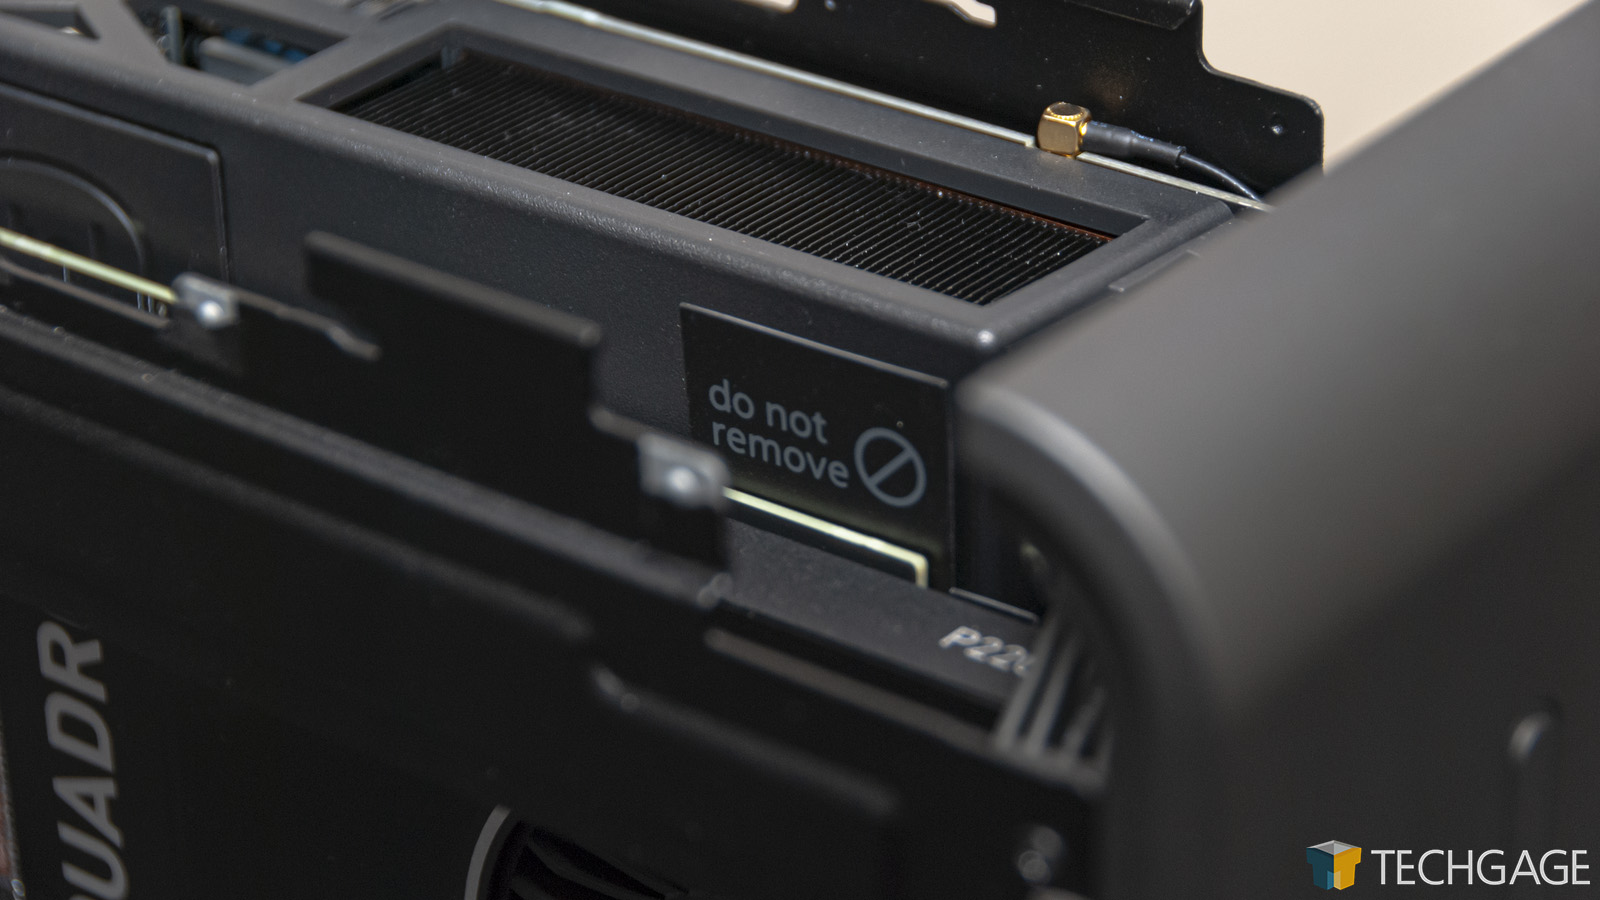
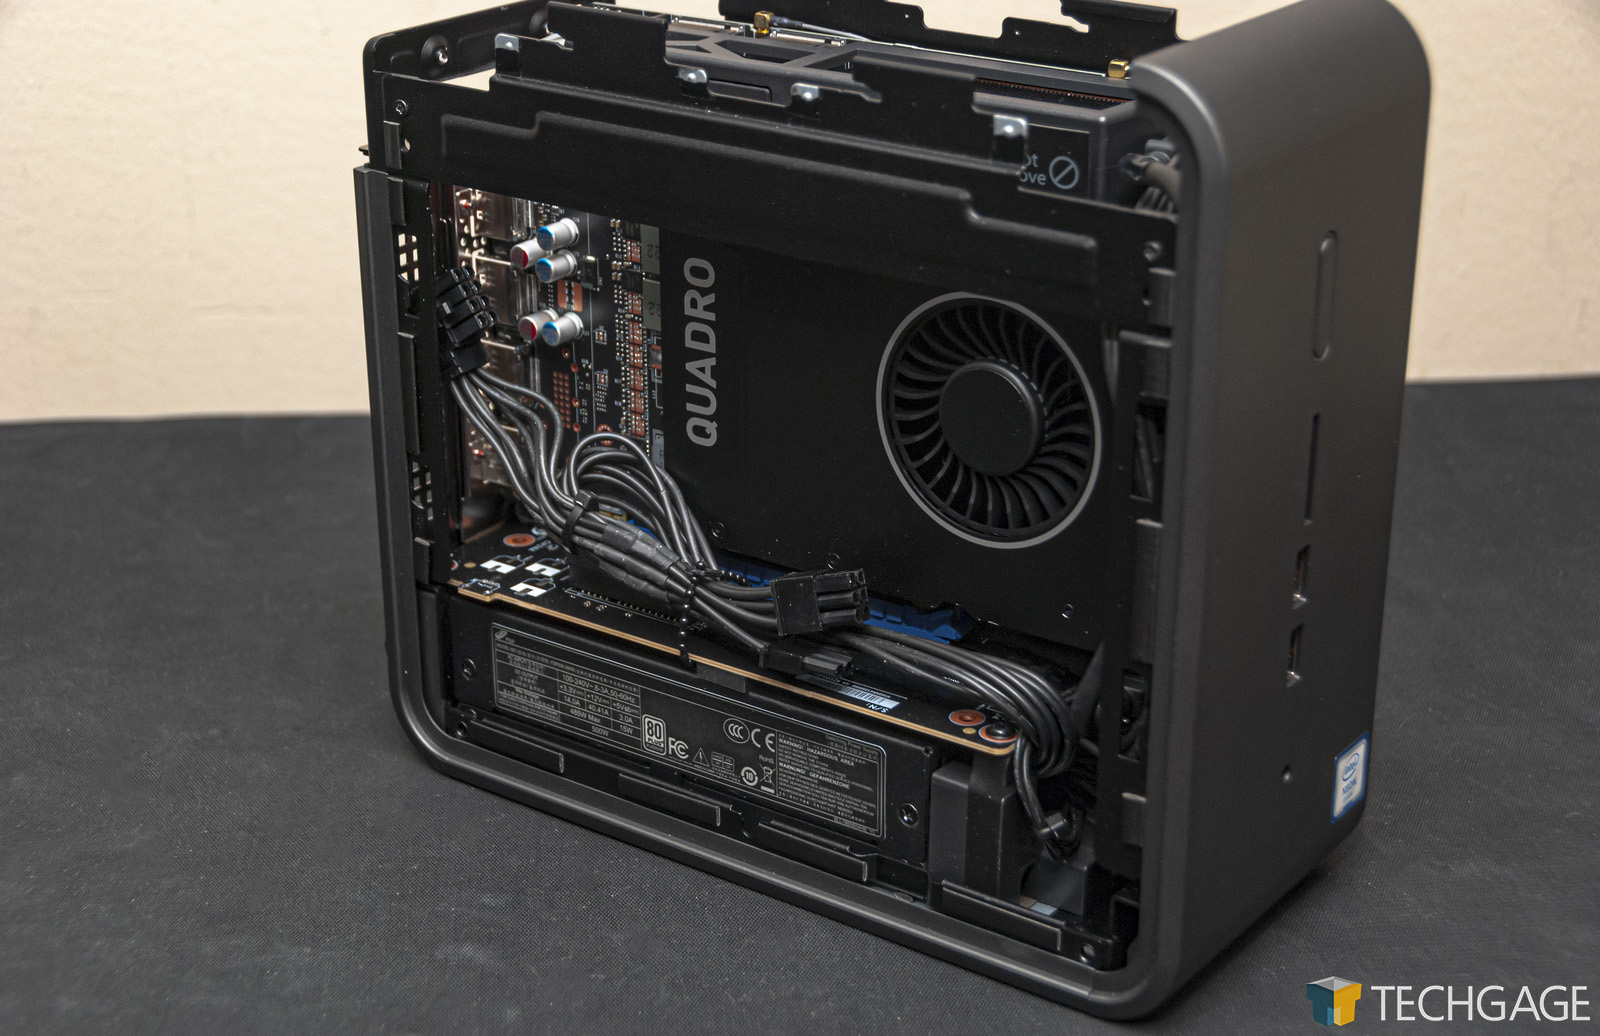
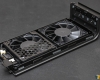
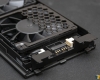
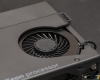
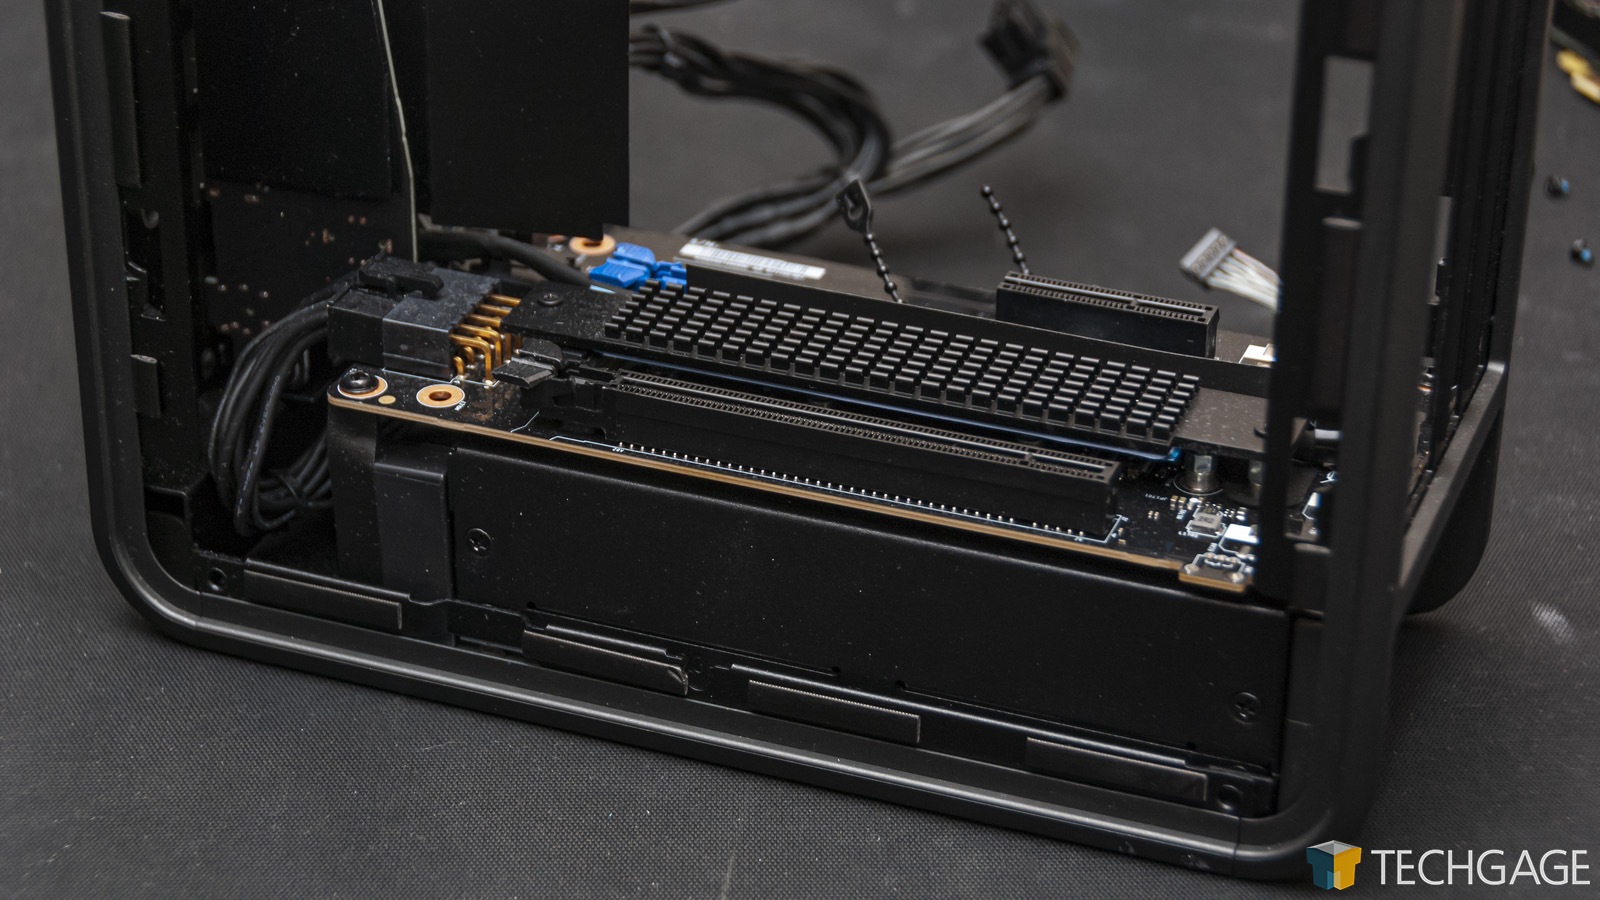
Our NUC sample shipped with an NVIDIA Quadro P2200 workstation graphics card by PNY, which takes up just a single slot. Despite how complex CAD suites are, they’re generally not of the sort that demand a lot of GPU horsepower. For that reason, users of suites like SolidWorks, CATIA, or Siemens NX should stick to a Quadro here, and then take advantage of the freed-up 4x PCIe slot for either expanding M.2 storage, or to add in a discrete network card (if one is needed, of course). The lack of 2.5G or 10GbE network is slightly disappointing, but not entirely necessary for this form factor, but it’s simple enough to add additional ports through the spare 4x PCIe port if you stick with a single slot GPU.
Given how small this machine is, we expected some hassle when swapping out the GPU, but it turned out to be a simple affair. The first step in removing the graphics card is to remove two screws holding a guard in place (near the top), and then unscrew the graphics card to then lift it out. Naturally, given the lack of space here, you will have to finagle a bit to get a GPU in or out.
Removing the Compute Element is a bit trickier than the GPU, since there are some connections running straight to it from the chassis (the wireless and BT antennae). This is not really a complex setup though, so chances are you will be fine plugging everything back in once reinstalled. That said, it wouldn’t hurt to take pictures beforehand, because it is easy to overlook something.
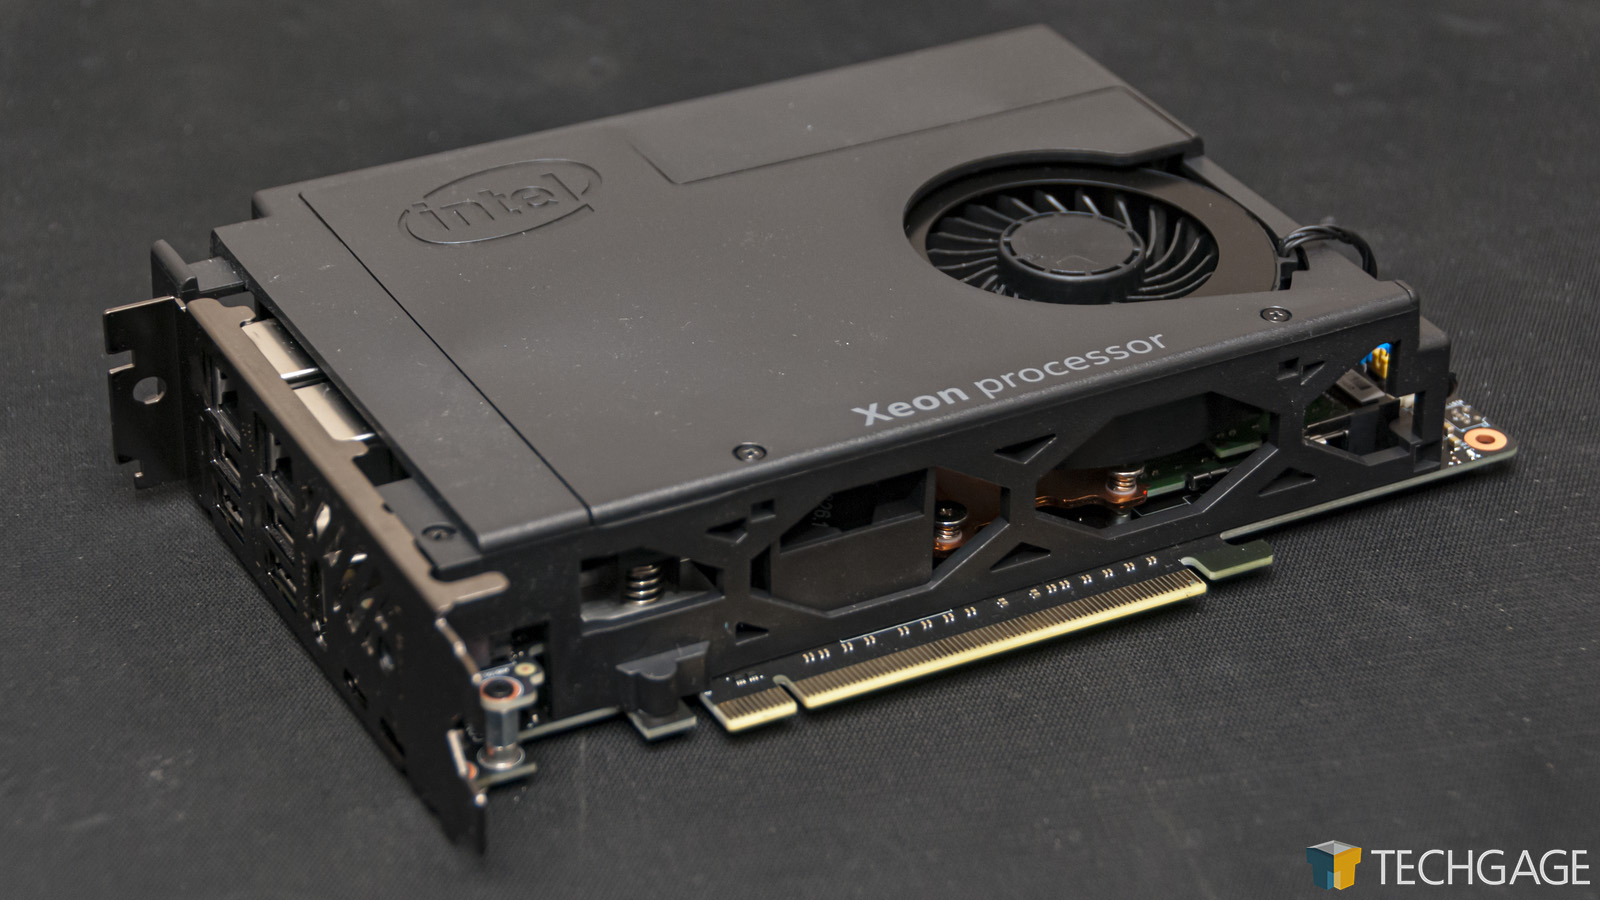

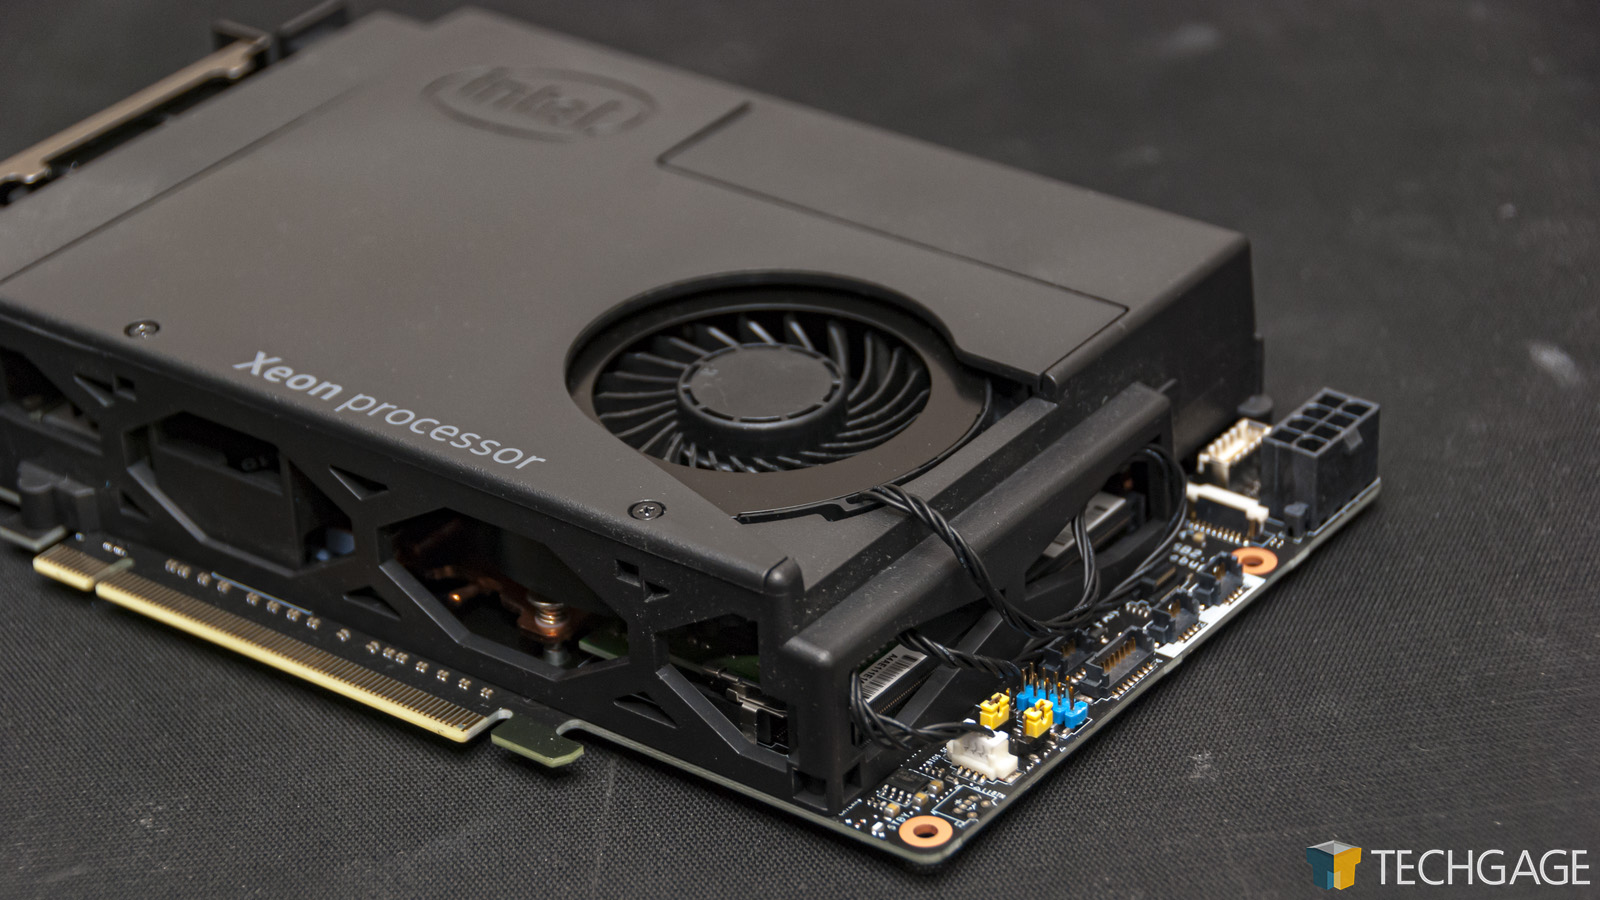
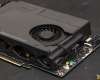
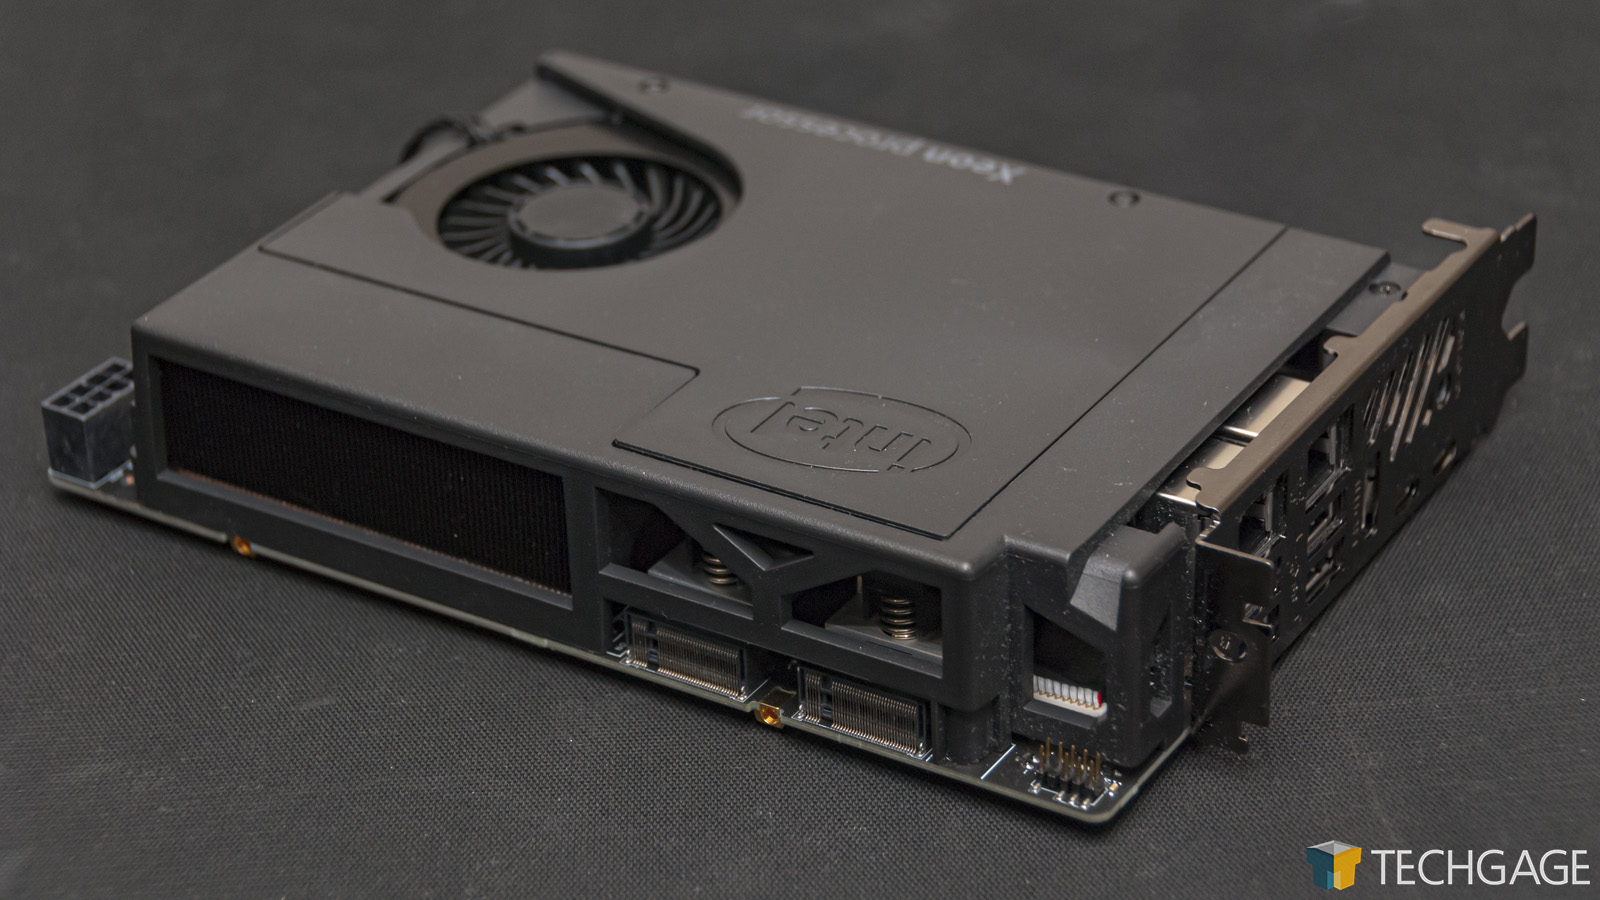

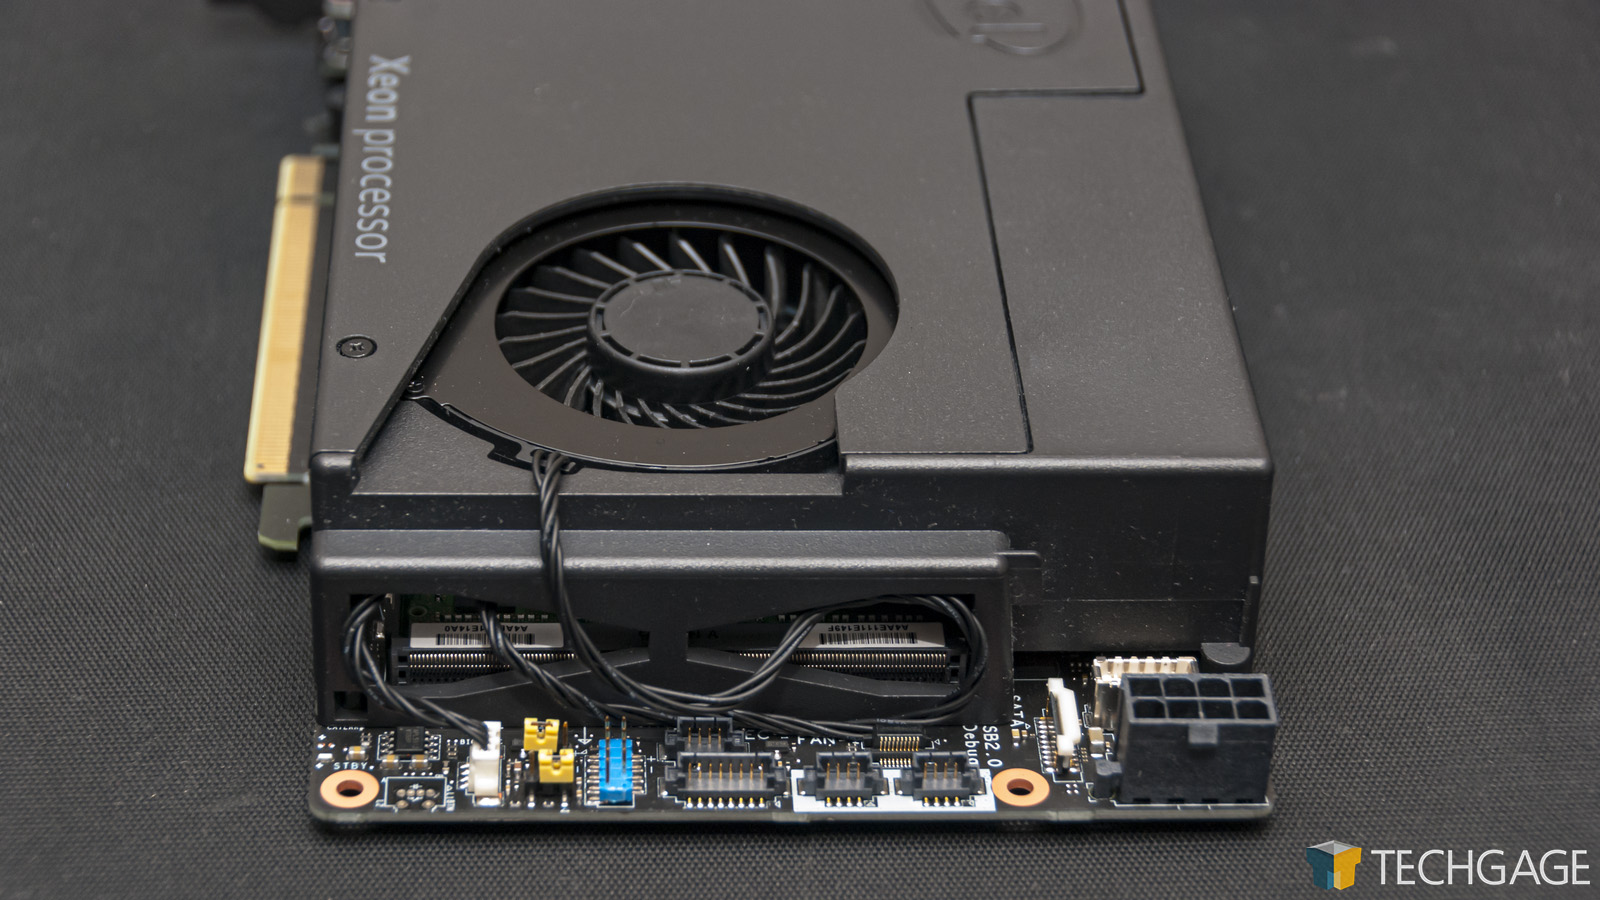


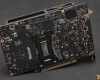
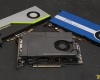
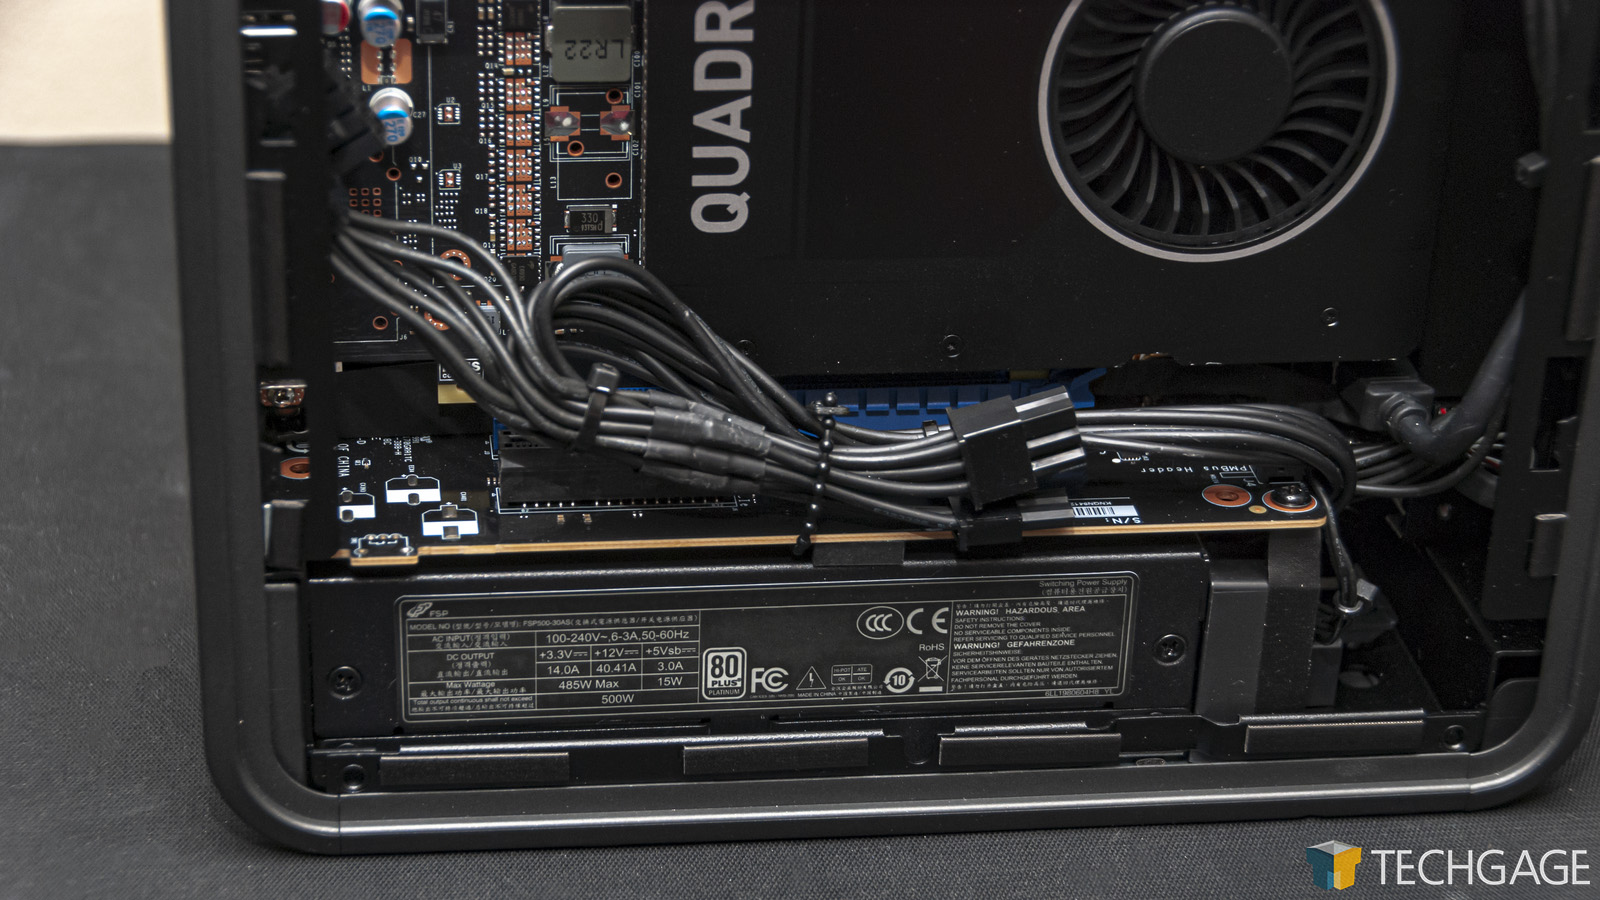
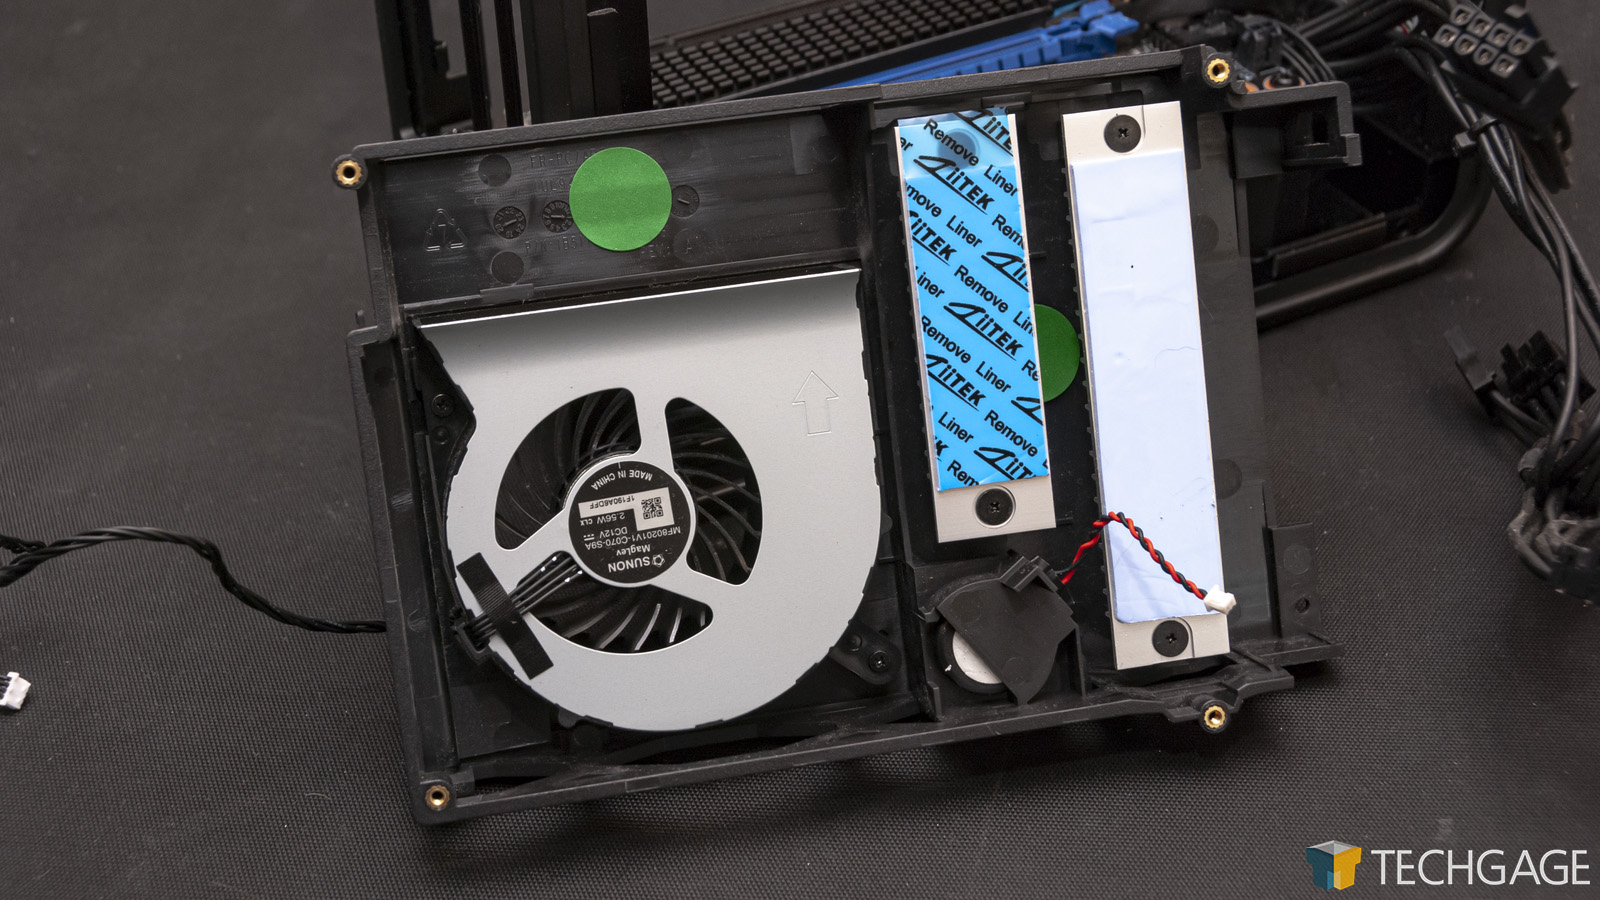
The Compute Element is cooled by a single blower fan that plugs straight into a small motherboard header. That header can be seen to the right side of the board, along with a blue USB header for the front panel, and also an 8-pin power connector. At the top of the unit are two gold connectors that route the wireless antennae. These will likely be the final connectors you plug back in before putting the chassis back together.
This unit doesn’t look like much with its cooler installed, but once removed, we get a glimpse at the goods:
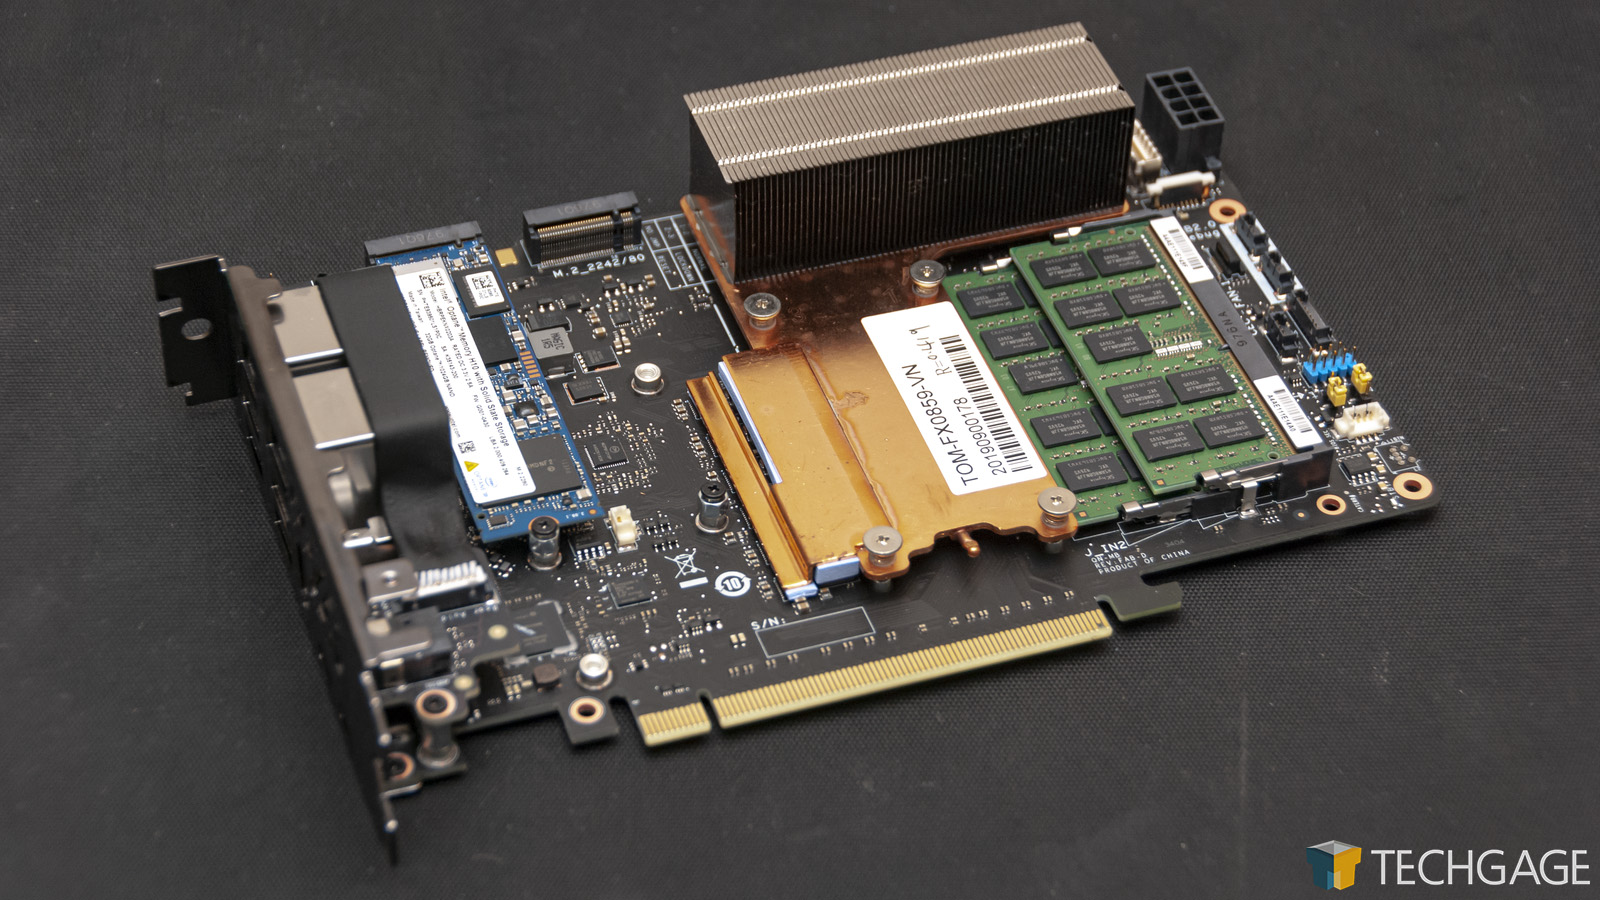
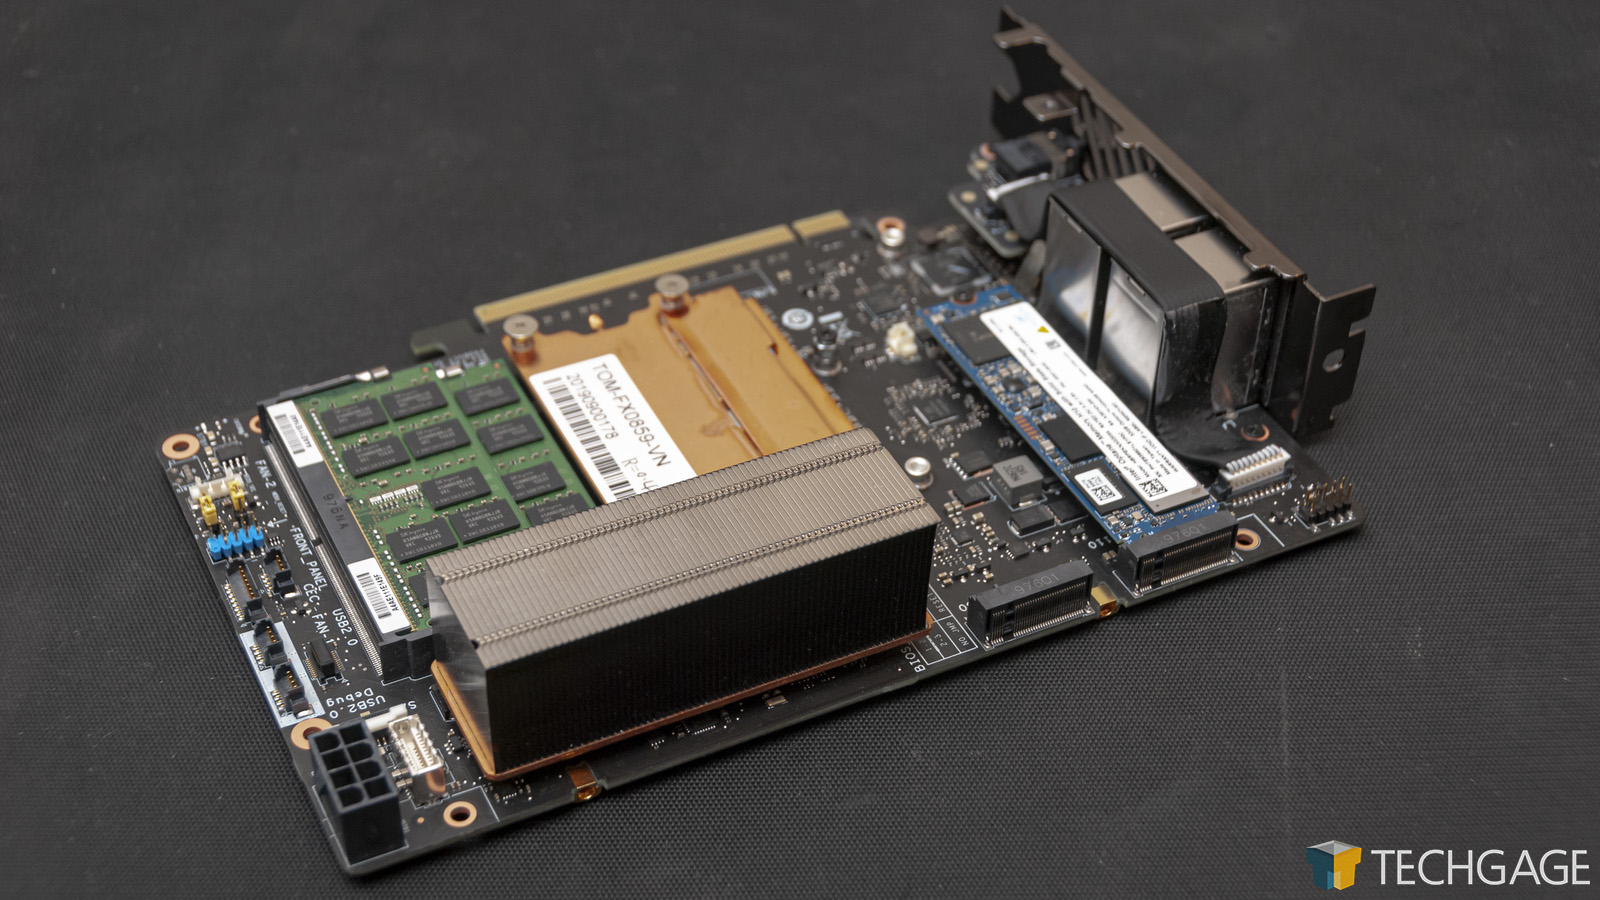

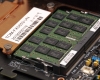
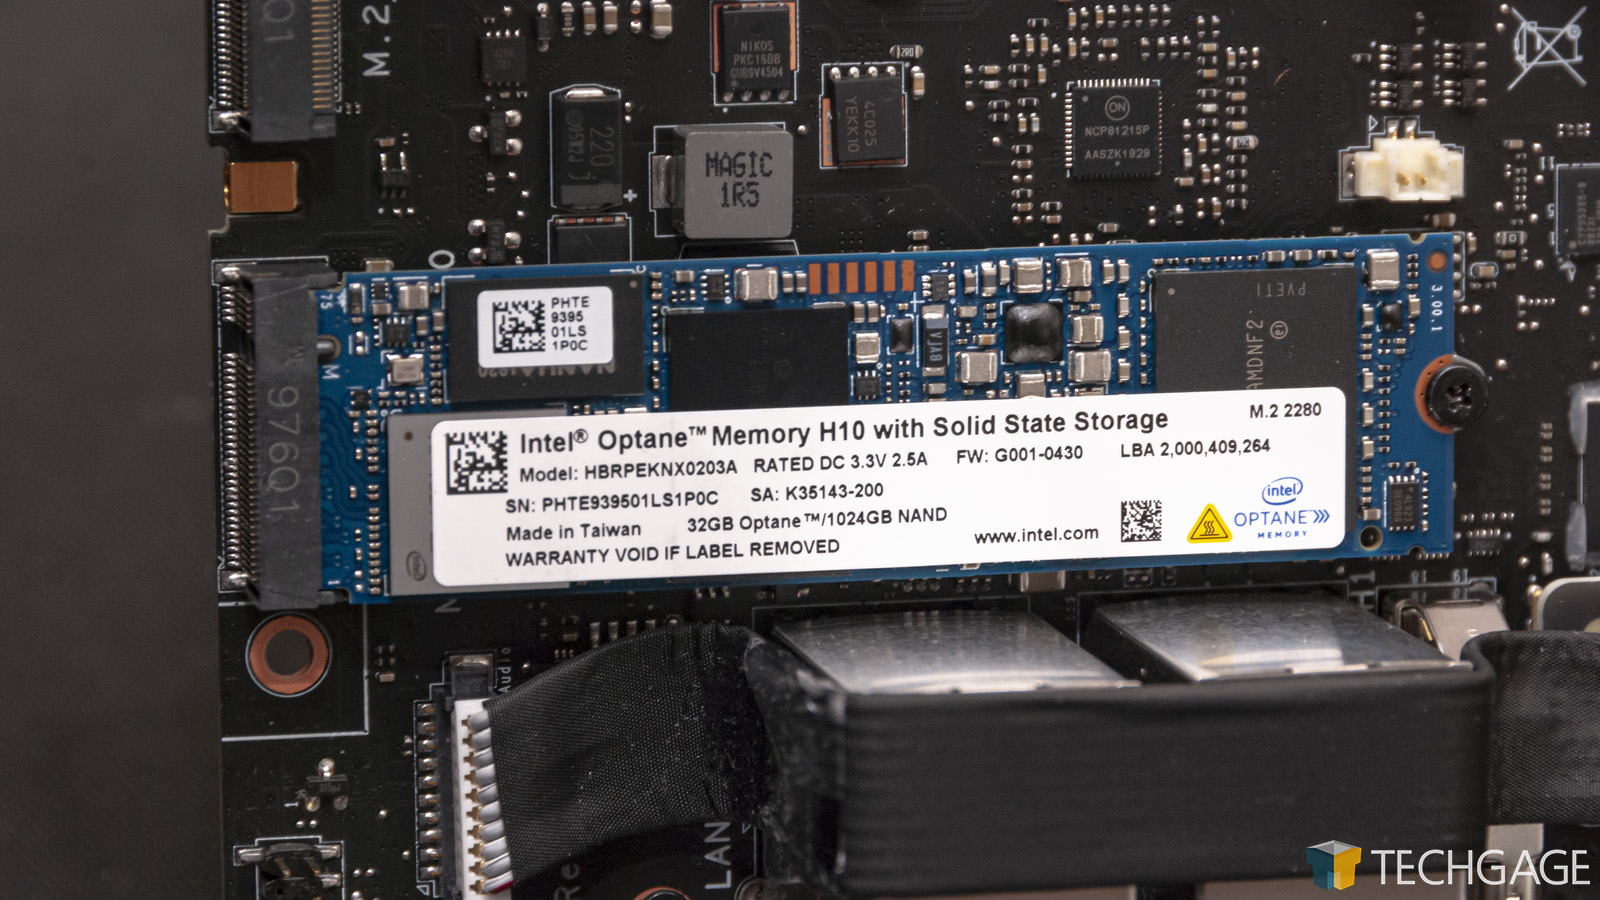
What we see here is a (nearly) complete system. Without a discrete GPU, the integrated graphics can be driven from the CPU, at the expense of performance. Two slots are available for the memory, which in our case hold two 16GB Kingston ECC DDR4-2666 SODIMMs. The 1TB Optane M.2 hybrid drive can be seen in blue, sitting beside an empty M.2 slot awaiting your additional storage. The included M.2 drive isn’t strictly an Optane drive, but a hybrid of 1 TB of NAND flash and 32GB of Optane cache.
We’re not sure how easy it is to remove the Compute Element’s heatsink, but we didn’t want to take a chance, since it is an embedded design. If you are not afraid to dig in a bit, you may want to remove this Compute Element and the discrete GPU once in a while just to blow air out – although after three weeks of use in an annoyingly dust-prone room, we haven’t seen any real buildup thus far.
If an additional M.2 SSD is installed inside of the Compute Element itself, then some blue protective film will need to be removed from inside the cooler, as it has a pre-applied thermal pad ready. A third M.2 slot can be seen in the final photo in the slider above. It’s directly beneath the Compute Element and graphics card, and is pictured with its heatsink installed.
For such a small unit, it’s nice to see three full M.2 slots available, but be warned that the chassis slot shares its bandwidth with whichever devices are installed in the other PCIe slots (using the 4x port will drop the 16x port to 8x mode). We really can’t imagine that being a problem even with a GPU like (up to) the RTX 2070 installed, but it’s important to bear in mind that the best M.2 performance will be from the Compute Element itself.
For those interested, the included Flex ATX power supply is an FSP FSP500-30AS 500W which carries an impressive 80 Plus Platinum rating. FSP has been making power supplies adhering to this form-factor for some time, so we’re hopeful that if you ever encounter yours burning itself out, you will be able to get a replacement. The fact that the unit carries a Platinum rating should mean chances of that will be very low. However, it is worth noting that despite the 10-pin ATX plug, it is not an ATX12VO power supply, as it still uses a 5V standby rail, so make sure the PSU you pick up to replace it adheres to this.

Support our efforts! With ad revenue at an all-time low for written websites, we're relying more than ever on reader support to help us continue putting so much effort into this type of content. You can support us by becoming a Patron, or by using our Amazon shopping affiliate links listed through our articles. Thanks for your support!

Rob Williams
Rob founded Techgage in 2005 to be an 'Advocate of the consumer', focusing on fair reviews and keeping people apprised of news in the tech world. Catering to both enthusiasts and businesses alike; from desktop gaming to professional workstations, and all the supporting software.


