- Qualcomm Launches Snapdragon 4 Gen 2 Mobile Platform
- AMD Launches Ryzen PRO 7000 Series Mobile & Desktop Platform
- Intel Launches Sleek Single-Slot Arc Pro A60 Workstation Graphics Card
- NVIDIA Announces Latest Ada Lovelace Additions: GeForce RTX 4060 Ti & RTX 4060
- Maxon Redshift With AMD Radeon GPU Rendering Support Now Available
NeroLinux 3
Its taken a while, but NeroLinux has finally reached version 3.0. New features include HD-DVD and Blu-ray media support, a revamped GUI to mimic Nero Burning ROM 7 and more expert features than you can shake a stick at.
Page 1 – Introduction
|
|
It’s hard to believe, but it’s been just over two years since NeroLinux 2.0 was first released. At the time, it was a big step for Nero because the Linux market was already being hogged by k3b, X-CD-Roast and similar applications. The biggest kicker for consumers though, was the fact that in order to use the program, you had to purchase the full-blown edition for Windows which cost upwards of $80.
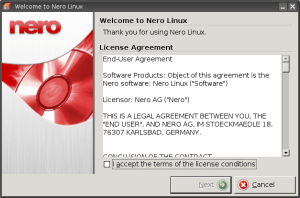
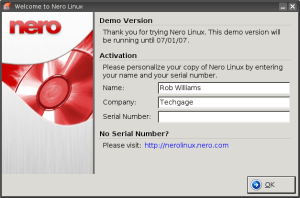
So what is Nero trying to prove? Well, like most companies they want to expand their horizons and make money elsewhere. They already own the Windows market, so why not try elsewhere? At this time I am unsure how much NeroLinux 3.0 will cost and how it will become available, but that should be revealed today. I received the final build at the last possible moment, so there was no time to investigate. ¹
When Nero released NeroLinux 2.0, it was lackluster to say the least. At the time, I was rather excited because I enjoyed the GUI of the Windows version, but was quickly disappointed when I realized it lacked one important thing: features. That’s where 3.0 is set to change things up.
Of most interest is the fact that it will allow you to burn both HD-DVDs and Blu-ray discs, while k3b and others do not. I believe there are command-line tools available that aide in this, but for those who want a GUI offering, Nero will be the only. Sadly, I do not own a Blu-ray or HD-DVD recorder, so I am unable to test out that feature.
For those familiar with Nero in Windows, the new GUI will make you feel right at home since it’s based off of Nero Burning ROM 7.0. This is what we should have seen two years ago. In addition to the GUI, NeroLinux will be available in the same 26 languages that the Windows version is, offers full unicode support and audio ripping.
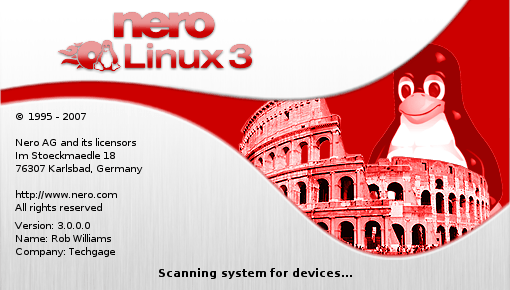
The big question right now is, will I move away from my beloved k3b which I have relied on for years?
Nero offers NeroLinux in downloadable form as a .deb and .rpm, which was a complaint I had when I reviewed 2.0 two years ago. Those formats are fine if you use a distro that relies on them (Debian, Red Hat), but for those who don’t, problems normally arise. Luckily, there is a handy script called rpm3targz which does just what the name suggests. Throw that code into a file and run it as a script with the RPM filename following it, eg. sh rpm2targz nerolinux-3.0.0.0.rpm.
Once you have your tar file, you can untar it to your root directory which will unload files into both the /etc and /usr. Then you can run the application like anyone else, by running “nero” as a command. Just bear in mind that if you do not use the .deb or .rpm file, uninstallation will be a chore.
I’ve created a script that will take the chore out of it for you, but I urge it only be used with 3.0.0.0, as future versions might very well throw new files into the mix. The ideal thing to do is to save the output of the untar to a text file to reference it later. Use the script at your own risk!
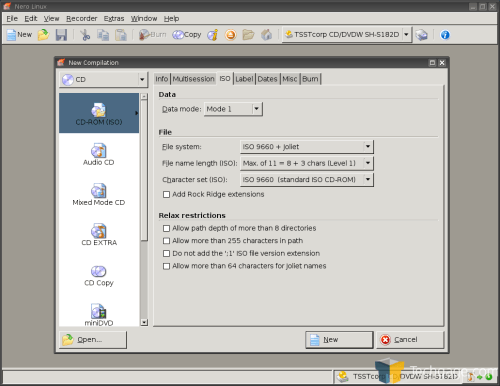
At first glance, NeroLinux is strikingly similar to the Windows version as promised. I am a fan of the GUI. It’s simply intuitive.
On the left panel you will see these entries:
|
|
I assume options will be similar if you have an HD-DVD or Blu-ray drive installed. At this point in time, I assume that’s going to be a very low count of the population.
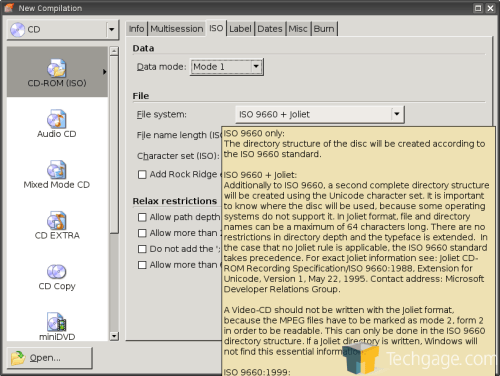
One thing you will notice quickly, compared to the likes of k3b, is that there is a lot more customization available to you right away. There are tabs upon tabs of options, which is a great thing, even if you ignore half of them. Since a lot of this can be overwhelming, hovering over any of the options will explain what they mean. This is a huge deal, as it saves the user from hopping over to a search engine if they are confused.
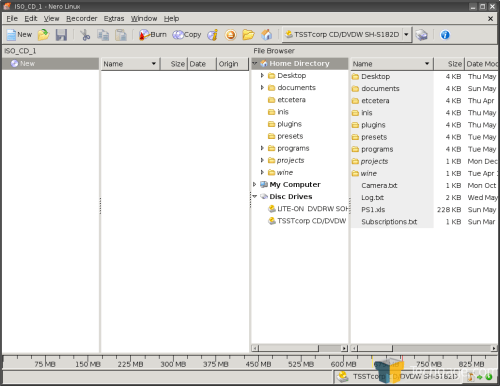
Depending on which type of burning you chose, you will see a file manager like in the image below. To access everything on /, you will need to double click My Computer and it will be available to you. Yes, they had to carry something over from it’s Windows counterpart that is blatantly obvious ;-)
That aside, the file manager is easy to use and looks clean as well.
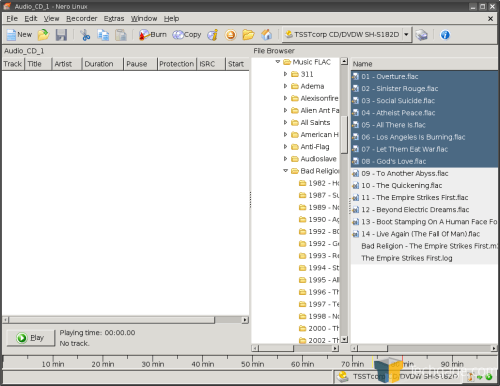
That’s not to say there isn’t problems though, because there is a rather large annoyance that I have found. I’ll explain it with an example. You have a folder on your computer called Party Tunes, and want to copy over every file within it to the Audio CD panel. Normally, you’d expect to highlight all of the files and drag them over, but that’s not possible here. If you have a group of files selected and click on one to carry them over, it makes the file you just clicked on the primary selection. This doesn’t go for just audio CDs, but data cds and anything that relies on the file manager.
I thought I was due for a life of hardship, but not so. Instead, you need to right-click the area inside of the left panel and choose “Add Files” which brings up your default file manager which -does- allow you to make multiple selections. I find this odd behaviour. What’s the point of the built-in file manager if it only allows you to select one thing at once? You can add entire folders with a data CD, but for music, it’s not possible.
A feature I did appreciate was that while creating an audio CD, Nero accepted popular audio formats including FLAC, MP3 and OGG. It did not accept WMA however.
¹ NeroLinux 3 has now been released and costs $24.99USD for the serial number.
|
|
Support our efforts! With ad revenue at an all-time low for written websites, we're relying more than ever on reader support to help us continue putting so much effort into this type of content. You can support us by becoming a Patron, or by using our Amazon shopping affiliate links listed through our articles. Thanks for your support!


