- Qualcomm Launches Snapdragon 4 Gen 2 Mobile Platform
- AMD Launches Ryzen PRO 7000 Series Mobile & Desktop Platform
- Intel Launches Sleek Single-Slot Arc Pro A60 Workstation Graphics Card
- NVIDIA Announces Latest Ada Lovelace Additions: GeForce RTX 4060 Ti & RTX 4060
- Maxon Redshift With AMD Radeon GPU Rendering Support Now Available
NZXT Panzerbox Classic Series Mid-Tower
Do you find most mid-towers a little too large, but find small form-factor chassis’ to have the opposite issue? The latest entry to NZXT’s “Classic Series”, the Panzerbox, may have you covered. This sturdy aluminum chassis is neither too large nor too small, yet it still offers ample internal room for effective cooling. It doesn’t look too bad, either!
Page 1 – Introduction
Where chassis’ are concerned, physical size seems to have been thrown to the wayside as of late. Chassis dimensions have grown to the point that most new enthusiast-grade units are all full ATX (aka “Full Tower”). This is fine for people who want the most robust expansion solution possible, yet it has left those of us looking for something more manageable with a lack of choices. No group has been hit harder than the LAN crowd since their motto is certainly not “bigger is better”.
Having established themselves solidly in the enthusiast market, NZXT has thrown us a surprising curveball with their latest release in the Panzerbox. Touting oversize cooling fans and lightweight aluminum, this chassis is also one of the very few mid ATX spec cases that has been released in a fair bit of time. Since they have topped that off with a huge list of features and expansion options, I was excited to get my hands on one for a nice test drive.
Just to put this all into perspective, remember this. Coming in with the overall dimensions of 9 1/2″ (W) x 18″ (H) x 18″ (D), this case could even be called small. My first thought was to grasp at just how they thought we could get all of our high-end gear not only installed, but also kept from melting. Add to that the use of mostly lightweight aluminum in the design… I was not even sure if it had the structural integrity to withstand the abuse of a LAN event. Let’s take a closer look and find out just how NZXT set out to accomplish their goals.
Closer Look
When the package first arrived, I was taken back as to how small the box was. It was hard to get past the “size matters” way of thinking, I’ll admit. Once out of the box though, I was certainly impressed with both the look and feel of the chassis. Along with the extensive incorporation of mesh paneling, the case felt very sturdy overall – a nice plus.
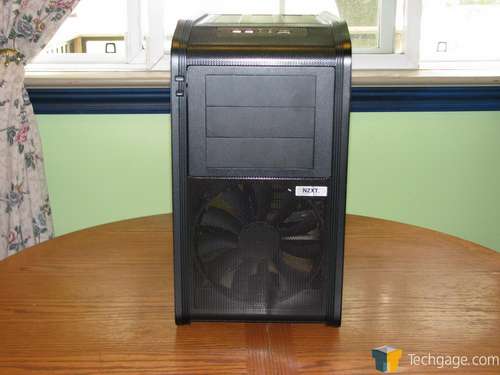
Looking at the front, we can see the more-than-ample 190mm intake fan nestled neatly below the three 5 1/4″ expansion slots. I was somewhat surprised at the lack of external 3 1/2″ slots, but let’s face it, there is little need for a floppy drive anymore, and front-mounted USB ports can handle flash card devices just fine.
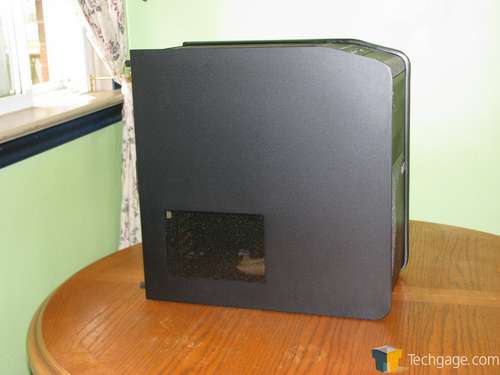
The left side panel is cut to form and sports a mesh ventilation section to allow some fresh air to enter inside. The matte black paint job is good, simple, but clean. There is an unusual power supply mounting design with the Panzerbox that places it directly behind the mesh so you can draw cool air from the outside into your power supply area – a nice feature given the small overall design of the chassis.
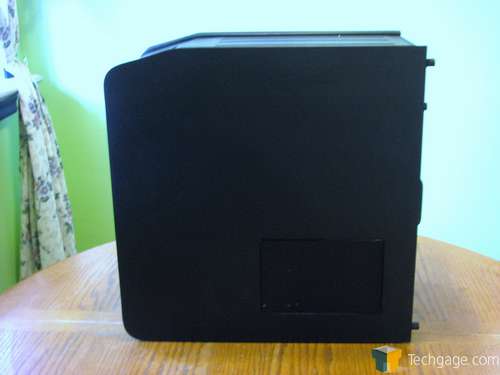
The right side is a mirror image of the left with another mesh ventilation area included. While there is not direct venting in the motherboard tray, it is still a good idea to allow air inside this area since it is usually delegated to dead space.
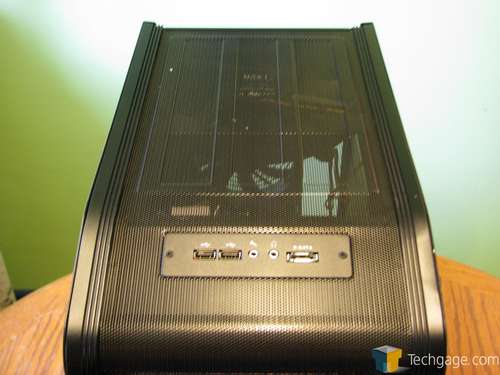
The top is also a mesh design which is open from nearly front to back with another 190mm fan pulling out the heat. The I/O panel is simple and effective with dual USB, Mic/Headphone jacks and an eSATA port included.
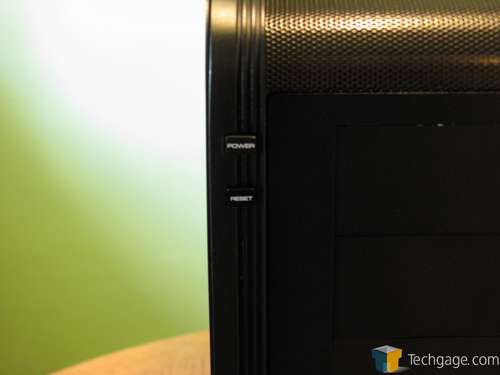
The power and reset buttons are on the top left of the front panel next to the top 5 1/4″ expansion slot. They’re nicely implemented and don’t feel too flimsy, and below them you can find both the power and HDD LED’s.
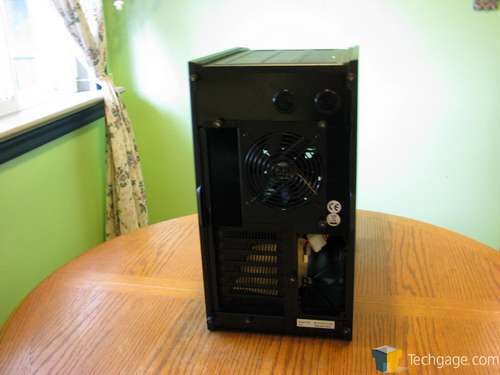
Taking a look to the rear we get our first look at the unusual placement of the power supply. Also notice the extra space over the removable motherboard tray to allow for internal installation of a dual 120mm water-cooling radiator when using the included rails. A single 120mm exhaust fan is included here as well.
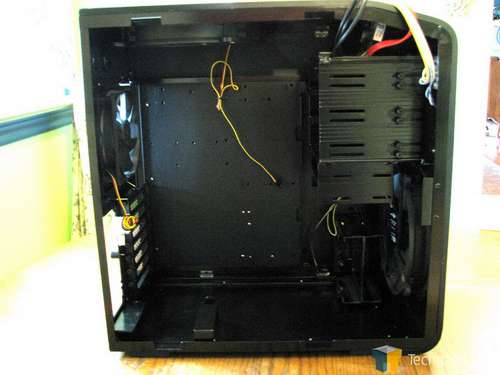
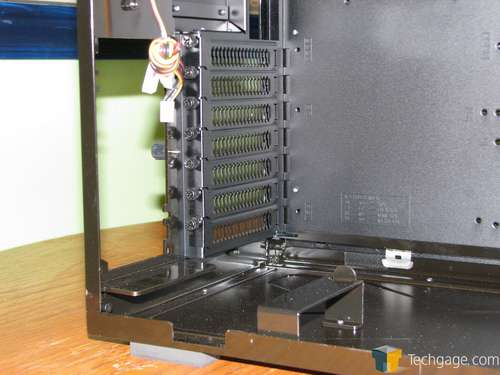
With the side panel removed we see that the entire chassis is painted pure black, inside and out. This has become a feature that pretty much everyone is expecting to see now. This significantly improves the looks of the final build and enhances the conception of quality. Take note also of the overall open feel the interior has, despite its size. There is little for the front intake fan’s airflow to run into before it starts doing its job of cooling down your components.
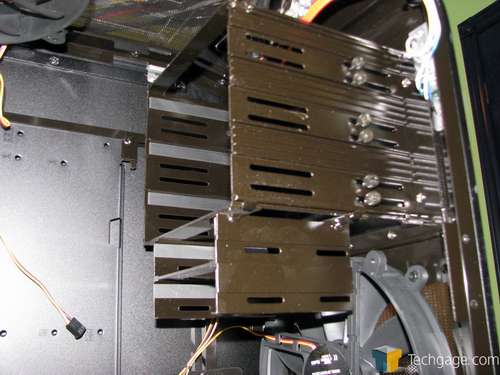
Everything inside the case is made from aluminum and it is well-designed for the most part. There are mounting points for 2 hard drives under the 5 1/2″ expansion slots. This design is twofold since it will also help wick away some extra heat from your drives.
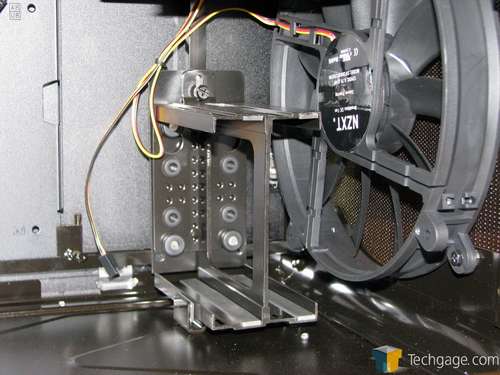
Down below on the case floor there is a mounting rack for two more hard drives right behind the front intake fan. This cage is supported on rubber bushings and secured with a single thumbscrew. I like this design more than a full cage since it does not block the flow from the intake nearly as much as the usual full sized drive cage we see on most cases.
The power supply is located in the lower rear of the case mounting perpendicular to the case floor on two sturdy brackets. This design works well and uses space that is many times simply dead space. It should be noted that there is not much space left between the video card and supply, so be aware of that if you are not using reference cooling.
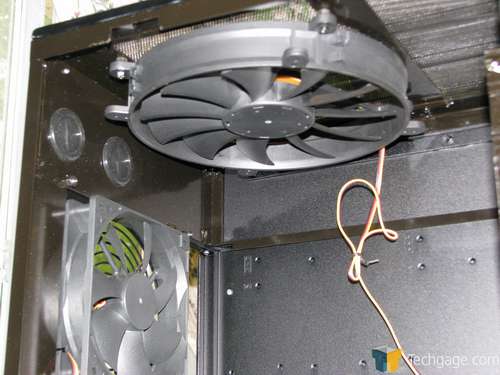
The rear exhaust fans are mounted where needed to draw out the heat of the business end of your PC. You can see the ample spacing up top that allows the internal installation of a dual 120mm water-cooling radiator as well as pre-drilled holes for later water lines should you choose to mount your rad externally.
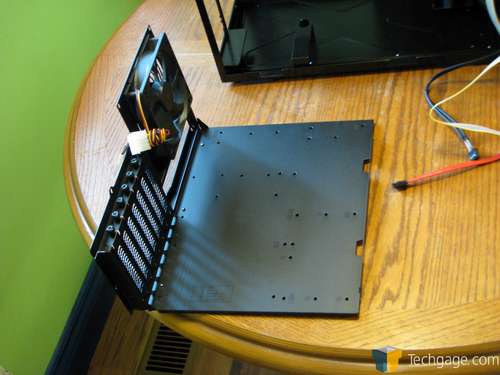
With the removal of 5 thumbscrews, the motherboard tray slides easily out the back. I appreciate the design of this tray and there is plenty of space to allow you to mount the tallest air cooling heat sinks and graphics cards as well (as long as they use reference design coolers). This is a feature I have not seen used in some time and it sure does make assembly a much easier task.
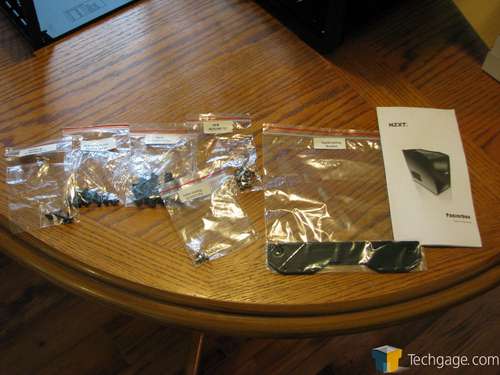
You get all the usual hardware needed to build your PC as well as the brackets I briefly described that will mount to a water-cooling radiator which will allow you to use the factory holes that hold the 190mm fan. This is another feature which is sorely lacking in other designs since most radiators do not have a standard spacing on their mounting holes.
Overall, I’m impressed with both the layout and feel of the Panzerbox. There are no sharp edges to cut yourself on and the design is mostly tool-free. There is a definite feel of solidness despite the very light weight build. If you are going to be moving your PC around a lot, this is another thing that will attract you to the Panzerbox.
Support our efforts! With ad revenue at an all-time low for written websites, we're relying more than ever on reader support to help us continue putting so much effort into this type of content. You can support us by becoming a Patron, or by using our Amazon shopping affiliate links listed through our articles. Thanks for your support!


