- Qualcomm Launches Snapdragon 4 Gen 2 Mobile Platform
- AMD Launches Ryzen PRO 7000 Series Mobile & Desktop Platform
- Intel Launches Sleek Single-Slot Arc Pro A60 Workstation Graphics Card
- NVIDIA Announces Latest Ada Lovelace Additions: GeForce RTX 4060 Ti & RTX 4060
- Maxon Redshift With AMD Radeon GPU Rendering Support Now Available
OCZ Tempest CPU Cooler
OCZ has released many products over the past few months, one being a new CPU cooler. It may not be much to look at, but the design promises great heat dissipation. If you are looking for a low profile air cooler that glows, read on…
Page 2 – Installation
|
|
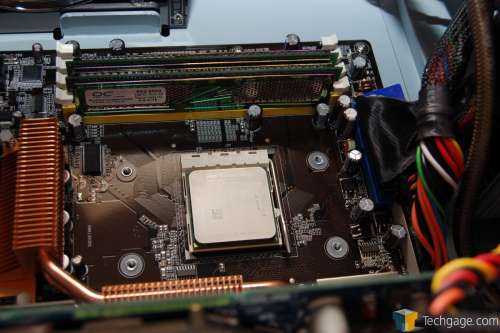
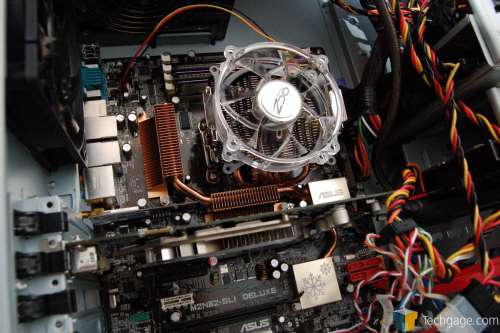
Because of the slightly odd design, I was worried about the installation process. Especially since my case doesn’t allow much freedom, thanks in part to the motherboard and the power supply with all of it’s connectors. The ASUS M2N32-SLI Deluxe motherboard has a large heatsink that travels over the north/southbridge and even the PWM. It is rather close to the socket, so it was sketchy as to whether the tempest would fit properly.
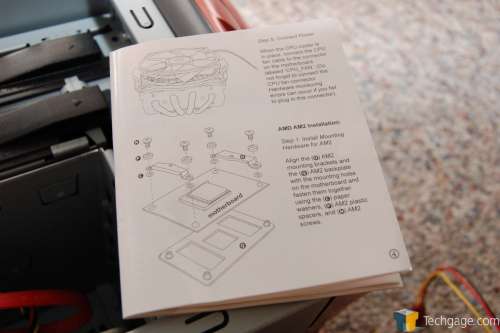
First step was to remove the previous cooling and wipe off the thermal paste from the CPU. I had to remove the bracket that was there, since OCZ includes a special one for you to install. Once ready, I took a look at the rather easy to follow instructions.
OCZ included a backplate also, which essentially just goes on the back of your motherboard to allow some holes for screws. It also adds better support… chances are your motherboard will have one already though. Luckily enough, after removing the CPU bracket, the backplate stayed in place, so I did not have to install OCZ’s version. However, others may not be so lucky… since sometimes the bracket will fall after removing the screws. This would require you remove the motherboard and install the CPU cooler with it outside of your case.
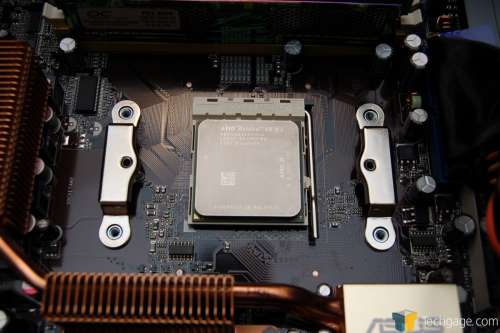
First step was to lie down some plastic washers over each hole.
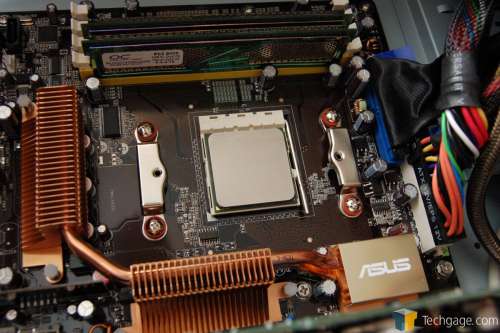
The bracket is only two small metal pieces… much smaller solution than what the motherboard supplies.
Another thick washer was lied down, and then everything was securely screwed into place.
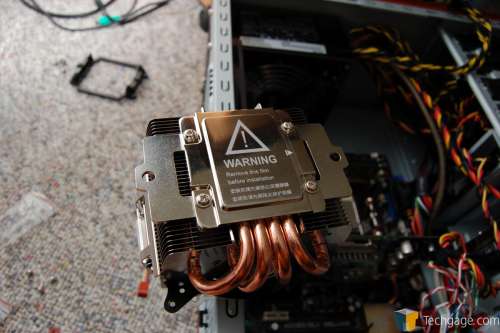
The next step was installing two small pieces onto the cooler, for the AM2 support. You can see the result below.
All done! You will notice though, that the bottom heatpipes hit the PWM heatsink. I clued in shortly after this picture was taken that in my case, that the cooler needed to be turned 180°. Since the other side just has small copper nipples, it did not touch the heatsink. In turn, the heatpipes on the other end did not hit the memory.
The installation was by far one of the easiest I have had; I am impressed there. The only tricky part was securing the cooler into place with the final two screws, as there was not much room for a screwdriver. With a little patience, it was accomplished though. You may also notice that the fan is not secured here. The clamps on each side do a good job of holding it steady… so I assume that screws are not meant to be needed. This also makes it easy for testing which fan side does more good.
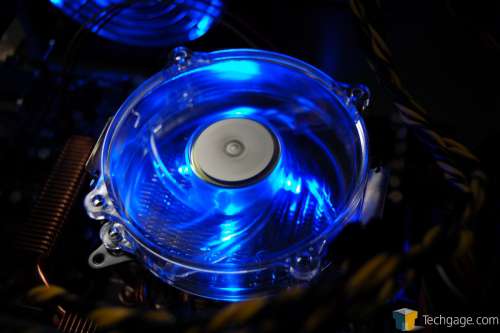
Finally, here is a look of the fan once turned on.
|
|
Support our efforts! With ad revenue at an all-time low for written websites, we're relying more than ever on reader support to help us continue putting so much effort into this type of content. You can support us by becoming a Patron, or by using our Amazon shopping affiliate links listed through our articles. Thanks for your support!


