- Qualcomm Launches Snapdragon 4 Gen 2 Mobile Platform
- AMD Launches Ryzen PRO 7000 Series Mobile & Desktop Platform
- Intel Launches Sleek Single-Slot Arc Pro A60 Workstation Graphics Card
- NVIDIA Announces Latest Ada Lovelace Additions: GeForce RTX 4060 Ti & RTX 4060
- Maxon Redshift With AMD Radeon GPU Rendering Support Now Available
SuSE Linux 10.1

If you are intrigued by the Linux world, there is no better time than now to get in on the action. There has never been so much support, or a wide variety of distros to choose from. One of the most popular distros in recent years have been SuSE, due to it’s ease of use.
Page 4 – Yet Another Setup Tool
Because YaST (Yet another Setup Tool) is such a big part of SuSE, we will take a quick look around to see what it offers. YaST is comparable to the Control Panel in Windows and offers -full- control over everything system related. Lots of tweaking is to be had behind these doors.
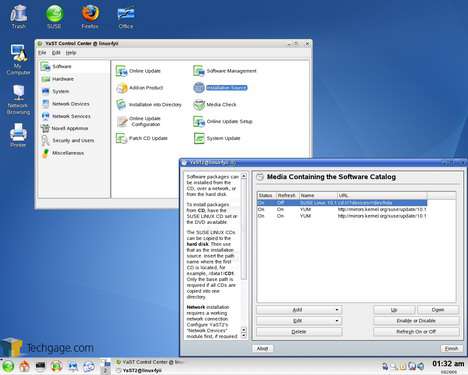
First up is the installation source. Here you can specify the media you wish to download from. You can add extra URL’s to check when you want to update a product. This is useful if the Novell servers do not have a certain version you need, or the program at all, but another source does.
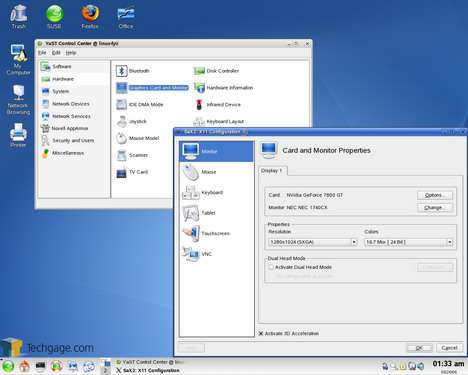
SaX2 allows you to change anything you need to video related. That includes resolution, depth and whether or not you have more than one monitor.
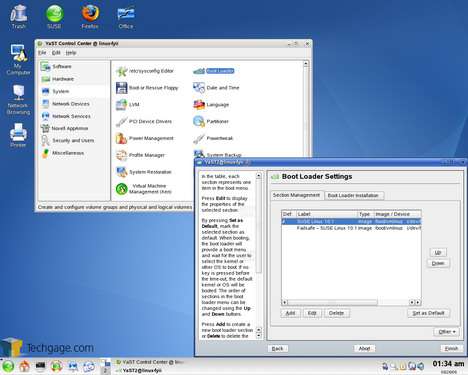
You are able to edit your bootloader in a GUI interface, but to be honest it’s more confusing than just editing the grub.conf yourself. However, I am not sure where SuSE even stores the grub.conf…
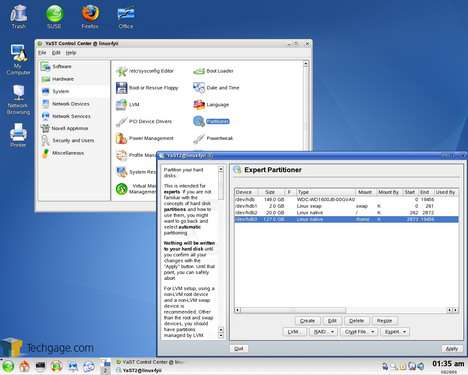
If you have more than one disk, you can take advantage of the partitioner. You are not able to resize any disk that’s in use, which is a downside if you only have one drive. However, if you have a SuSE LIVE DVD lying around, you will likely be able to resize your main drive with it, since that version of SuSE is loaded into memory instead of installed on your drive.
PowerTweak gives you a lot of control over the finer points of your system… similar to a Windows registry.
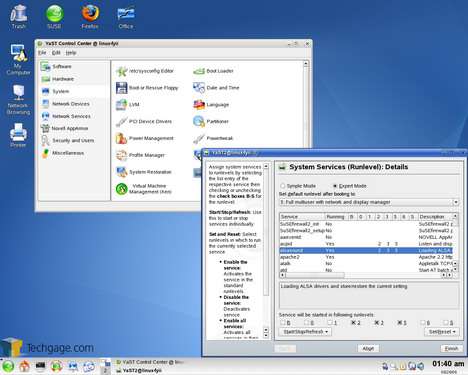
While I am comparing things to Windows [don’t hate me peeps, hate the game], here is SuSE’s version of msconfig.
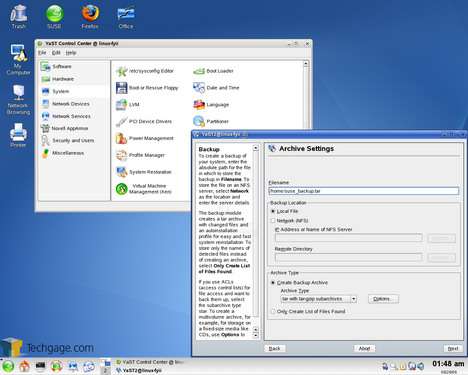
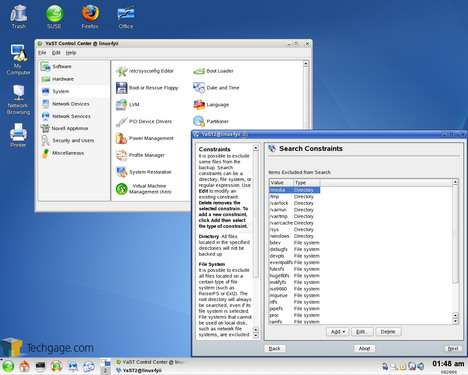
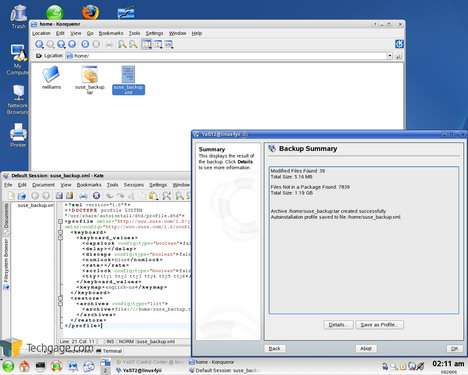
SuSE includes a simple backup tool that will back up a slew of packages and required dependencies in case anything goes awry during your experience. It will bundle everything into a tar file, and save it to wherever you want.. probably to a blank DVD if you want to use it later on. When the time comes to restore, you can use the System Restoration tool which will untar all of the files, and use the included XML file to do so properly.
Support our efforts! With ad revenue at an all-time low for written websites, we're relying more than ever on reader support to help us continue putting so much effort into this type of content. You can support us by becoming a Patron, or by using our Amazon shopping affiliate links listed through our articles. Thanks for your support!


