- Qualcomm Launches Snapdragon 4 Gen 2 Mobile Platform
- AMD Launches Ryzen PRO 7000 Series Mobile & Desktop Platform
- Intel Launches Sleek Single-Slot Arc Pro A60 Workstation Graphics Card
- NVIDIA Announces Latest Ada Lovelace Additions: GeForce RTX 4060 Ti & RTX 4060
- Maxon Redshift With AMD Radeon GPU Rendering Support Now Available
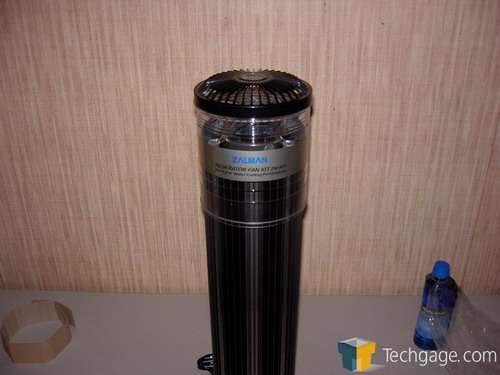
Zalman Reserator 1 V2 and Fan Kit
Water cooling has a lot of benefits. First off it’s more effective, water removes heat close to ten times better than air. Secondly it’s generally quieter, this is owed to waters better thermal capacity and the fact that the radiators used have way more area than a simple HSF does. Today we take a look at an un-traditional water cooling system that’s about as quiet as you’ll ever get.
Page 3 – Fan Kit
The Fan Kit is packed in a more environmentally friendly cardboard cradle. It includes the instructions, wiring, clips to affix the wiring for the fan to the Reserator, Fan Mate 2 and double sided tape to affix the Fan Mate 2 to your case. I would’ve liked to see a 4 pin to 3 pin adaptor included since Zalman expects you to power the ZM-RF1 from a fan header on your motherboard. Its power consumption of 5W at full speed might be more than some motherboards are capable of handling easily and could damage the header.
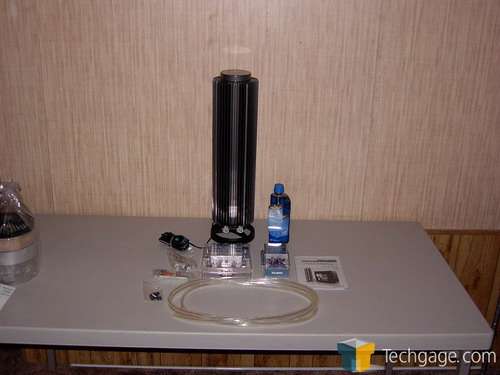
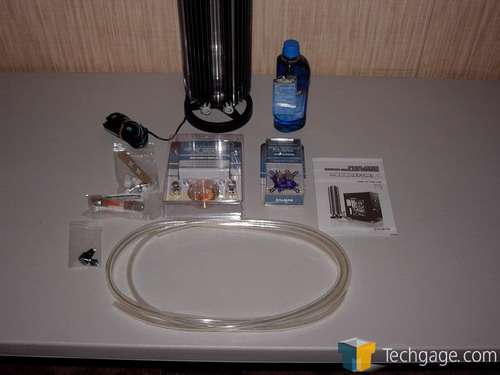
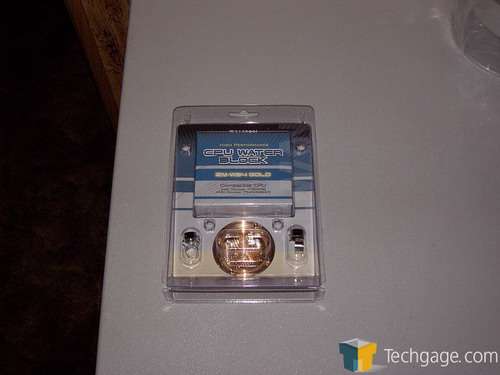
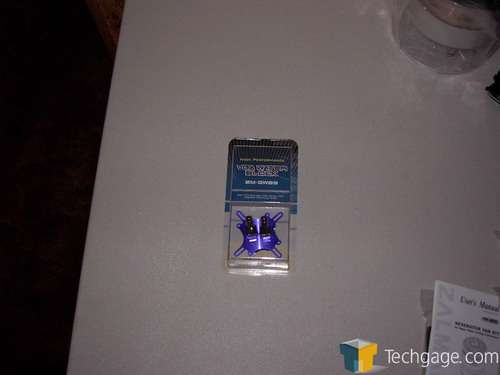
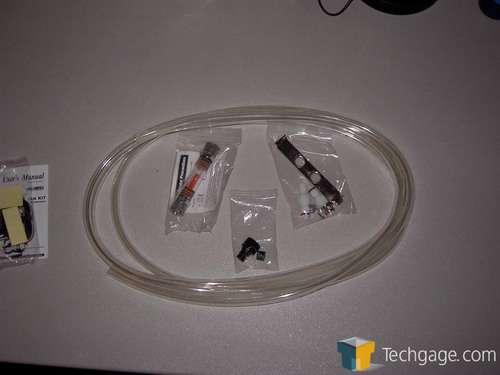
Here’s a look at everything included with the Reserator 1 V2. The blocks are in retail packaging while the rest of the parts are in poly bags. In the bags are the PCI pass-thru and quick disconnects, the flow indicator and the plug for plugging the power cable pass-thru inside the body of the Reserator in the event that you pull the stock pump and use an external pump.
One thing I like about the pass-thru for the tubing is that the holes are radiused so that the tubing won’t be chafing on a thin edge. I am not impressed that here is no provision for the wiring for the ZM-RF1 to pass through. This means that you have to leave a PCI cover off to run the wiring through unless you drill a hole in the case.
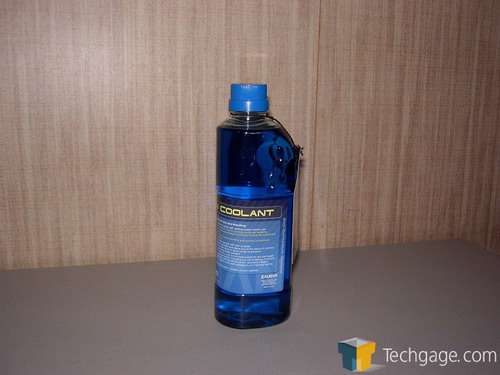
The coolant is blue ethylene glycol based coolant. No, it’s not pre-mixed, you have to mix it with 2 liters of distilled water.
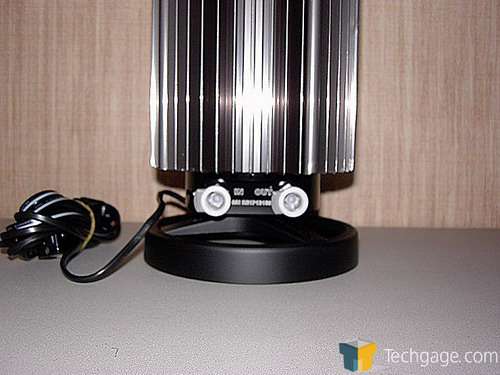
The base of the Reserator is etched with flow directions, the "out" port is the exhaust from the pump and is where you’ll place the line going to the flow indicator and then to the blocks. Zalman recommends running from the Reserator to the CPU block then to the GPU block and from there back to the Reserator.
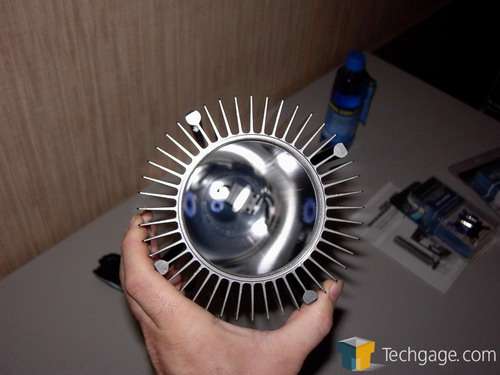
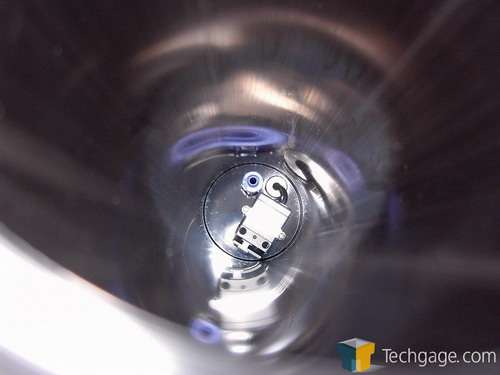
Looking down into the Reserator we can see the pump and we can also see where the plug goes in the event that the pump is removed. Due to the glare in the second picture it looks like the pump itself screws directly to the base. It’s actually a stainless steel bracket over the top of the pump that holds the pump in place. I took the pics this way due to the fact that removing the base is a task that basically requires a bench vise, two men and a small boy to accomplish. Since I’m lacking three of those things I was unable to pull the base for a closer look at the pump. This begs the question of exactly how difficult it would be for someone to remove the base in the event that the pump did fail.
|
|
Support our efforts! With ad revenue at an all-time low for written websites, we're relying more than ever on reader support to help us continue putting so much effort into this type of content. You can support us by becoming a Patron, or by using our Amazon shopping affiliate links listed through our articles. Thanks for your support!


