- Qualcomm Launches Snapdragon 4 Gen 2 Mobile Platform
- AMD Launches Ryzen PRO 7000 Series Mobile & Desktop Platform
- Intel Launches Sleek Single-Slot Arc Pro A60 Workstation Graphics Card
- NVIDIA Announces Latest Ada Lovelace Additions: GeForce RTX 4060 Ti & RTX 4060
- Maxon Redshift With AMD Radeon GPU Rendering Support Now Available
Zalman Reserator 2 Fanless Water Cooling
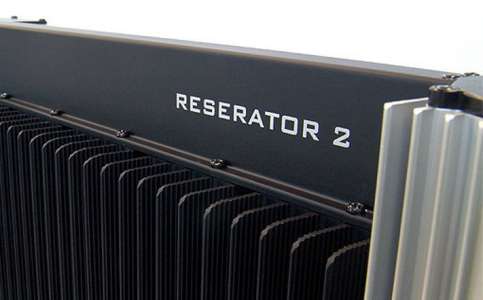
Sporting a longer box design rather than the slender tower, the Reserator 2 provides far more surface area than its older brother. With Matt’s opinion of the first generation product in mind, we are now set to work with the second round of liquid cooling from Zalman. Can the new design improve on performance over the original product? Let’s take a closer look to find out.
Page 1 – Introduction
|
|
In the PC community, there are only a few names that continually come up when there are talks of cooling. One of these companies is Zalman. While their products have been widely used by overclockers, their primary focus has always been on delivering a computing experience as close to silent as possible. Founded in 1999, Zalman has grown from a manufacturer of quality mainstream cooling components to a widely respected maker of high performance coolers.
Back in October, we took a long look at Zalman’s Reserator 1 V2. Throughout that review, Matt found the Reserator easy to install and it’s performance to cool the system better was better than an air alternative. With the experience that Zalman gained from the original Reserator, they set out to design a more efficient water cooler but insisted on retaining the silent operation that the original design mastered. The culmination of this research and development is the aptly named Reserator 2.
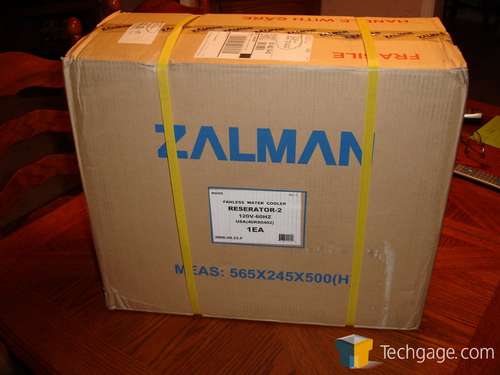
The Reserator 2 comes packaged in a plain brown box and is secured with a pair of shipping strips. These are either to make sure the box stays closed while in transit or to help in moving the package around. Either way, they are not coming off by themselves.
With the box opened, we see the retail packaging enclosed in the original brown box. This ensures that the retail box remains presentable during shipping so it can be moved to a store shelf if needs be.
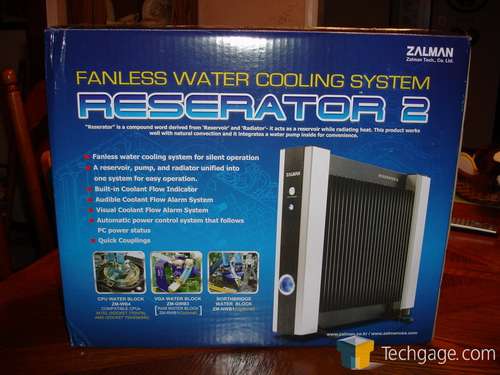
Once out of the shipping box, the Reserator box is colorful and informative. Our first impression of the packaging was that it was large. Standing at roughly the same height as most PC towers, the Reserator box is large.
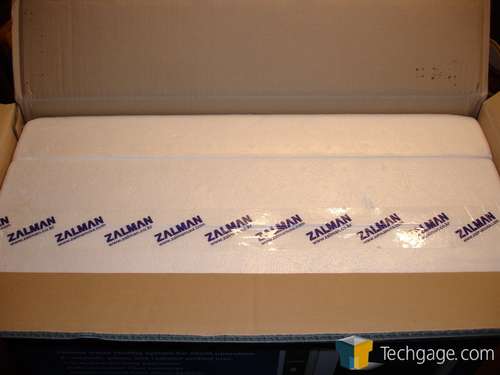
The last picture we have of the packaging is of the thick Styrofoam shell that the hardware comes packed in. The size of the box is more to accommodate the protective shell than it is indicative of the size of the Reserator itself. Sealed with Zalman packing tape, the shell holds all of the important hardware.
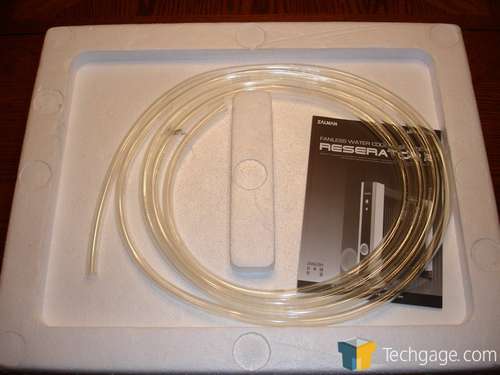
Once everything is out of the box, we see the tubing, along with the manual on the backside of the Styrofoam in a recessed area of the packaging. The manual is surprisingly very informative and readable in several languages. The tubing that Zalman has decided to use with the cooler is 3/8″ PVC and they generously give you roughly 4 meters, or 12 feet for us Yanks.
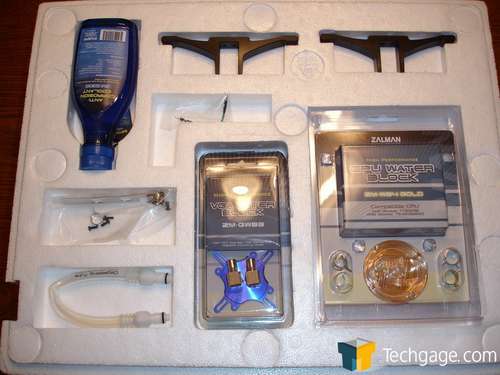
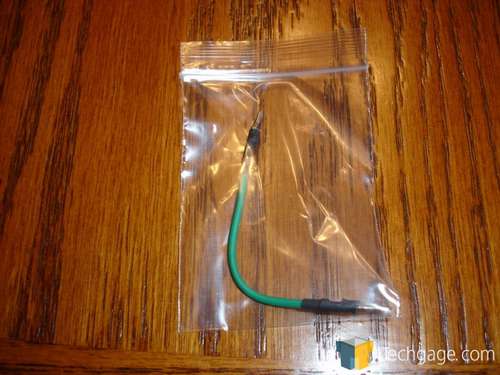
Once opened up, we see the hardware that comes with the Reserator 2. Included is a pair of feet to stabilize the unit, a bottle of Zalman’s anti-corrosion coolant, one CPU water block, one GPU water block and the hardware needed to put it all together. One interesting piece is a jumper cable to run your power supply without hooking anything up. In the past, I have just used a paper clip but not to allow anything to chance; Zalman provides this piece for you. Small but appreciated none the less.
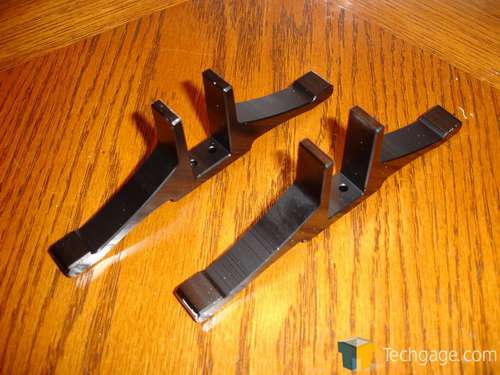
Starting with the unit’s “feetâ€, they are milled out of aluminum and bolt onto the bottom of the Reserator to stabilize it. To protect the surface that will support the cooler, as well as reduce any vibrations that might be caused by the pump, there are rubber feet on the bottom of the feet. Being secured onto the coolers main chassis by two small screws each, the ease of installation is great.
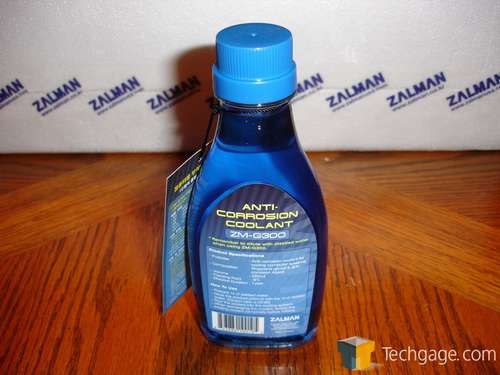
Moving onto the provided liquid, this is something that Zalman has produced themselves. The anti-corrosion coolant as they have labeled it is diluted with water and poured into the Reserator itself. Being anti-corrosive, the coolant will help prolong the life of the pump and the blue tint should certainly look good in any windowed PC case.
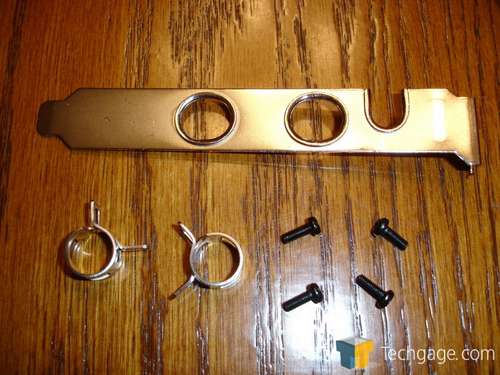
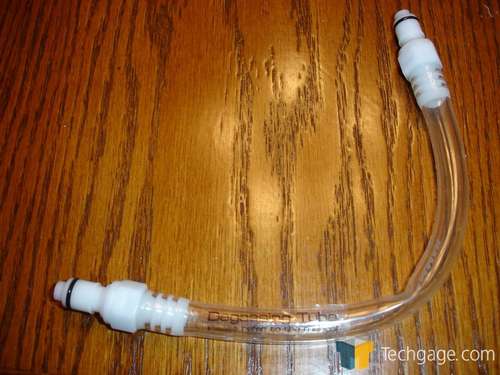
The parts included in the kit contain everything one will need to get their Reserator installed and up and going. The only downside is that that’s it. They have provided the exact amount of screws and parts to get the hardware installed and nothing more. With the mounting screws being so small, you might want to install this on a flat surface and not a carpeted floor because if you loose one of the screws, you’re out of luck. This is something that Zalman should consider including in future kits and it wouldn’t cost anything at all. Also included is a PCI backing plate to route the power cable and tubing into the case, as well as the above mentioned power supply jumper and a degaussing tube.
|
|
Support our efforts! With ad revenue at an all-time low for written websites, we're relying more than ever on reader support to help us continue putting so much effort into this type of content. You can support us by becoming a Patron, or by using our Amazon shopping affiliate links listed through our articles. Thanks for your support!


