- Qualcomm Launches Snapdragon 4 Gen 2 Mobile Platform
- AMD Launches Ryzen PRO 7000 Series Mobile & Desktop Platform
- Intel Launches Sleek Single-Slot Arc Pro A60 Workstation Graphics Card
- NVIDIA Announces Latest Ada Lovelace Additions: GeForce RTX 4060 Ti & RTX 4060
- Maxon Redshift With AMD Radeon GPU Rendering Support Now Available
Zalman Reserator 2 Fanless Water Cooling

Sporting a longer box design rather than the slender tower, the Reserator 2 provides far more surface area than its older brother. With Matt’s opinion of the first generation product in mind, we are now set to work with the second round of liquid cooling from Zalman. Can the new design improve on performance over the original product? Let’s take a closer look to find out.
Page 4 – Installation
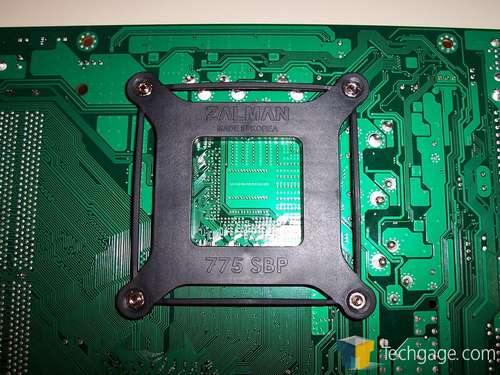
Installation of the Reserator should prove to be no harder than any other installation I have done. With all Intel installs, the first step is to remove the motherboard. Once removed, we will need to install the provided mount and back plate.
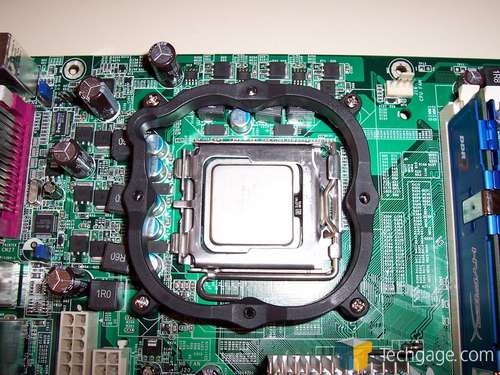
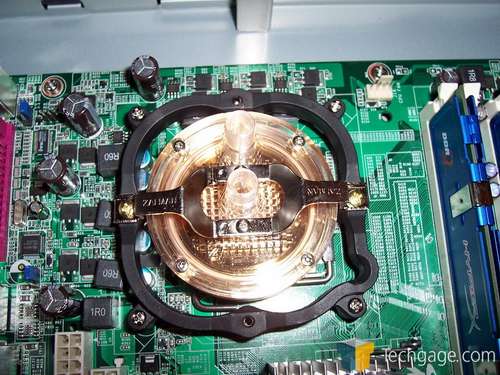
As you can see, the top mount sits rather close to the capacitors but clears them all. The back plate is also open in the center to deny heat the ability to build up on the back side of the motherboard.
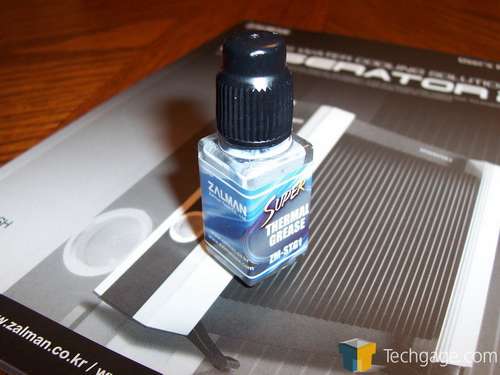
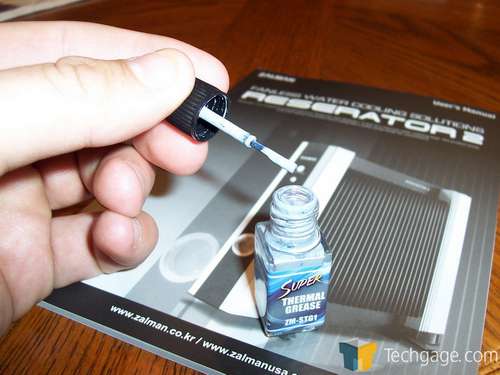
From here, we will not be using the provided thermal interface material (TIM) and instead use Zalman’s high end ZM-STG1 thermal paste. This is conveniently packaged in a small fingernail polish type bottle and has a small brush on the inside of the cap. This makes it easy to “paint†on the thermal paste and get a thin, even coat across the top of the E6600.
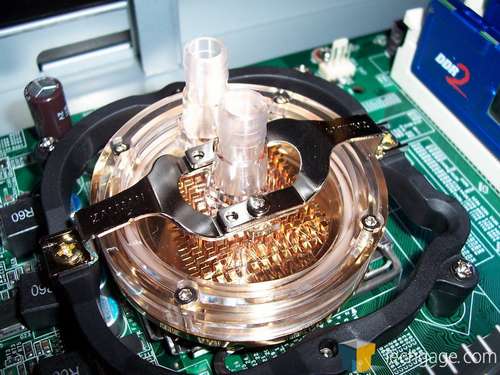
Once the paste is painted on, the block fits nicely down in the mounting bracket. One thing I would like to suggest is to install the two mounting arms prior to setting the block down onto the CPU. This saved me a fair amount of time as I was not fighting with the small screws inside the case, but rather attached them on the desk and then set the entire piece onto the CPU.
|
|
Support our efforts! With ad revenue at an all-time low for written websites, we're relying more than ever on reader support to help us continue putting so much effort into this type of content. You can support us by becoming a Patron, or by using our Amazon shopping affiliate links listed through our articles. Thanks for your support!


