- Qualcomm Launches Snapdragon 4 Gen 2 Mobile Platform
- AMD Launches Ryzen PRO 7000 Series Mobile & Desktop Platform
- Intel Launches Sleek Single-Slot Arc Pro A60 Workstation Graphics Card
- NVIDIA Announces Latest Ada Lovelace Additions: GeForce RTX 4060 Ti & RTX 4060
- Maxon Redshift With AMD Radeon GPU Rendering Support Now Available
NZXT H2 Silent Mid-Tower Chassis Review
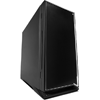
Being that silence is golden, it’s no wonder that so many people go out of their way to make sure their PC runs as quiet as possible. Pulling that off can be made a lot easier with the right chassis, however, and of them all, NZXT’s H2 is one of the best. It features classy aesthetics, a ton of features, and more foam than a busy Starbucks.
Page 1 – Introduction
H2! Geundheit!
*rimshot*
It’s case review time again and this one has me excited! Ok, I get excited whenever a new case crosses my table, but that’s not the point. Up for review today isn’t a sneeze, but rather NZXT’s H2 mid-tower case, which has been designed to be as quiet as possible without sacrificing cooling performance. NZXT has built a bit of a legacy with regards to quiet cases. It started in 2007 with the HU001, aka Hush, and continued on with the Whisper in 2008. The H2 has been a long time coming in my books and I can’t wait to see if it picks up where the others left off.
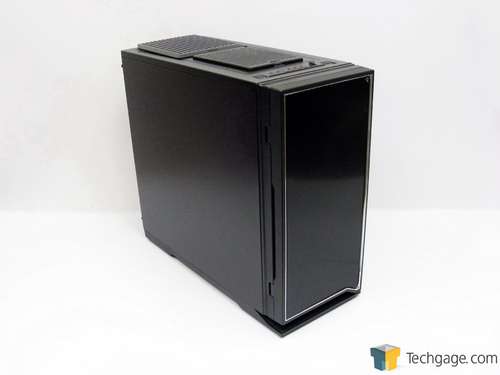
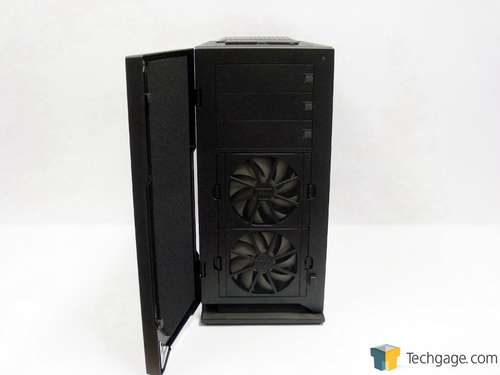
When compared to other cases available, the H2 has a rather subdued exterior. Also available in white, it features clear accents on the top and bottom right corners to allow the white hard drive activity and power LEDs to shine through. Behind the foam-lined door, which is designed to absorb sound and is held closed by a pair of good, strong magnets are three 5.25″ drive bays that feature quick-release clips. Just slide the clip to the left to swing the cover out and away.
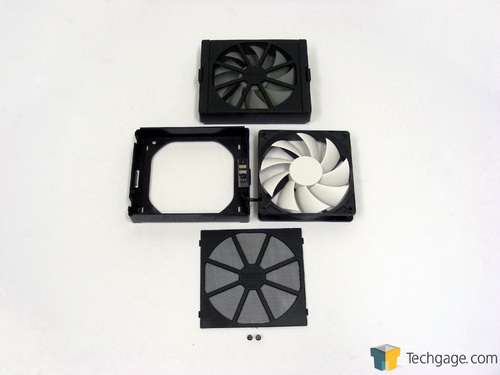
Hiding the eight 3.5″ drive bays are two 120mm fans. Much like the drive bays, the fans also feature quick-release clips on each side, but there’s a twist. Squeezing in on the clips on each side allows the entire fan assembly to be removed. The fans mount directly onto the brackets and also draw power from them thanks to the metal contact pads on the right side of the bracket and on the right side of the case frame.
If the fans need to be cleaned, the front of the bracket that holds the fan filter can be removed, possibly eliminating the need to remove the fan unless the blades themselves are dirty. This adds up to incredibly easy maintenance or replacement of the fans and reduces overall clutter by eliminating cables that would normally run through the case and possibly impede air flow.
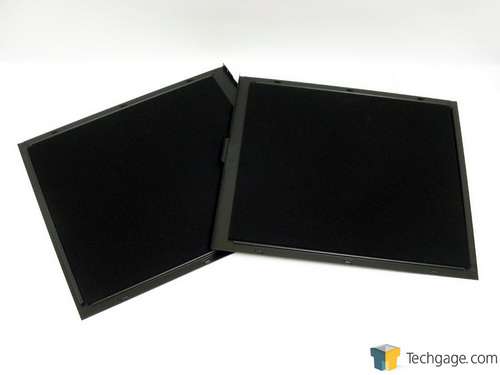
Both side panels are held on by black metal thumb screws and are completely solid so I’ll spare you a look at the outside and take a gander at the inside. Each side has more sound dampening foam to keep things as quiet as possible.
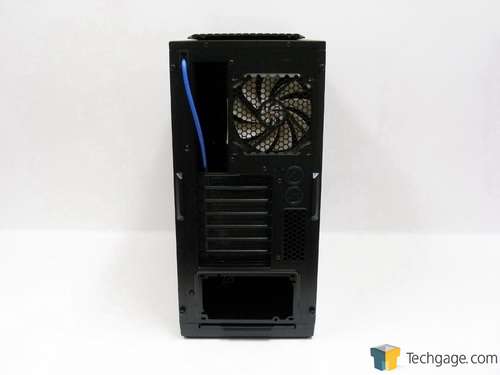
Around the back in the upper left corner is a small hole that the included blue USB 3.0 cable is fed through, but more about that in a moment. Just to the right is the motherboard I/O opening with another 120mm fan to the right of that. Below these are seven mesh PCI slot covers and two pre-cut holes with rubber grommets to run tubing for an external water cooling system. A vented opening is below with the opening for the power supply at the very bottom.
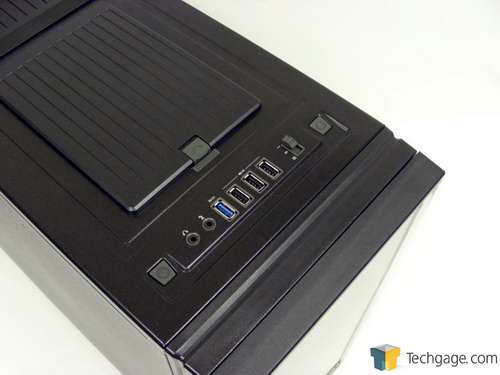
The H2 does away with the plain solid panel of years past. Across the front from left to right are the power button, 3.5mm microphone and headphone jacks and a USB 3.0 port that has connectivity provided by the blue cable mentioned earlier. That cable connects to a USB 3.0 port on the motherboard I/O but if no such ports are available, the cable can instead be connected to USB 2.0 ports and will operate at the lower speed and voltage.
Moving to the right are three USB 2.0 ports that connect internally, a three-speed fan controller and the reset button. The fan controller is powered by a 4-pin Molex connection and allows fans to run at 40, 70 and 100%. From the factory it is connected to the three stock fans but also has two spare connectors should additional fans be added to the available spots.
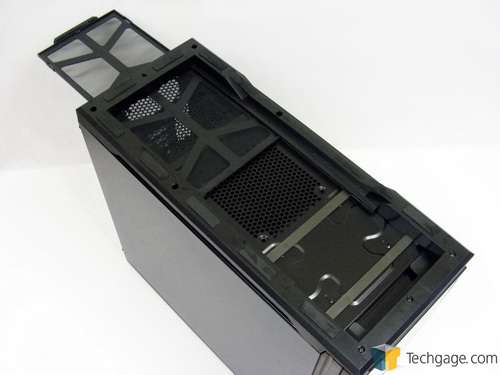
Behind the top I/O area is a cover that hides a SATA hot swap bay, provided the motherboard being used supports AHCI. This hot swap bay, like the fan controller also requires a 4-pin Molex connection for power and is accessed by pushing the release back and lifting the cover up.
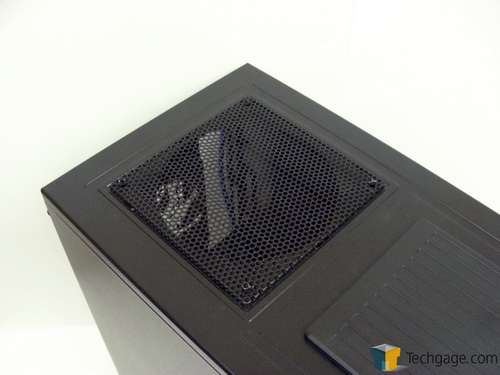
Behind the hot swap bay is a magnetic cover that hides the area where an additional 140mm fan can be installed if the user wishes. Those hoping to mount a smaller or larger fan in this area will be out of luck without some modding because only mounting holes for a 140mm fan have been drilled.
Flipping the case over shows off several rubber pads around the edge of the plastic base to keep it from slipping, while the base lifts it off the ground to allow for proper ventilation. Running almost the entire length of the case is a removable filter that can be pulled out from the back and cleaned.
The exterior may seem boring to some but the interior is sure to please so let’s strip it down and have a look.
Support our efforts! With ad revenue at an all-time low for written websites, we're relying more than ever on reader support to help us continue putting so much effort into this type of content. You can support us by becoming a Patron, or by using our Amazon shopping affiliate links listed through our articles. Thanks for your support!


