- Qualcomm Launches Snapdragon 4 Gen 2 Mobile Platform
- AMD Launches Ryzen PRO 7000 Series Mobile & Desktop Platform
- Intel Launches Sleek Single-Slot Arc Pro A60 Workstation Graphics Card
- NVIDIA Announces Latest Ada Lovelace Additions: GeForce RTX 4060 Ti & RTX 4060
- Maxon Redshift With AMD Radeon GPU Rendering Support Now Available
A Quick Look at GIGABYTE’s TouchBIOS
To help make up for the lack of a proper EFI solution, GIGABYTE has given its Z68 users what it touts as being a “Hybrid EFI” – or in non-marketing speak, a piece of Windows software for interfacing with an old-school BIOS. We take TouchBIOS for a spin and see if it has what it takes to become a viable solution for most users.
Page 1 – Introduction
With the introduction of Intel’s 6-series chipsets, a feature came to certain motherboards that in my opinion has been needed for a while; a refresh of the current text-based BIOS in the form of a Unified Extensive FIrmware Interface (UEFI).
For those who may not be up to speed, a UEFI can treat users to a more familiar graphic interface that is easy to navigate and possibly less confusing or intimidating, while providing faster boot speeds and other benefits. So what happens when one of the biggest motherboard manufacturers fails to jump on the UEFI bandwagon? It releases a “hybrid EFI”, instead.
I am of course talking about GIGABYTE, who has yet to release a dedicated UEFI of its own. Instead, the company has decided to go with its new TouchBIOS application that allows users to make changes to the BIOS using a UEFI-like interface from within Windows.
The application can be downloaded from GIGABYTE’s website but at this time is only supported on its Z68-based motherboards with the BIOS flashed to their latest version. In the case of the Z68X-UD5-B3 that was used in our disk caching test system, the BIOS has been upgraded to F6 and will be used again here as we take a quick look at this UEFI alternative.
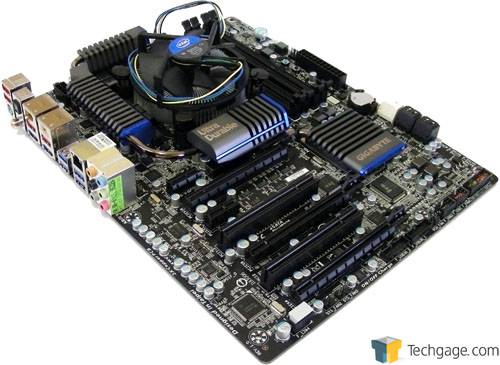
GIGABYTE’s Z68X-UD5-B3 Motherboard
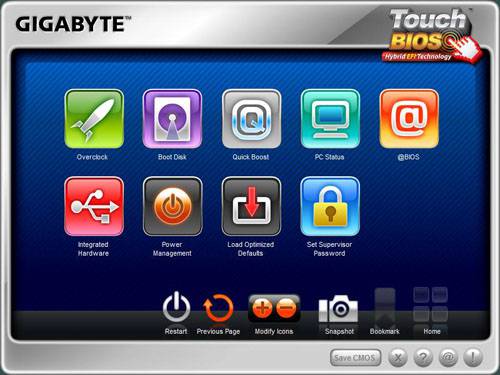
Upon loading the application, users are presented with the main screen filled with icons. Most of this screen enables access to different sections such as Overclock, Boot Disk and PC Health, to name a few. Towards the bottom are a few icons that include Restart, one that takes screen captures and another that brings users back to the main screen.
Along the absolute bottom are buttons that can save the current setting to the CMOS, update the application to a newer version and access the help documentation. While the smaller icons are static, the larger ones can be rearranged by dragging them to the required location or removed altogether by selecting the Previous Page button and unchecking it from the list.
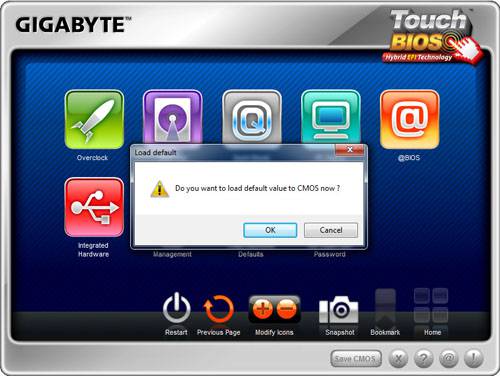
GIGABYTE has an official video available that shows the basics, but where’s the fun in that? I will be running through some of the more common options that might be accessed by the average user. To start, this board has retained some custom settings from our disk caching tests, so why not set it back to safe defaults that all but guarantee the current hardware will run without issue? This is done by selecting the icon with the red arrow pointing down into a white box and clicking OK on the pop-up.
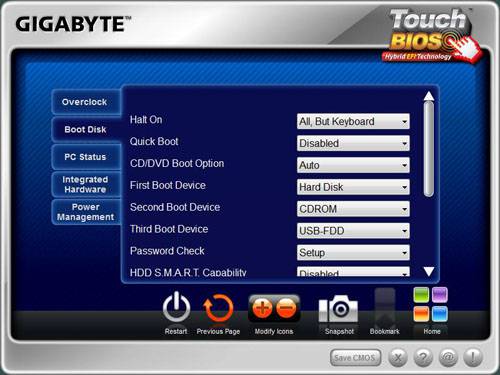
Next I want to set the boot priority since I tend to load a lot of things from a flash or optical drive before the hard drive is accessed to load the operating system. Selecting the Boot Disk icon produces the screen below where all boot settings can be modified.
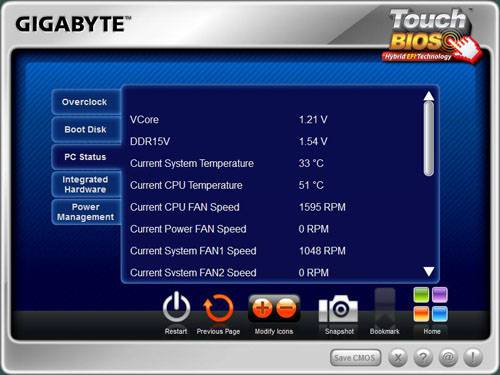
With that done, I wonder how the system is doing? Clicking on the PC Status icon gives a full run-down of the current voltage, CPU and overall system temperatures and fan speeds with the options to set any warnings as well as a few other choice features.
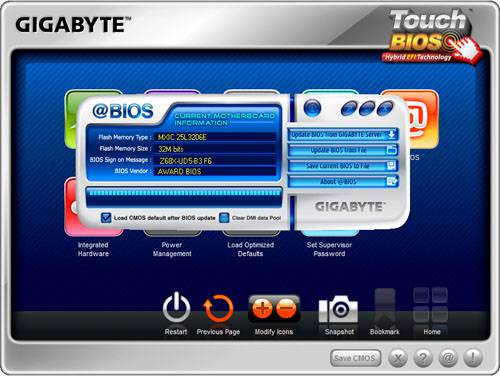
What happens when I want to upgrade my BIOS? Click on the @ icon and GIGABYTE’s @BIOS application opens and allows users with a stable Internet connection to download and update the latest version.
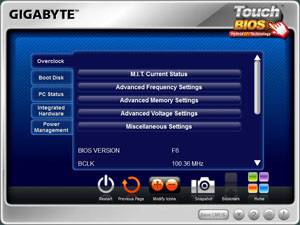
Even though the i5-2400 CPU being used isn’t an unlocked K-series chip, I did want to touch on overclocking a bit. Below are all of the options found in the standard BIOS that should allow users to reach the desired frequency as well as increase the VCore, ratios, memory timings and everything else that goes along with overclocking.
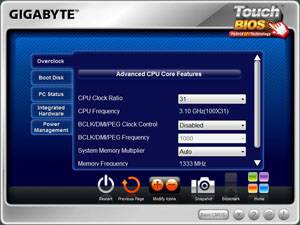
During testing I simply lowered and raised the CPU multiplier, saving the settings as I went and used CPU-Z to validate the frequency, but nothing changed. Rebooting the system showed the multiplier back to its stock value of 31 and it was confirmed by CPU-Z again. This feature appears broken in this release.
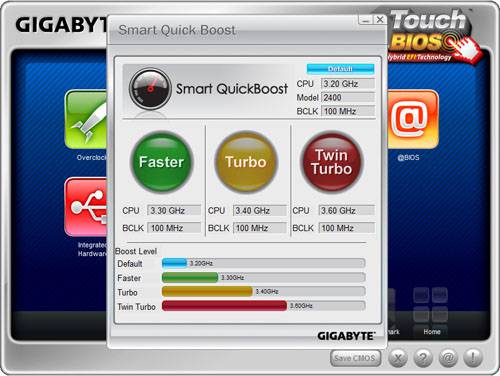
Even though there was a snag with full-blown overclocking, and just because the chip isn’t unlocked doesn’t mean that I’m going to dismiss overclocking altogether. Select the QuickBoost icon and up pops another custom GIGABYTE application that some may remember seeing included with other GIGABYTE motherboards.
Users are given three overclocking options; mild, medium and spicy. Overclocking in this manner requires the system to be restarted and CPU-Z verified that the changes held, but because none of the preset overclocks are bleeding-edge, coupled with the failure to overclock using the respective section of the TouchBIOS, it is best that users who want the most form their system stick to doing this the old fashioned way in the BIOS.
To make matters more complicated, selecting Default and rebooting the system did not revert the CPU frequency back to 3.1GHz. This was done by loading the default settings as mentioned earlier.
Without looking at every screen, this quick tour hopefully give users an idea of what to expect while using TouchBIOS. Is it perfect? No. Is it useful? Perhaps. Is it needed enough that it may put someone over the top in favor of a Z68 upgrade? That’s for them to decide.
Support our efforts! With ad revenue at an all-time low for written websites, we're relying more than ever on reader support to help us continue putting so much effort into this type of content. You can support us by becoming a Patron, or by using our Amazon shopping affiliate links listed through our articles. Thanks for your support!


