- Qualcomm Launches Snapdragon 4 Gen 2 Mobile Platform
- AMD Launches Ryzen PRO 7000 Series Mobile & Desktop Platform
- Intel Launches Sleek Single-Slot Arc Pro A60 Workstation Graphics Card
- NVIDIA Announces Latest Ada Lovelace Additions: GeForce RTX 4060 Ti & RTX 4060
- Maxon Redshift With AMD Radeon GPU Rendering Support Now Available
Social & RSS Feeds
Latest Videos


Latest News
A Look At Corsair’s Carbide 600C Inverted Full Tower Chassis & Our New Workstation Test PC
by Rob Williams on July 24, 2017 in Cases & PSUs
Having completed a new build for our gaming GPU test rig a couple of months ago, we didn’t want to waste time in following-up with another for our workstation GPU test rig. Wrapping itself around this build is Corsair’s Carbide 600C, and in this look, we’ll explore both the chassis as well as our new official benching rig in-depth.
A couple of months ago, I refreshed Techgage‘s gaming GPU test rig, using Corsair’s Crystal 570X mid-tower chassis to wrap the gear up in. Some people called me crazy because I chose to use a chassis that’s a bit harder than others to work with, and while that’s absolutely true, I feel the aesthetic value of it negates the extra seconds a part swap might take. As a chassis with four glass sides, the biggest hassle with the 570X is keeping it smudge-free; but still, it’s proven worth it so far.
Our gaming GPU test rig wasn’t the only one that was in need for an overhaul; or rather, the only one that had to be built. In the past, I tested all workstation GPUs we’ve come in contact with in the same rig as the gaming GPUs, which can cause obvious issues at times. Ultimately, it’s best to have multiple test rigs for each major component we take a look at, so a workstation GPU test rig also had to be built.

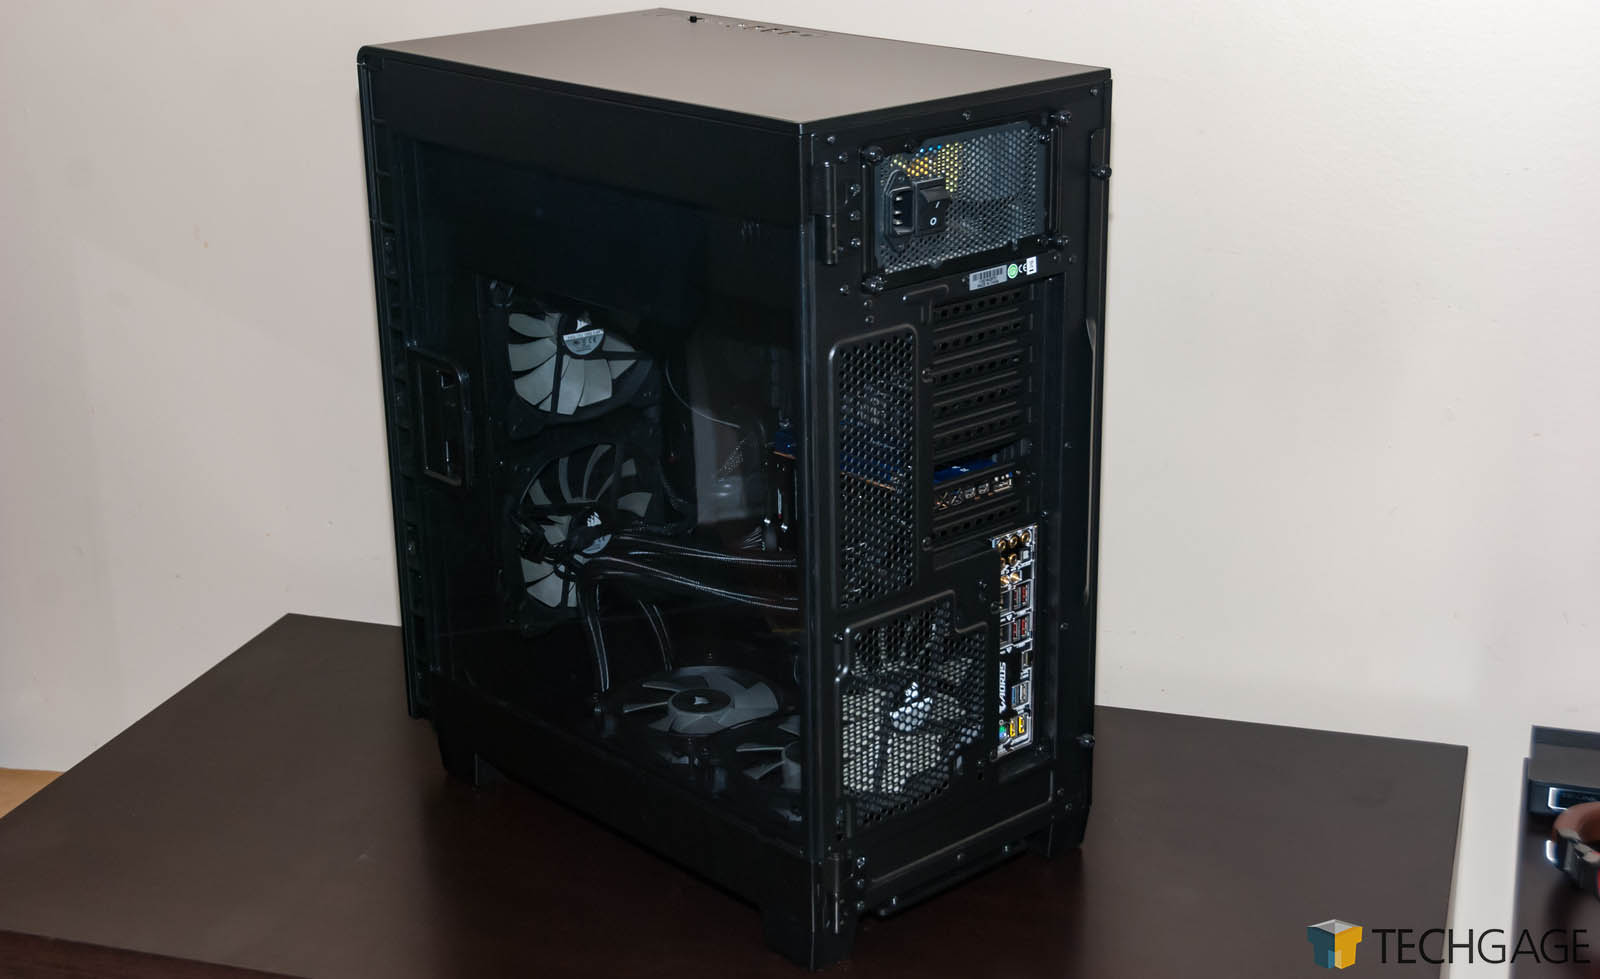
For this PC, I decided to go with a chassis that’s quite a bit different. No, it’s not glass like the aforementioned 570X, but it has a design cue that’s going to be almost just as noticeable: it’s inverted. That means the left side of the chassis doesn’t have a window, but rather the right side does, and that all hardware is installed upside-down.
Did I choose the 600C because upside-down components cool better? Nah. I just think inverted designs are neat, at least ever since I took a look at BOXX’s APEXX 4 workstation. After having used the 600C for just over a week, which included a swapping of GPUs about 15 times, I’ve come to appreciate its design. Speaking of, let’s tackle some specifics:
| Corsair Carbide 600C Chassis Specs | |||
| Warranty | Two years | Drive Bays | (2x) 5.25in (x2) 3.5in (x3) 2.5in |
| Weight | 10kg | Material | Steel |
| Form Factor | Full-Tower | Power Supply | ATX (not included) |
| Dimensions | 454mm x 260mm x 535mm | External Connections | (x2) USB 3.0 (x2) USB 2.0 Fan Controller (x1) Headphone Port (x1) Microphone Port |
| Motherboard Support | Mini-ITX, MicroATX, ATX, EATX (12in x 10.6in) | Fan Mount Locations | Front: (x2) 120/140mm Bottom: (x3) 120mm or (x2) 140mm Rear: (x1) 120/140mm |
| GPU Length | 370mm | Fans Included | Front: (x2) 140mm Rear: (x1) 140mm |
| CPU Cooler Height | 200mm | Radiator Mount Locations | Front: 280mm Rear: 140mm Bottom: 360mm |
| Maximum PSU Length | 210mm | Compatible Corsair Liquid Coolers | H55, H60, H75, H80i, H90, H100i, H105, H110 |
| Expansion Slots | 8 | ||
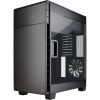
The 600C might look like a normal-sized full-tower in these photos, but it’s a bit wider than other full-towers I’ve used in recent years, at 260mm wide (10.2″). That’s 10mm wider than the Cooler Master Storm Trooper chassis that graced our retired gaming GPU test rig, and 31mm wider than Corsair’s first-ever full-tower (and first chassis in general), the Obsidian 800D. The 600C’s wider frame isn’t a criticism at all, to be clear; just something worthy of note for those who’d plan to keep the chassis on a desk.
Being a full-tower, the 600C supports motherboards in sizes from ITX right up to eATX (12×10.6″), and has sufficient room to make sure the PC runs as efficiently as possible. The chassis surprised me by including 3x (AF140L) 140mm fans; two at the front, and one at the back. Despite the stock image above showing LED fans used, the three included fans do not use LEDs.
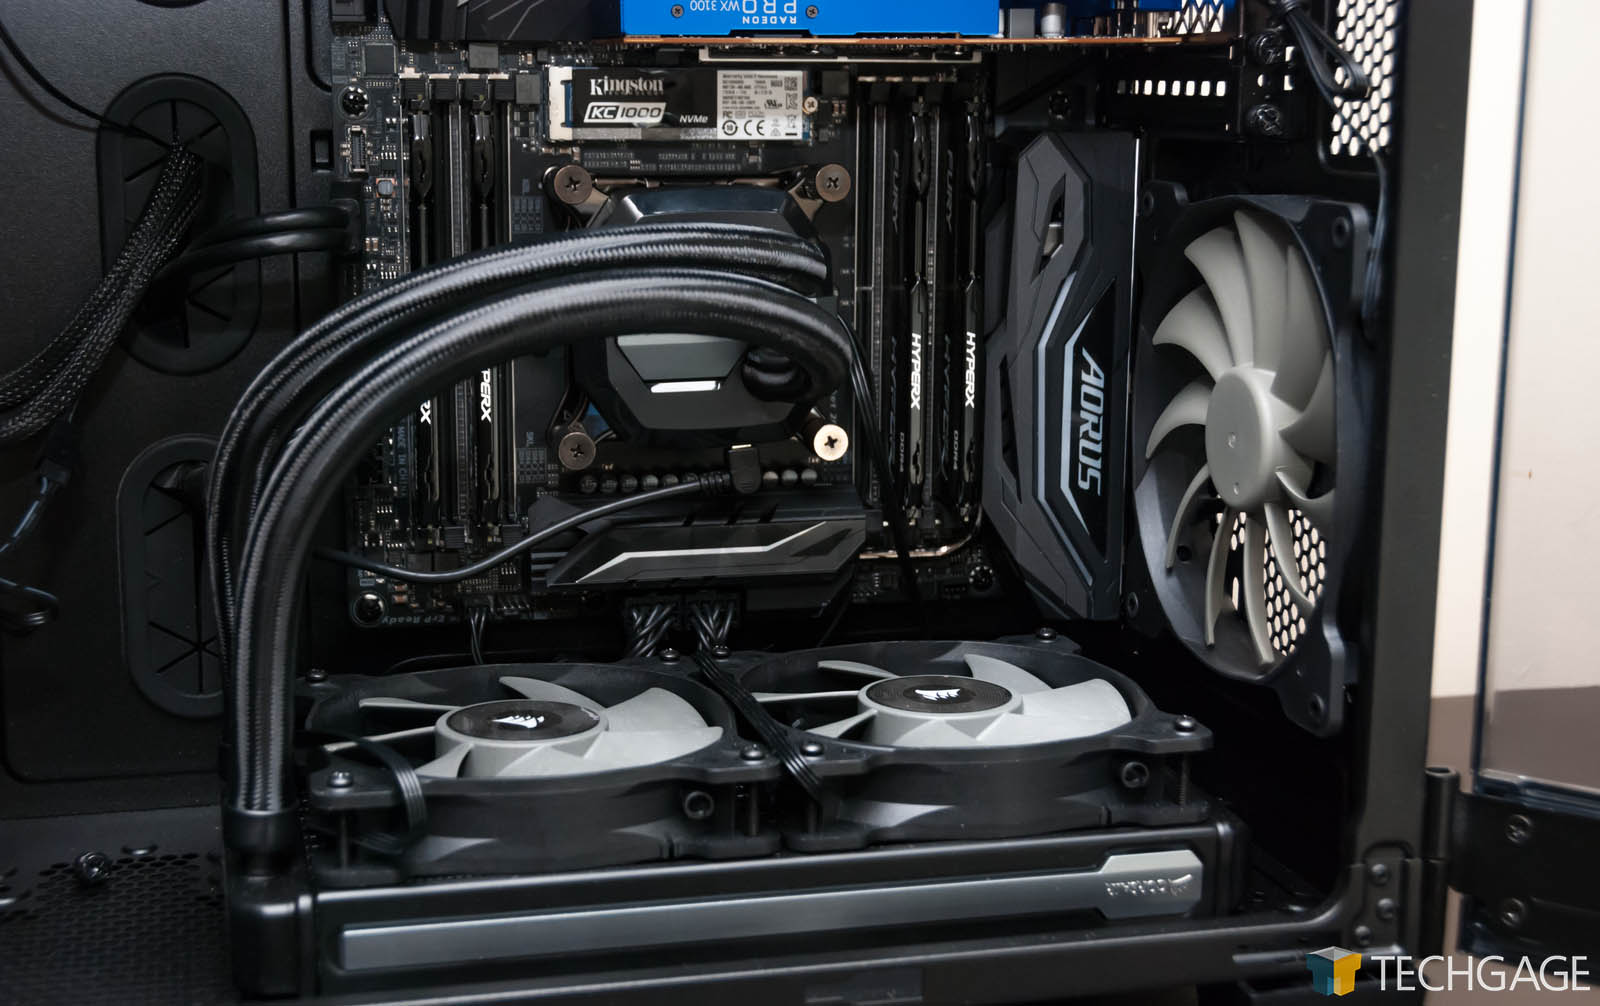
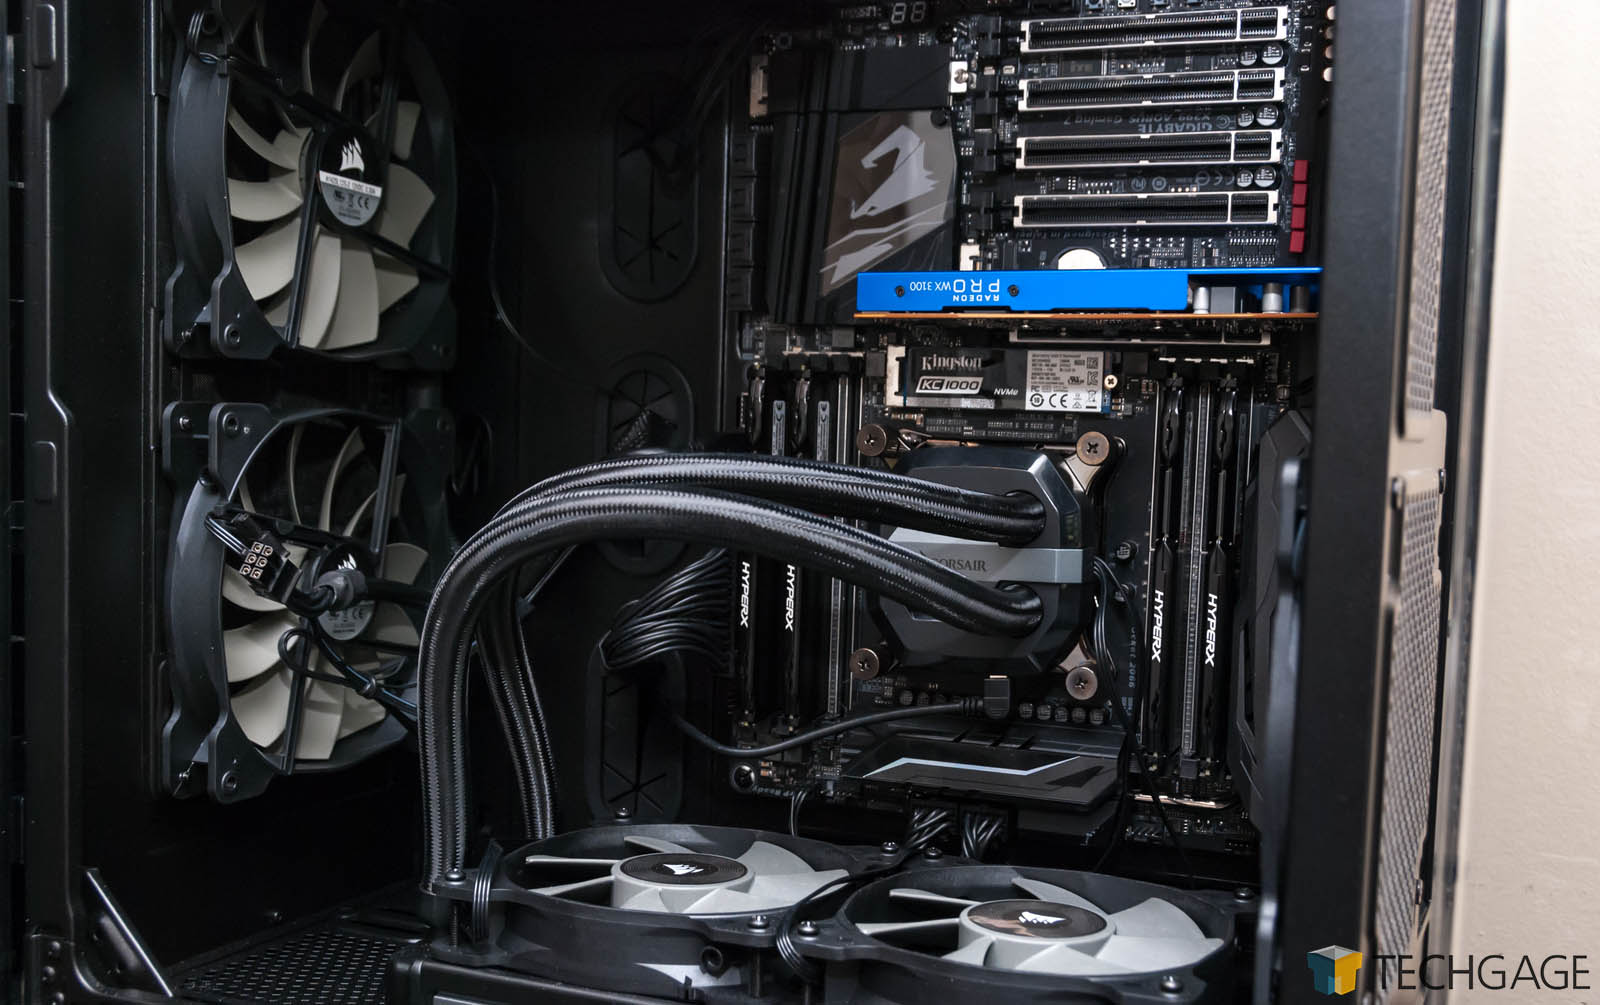
Something else seen in that stock image and shared by our own build is that a dual-rad Corsair cooler is installed at the bottom… or what would be the top if the chassis was oriented like a normal one. There’s enough room down there for a triple-rad cooler, as well.
Here’s a list of the gear I packed the 600C with:
| Techgage Workstation Test System | |
| Processor | Intel Core i9-7900X (10-core; 3.3GHz) |
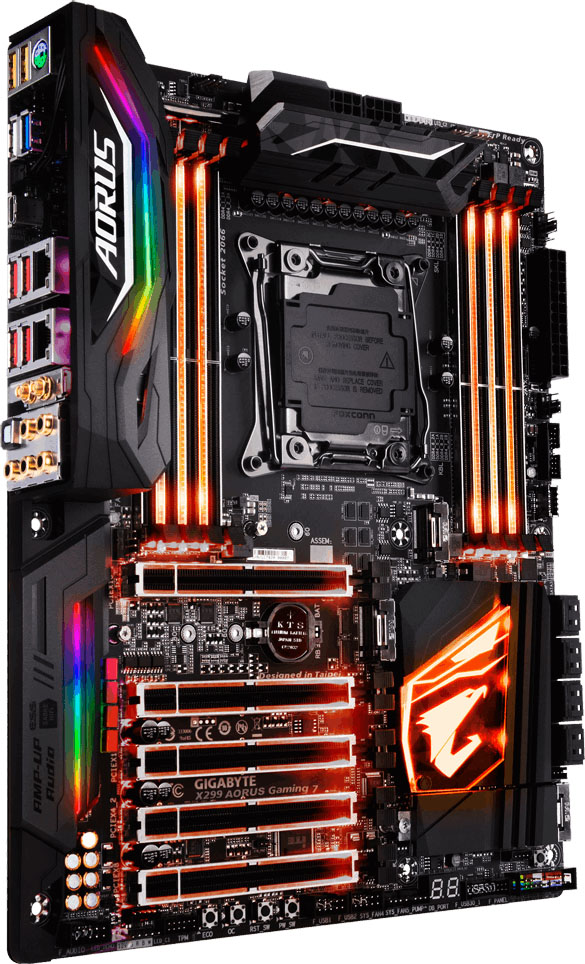
| Motherboard | GIGABYTE X299 AORUS Gaming 7 |
| Memory | Kingston HyperX FURY (4x16GB; DDR4-2666 16-18-18) |
| Graphics | Varies |
| Audio | Onboard |
| Storage | Kingston KC1000 960GB M.2 SSD |
| Power Supply | Corsair 80 Plus Gold AX1200 |
| Chassis | Corsair Carbide 600C Inverted Full-Tower |
| Cooling | Corsair Hydro H100i V2 AIO Liquid Cooler |
An important goal of our benchmarking is making sure that there are no bottlenecks. In the case of our workstation GPU testing rig, that means making sure the CPU and storage is fast, and the memory, plentiful.
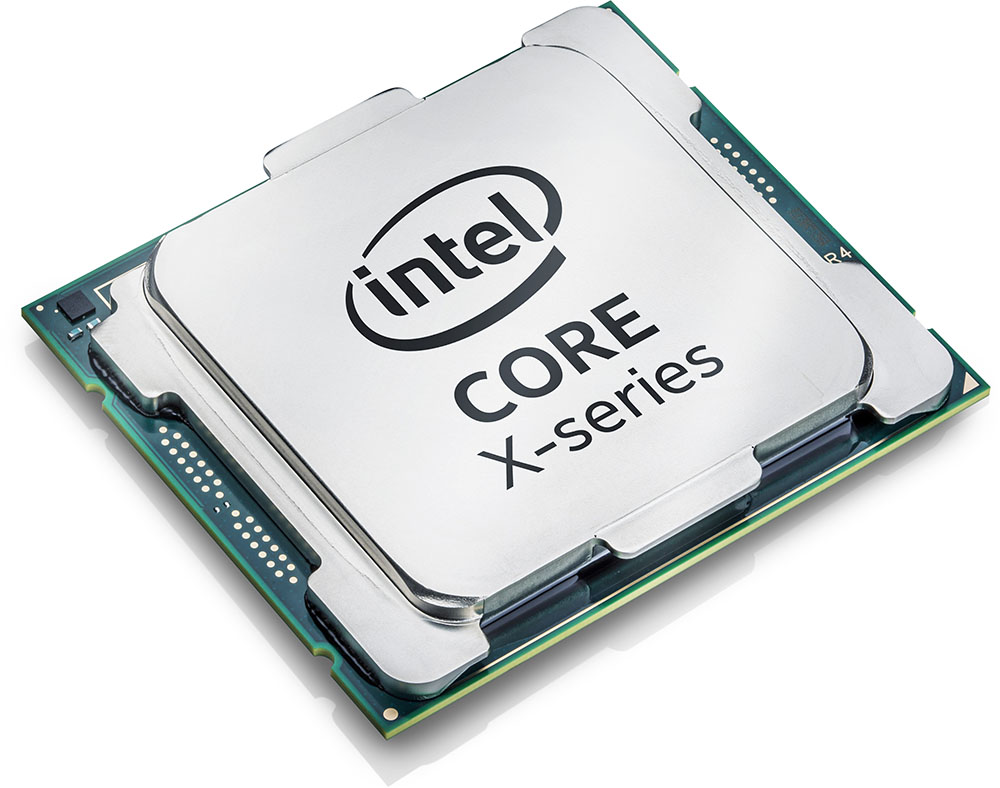
For the sake of representing a high-end off-the-shelf system, a powerful CPU was chosen, but it wasn’t overclocked (though it could be). Intel’s Core i9-7900X (~$999 USD) is the company’s latest top-end, clocked at 3.3GHz. With Turbo, the chip can peak at 4.5GHz for single-thread operations, and 4GHz for all threads when the going gets tough. That latter design choice makes the i9-7900X much faster than last-gen’s i7-6950X 10-core.
For storage, we’ve gone with a business-grade NVMe M.2 drive from Kingston, called KC1000 (~$499 USD). This isn’t the fastest SSD on the market, but it boasts a huge amount of storage and speeds still 5x better than traditional SATA-based SSDs (2.5GB/s read, 1.5GB/s write). It also offers superb IOPS performance, with 4K clusters hitting 190,000 read, and 165,000 write. It’s a serious SSD, and is going to deliver more than enough performance to rule it out as a bottleneck. The KC1000 includes a PCIe x4 add-in card, but since our motherboard includes support on-board, I went that route instead.
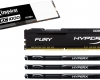
Something else that shouldn’t prove a bottleneck is the memory solution. We have 64GB of HyperX’s FURY (~$599 USD), composed of 4x16GB modules. Like the SSD, this isn’t the fastest option out there, but it was chosen because of its blend of performance and density – 64GB DDR4-2666 is downright awesome, especially with 16GB modules. AIDA64’s memory test gave results of 75GB/s read and 71GB/s writes – a simply incredible amount of bandwidth (for comparison, 4x8GB DDR4-3200 achieved 79GB/s read and 76GB/s write in the same PC).
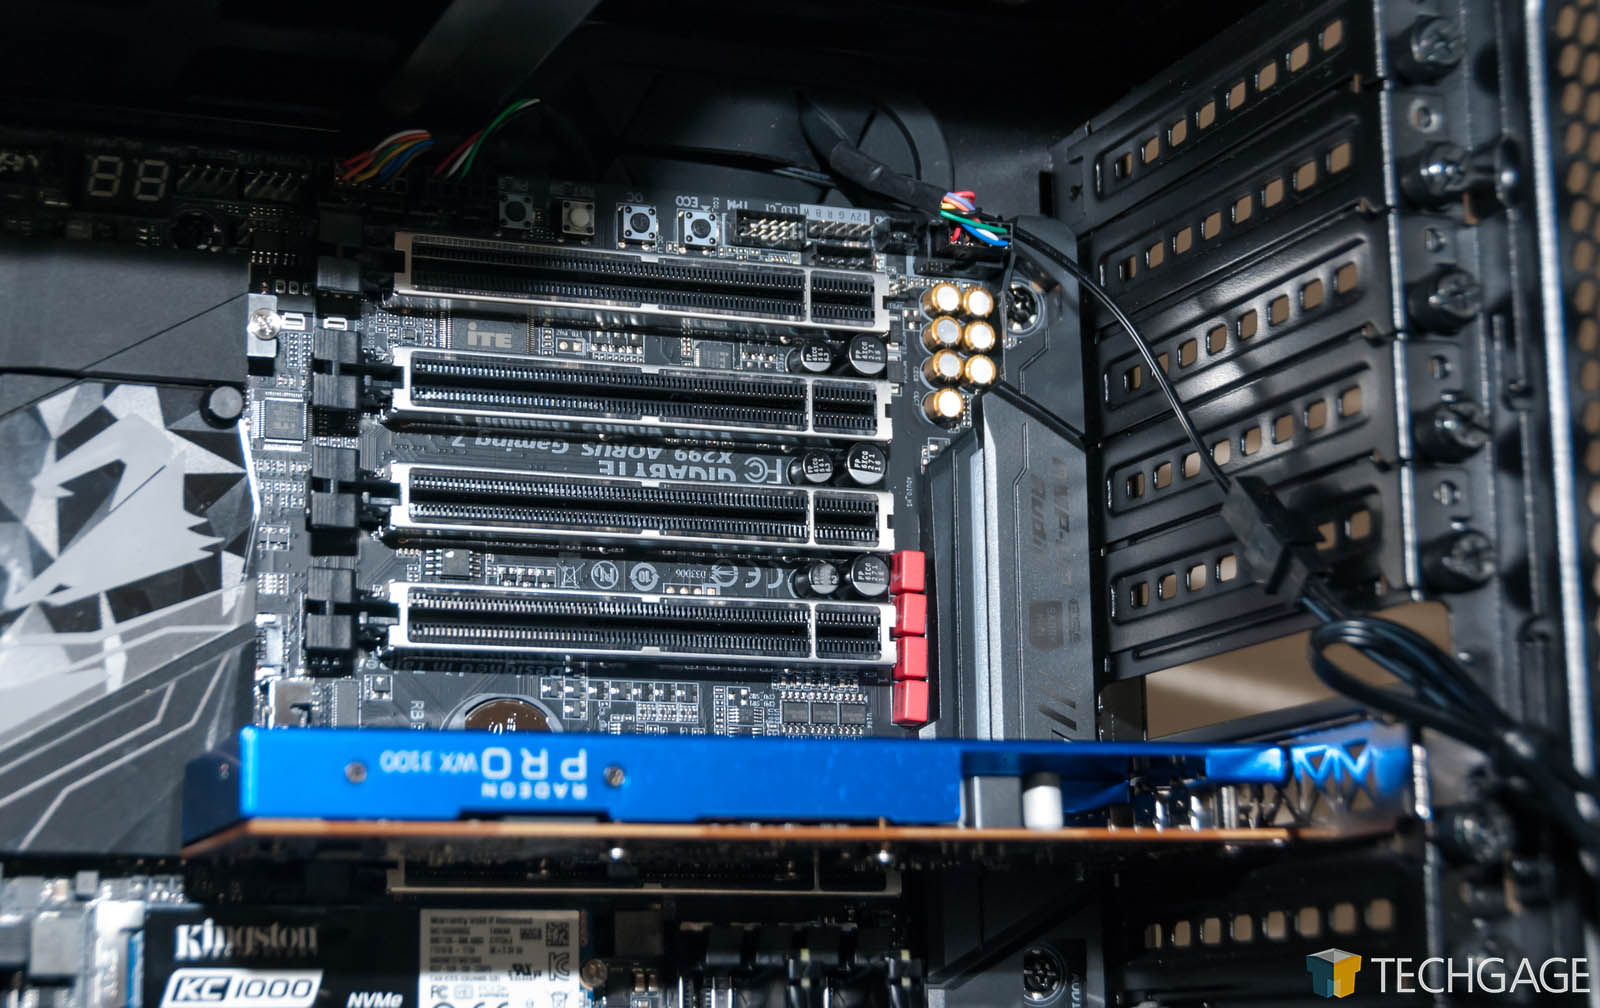
For the motherboard, GIGABYTE’s X299 AORUS Gaming 7 (~$399 USD) is being used in this rig, and while I admit I love it for the fact that it’s blinged-out in LEDs, it’s also nice to have because it’s a premium board, and should last for the long-haul – important when it’ll have a few hundred GPU installations taking place through its lifetime.


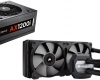
Other key hardware includes a Corsair AX1200 power supply (~$399 USD) salvaged from a retired test PC, as well as Corsair’s H100i V2 AIO cooler (~$109 USD), to match the other one running in our gaming GPU test rig. It’s powerful, looks good, and has awesome Corsair Link software to back it up.
Due to time, I didn’t take pictures of each installation step; instead, I took pictures after-the-fact to highlight how the chassis looks and functions when the PC is all built, and also talk about some of its caveats. So without further ado, let’s take a visual tour.
A Tour Of Our Corsair Carbide 600C Build
I somehow had a mental lapse when I was shooting photos, as I forgot to take one of the front of the chassis. I’d recommend checking out the stock shot at the start of this article to see it in a good profile view.
Aesthetically, the 600C perfectly suits a workstation. A PC might be flashy (and powerful) on the inside, but on the outside, the 600C keeps it professional. Sleek, and clean. I might have on some occasions rubbed its super-smooth plastic surface.
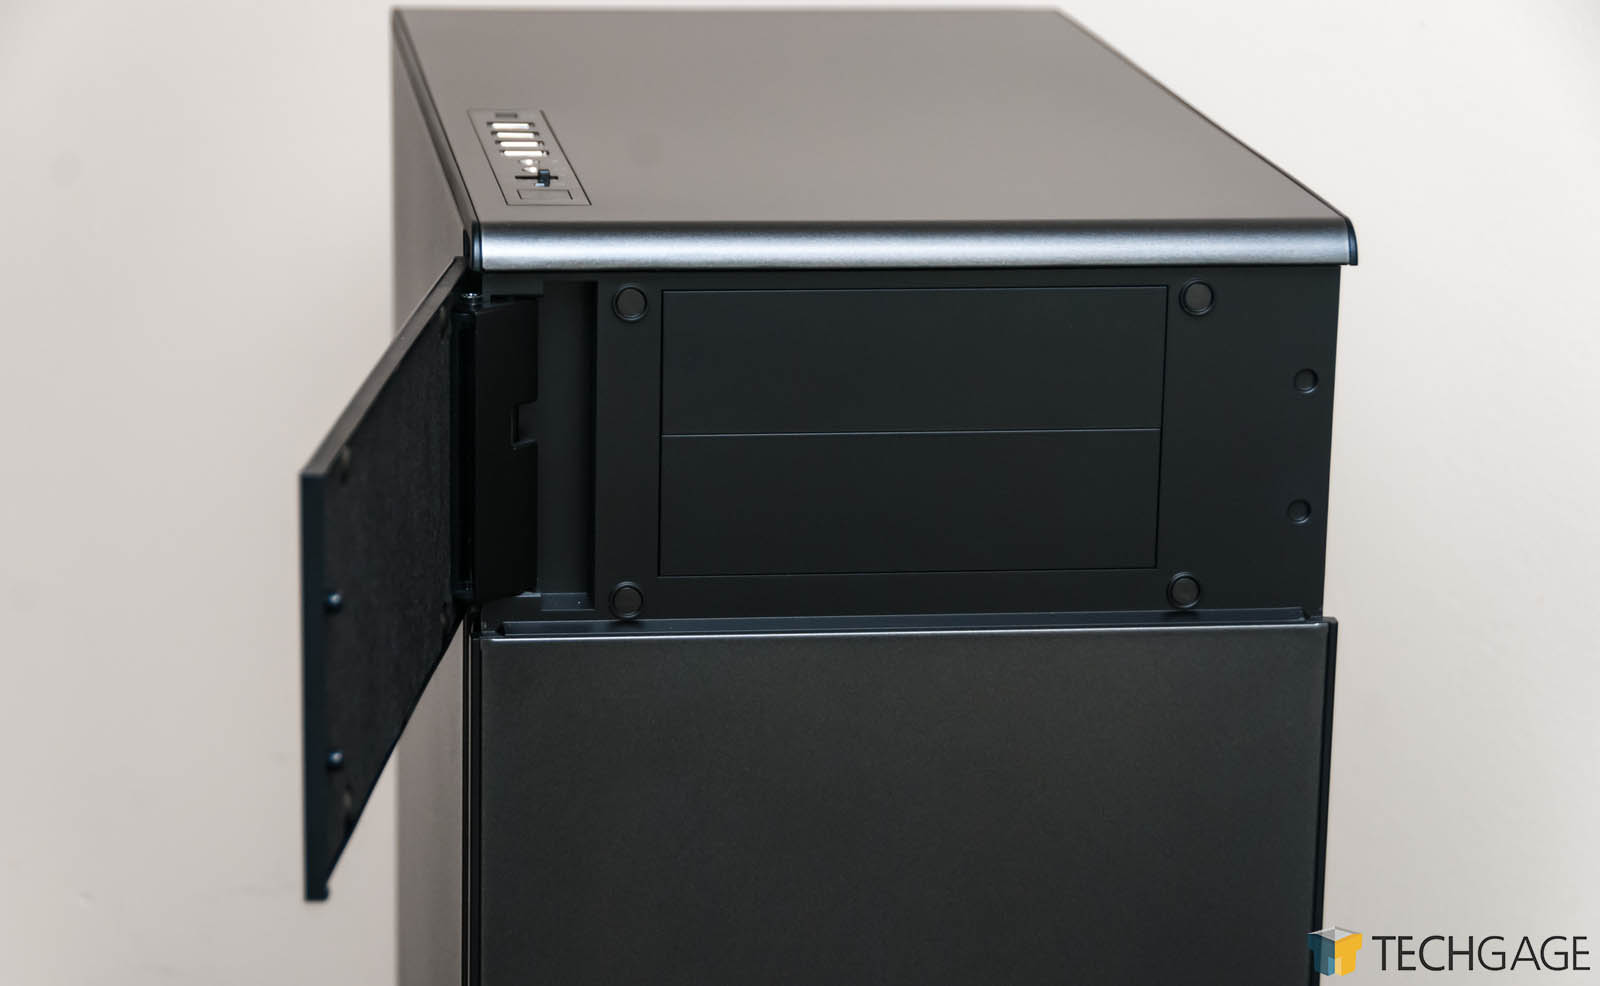

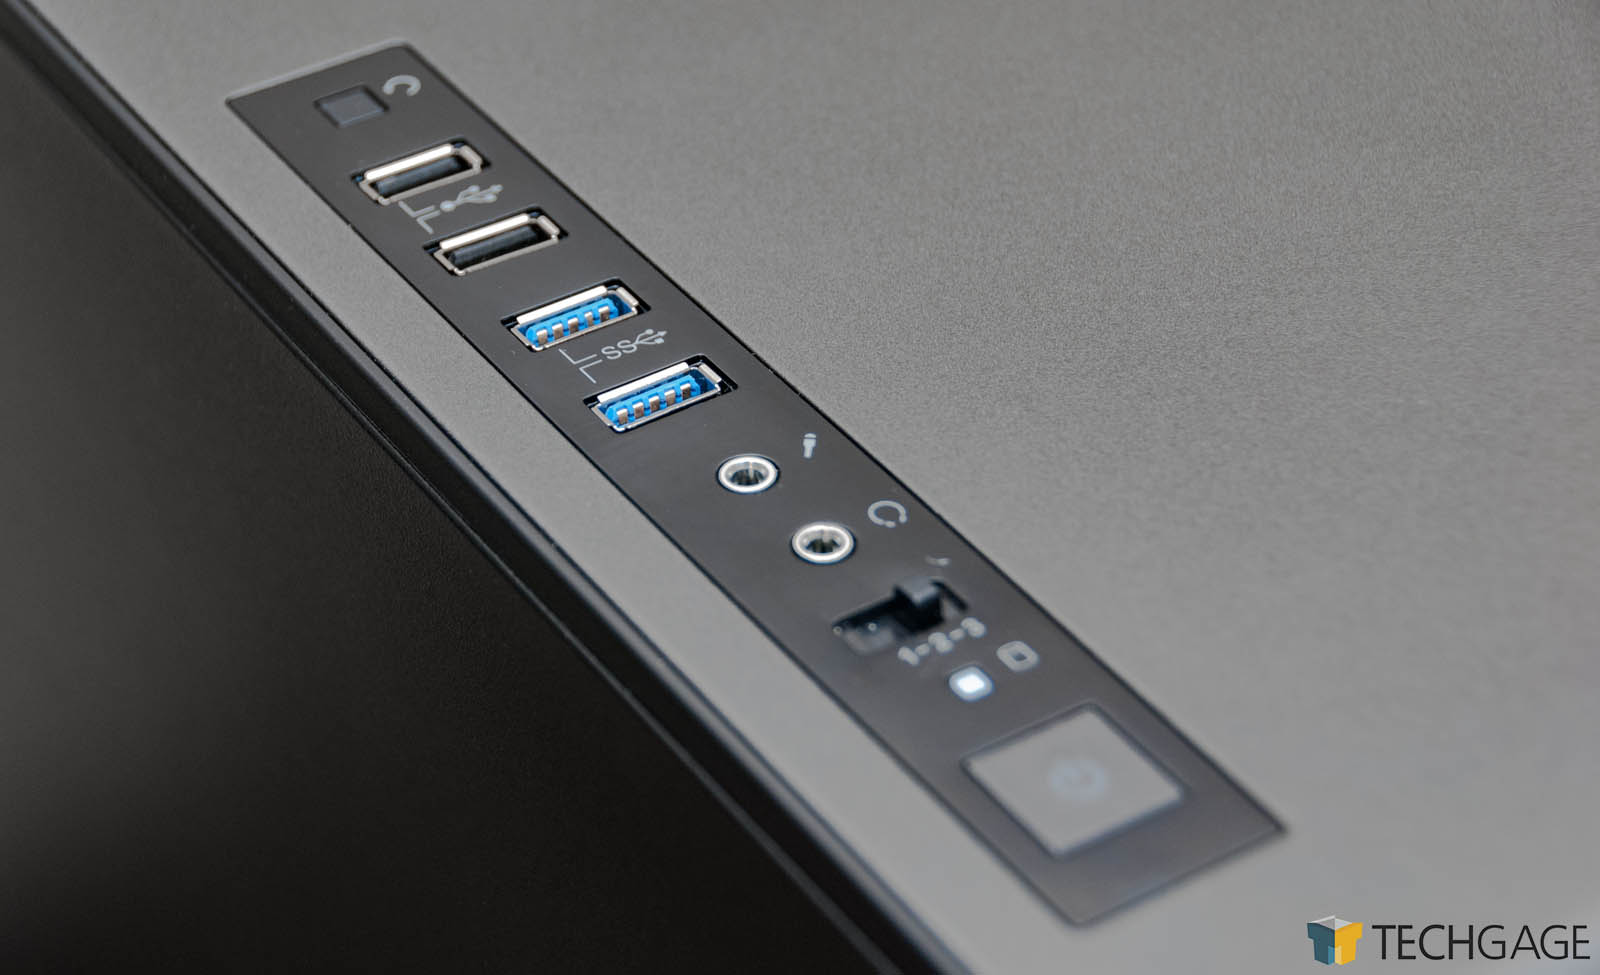
The chassis’ power button and other connectivity options are found at the top, on the left side. This means that when USB drives are plugged in, they’ll stick straight up, which is probably safer than having them sticking outside of the front (RIP, two previous flash drives). In addition to the power and reset buttons, four USB ports are found at the top, split between 2.0 and 3.0. Audio in and out ports are also available, alongside a convenient fan speed toggle.
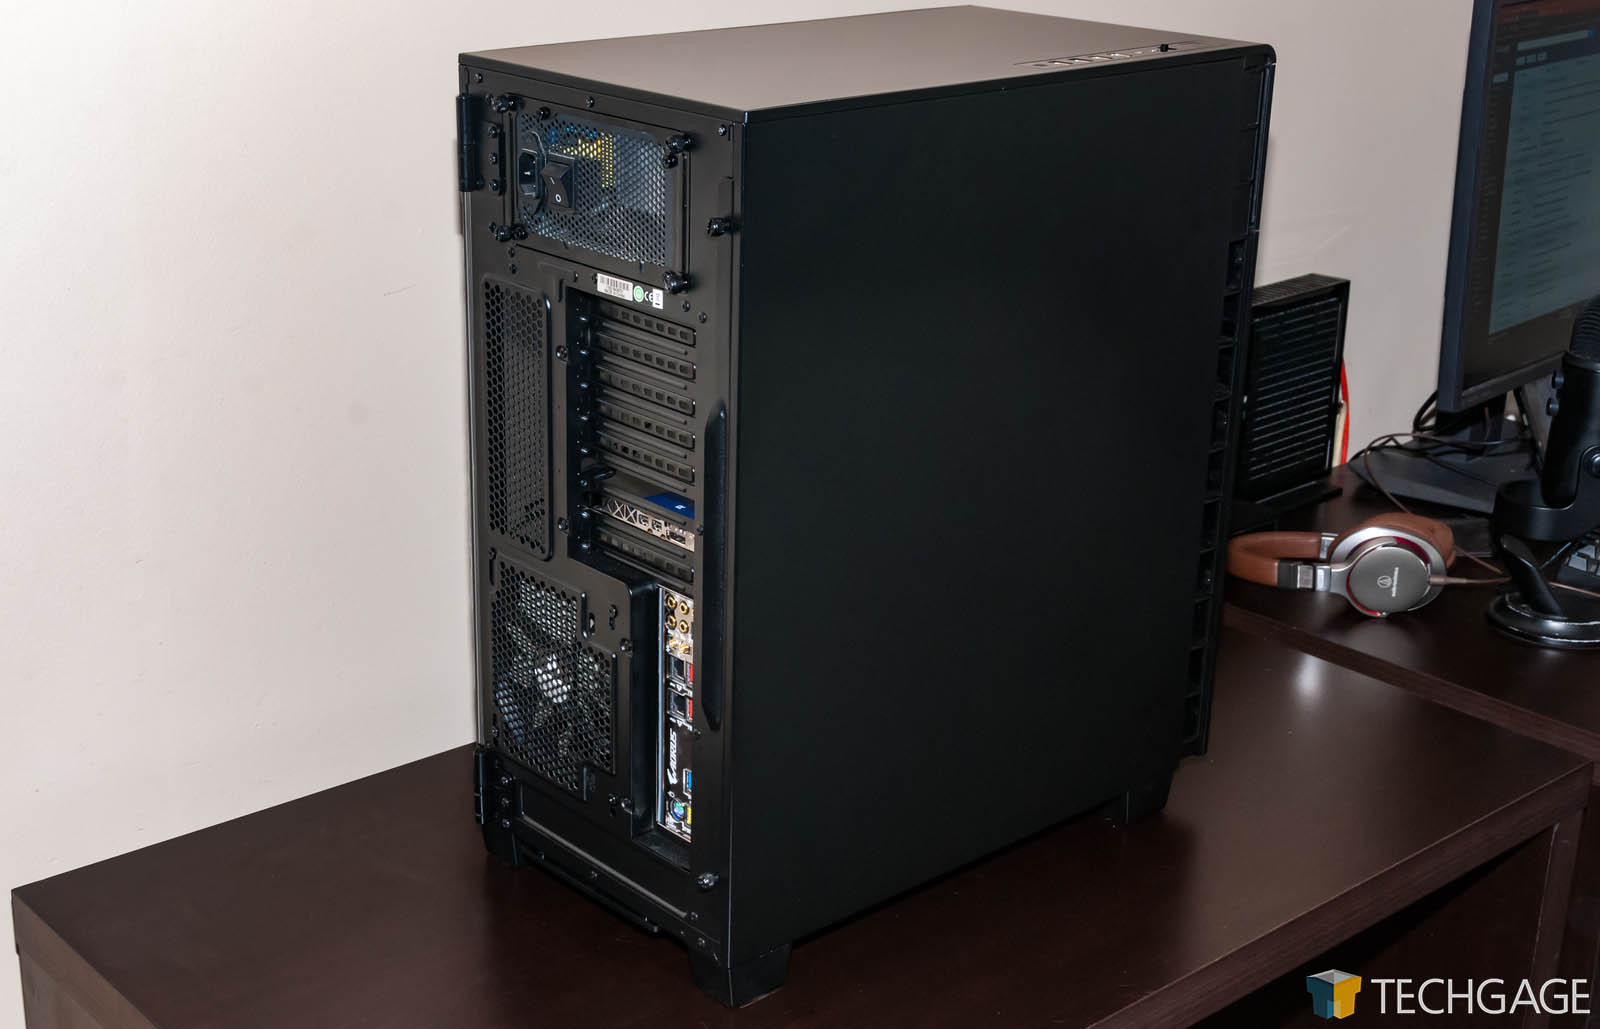
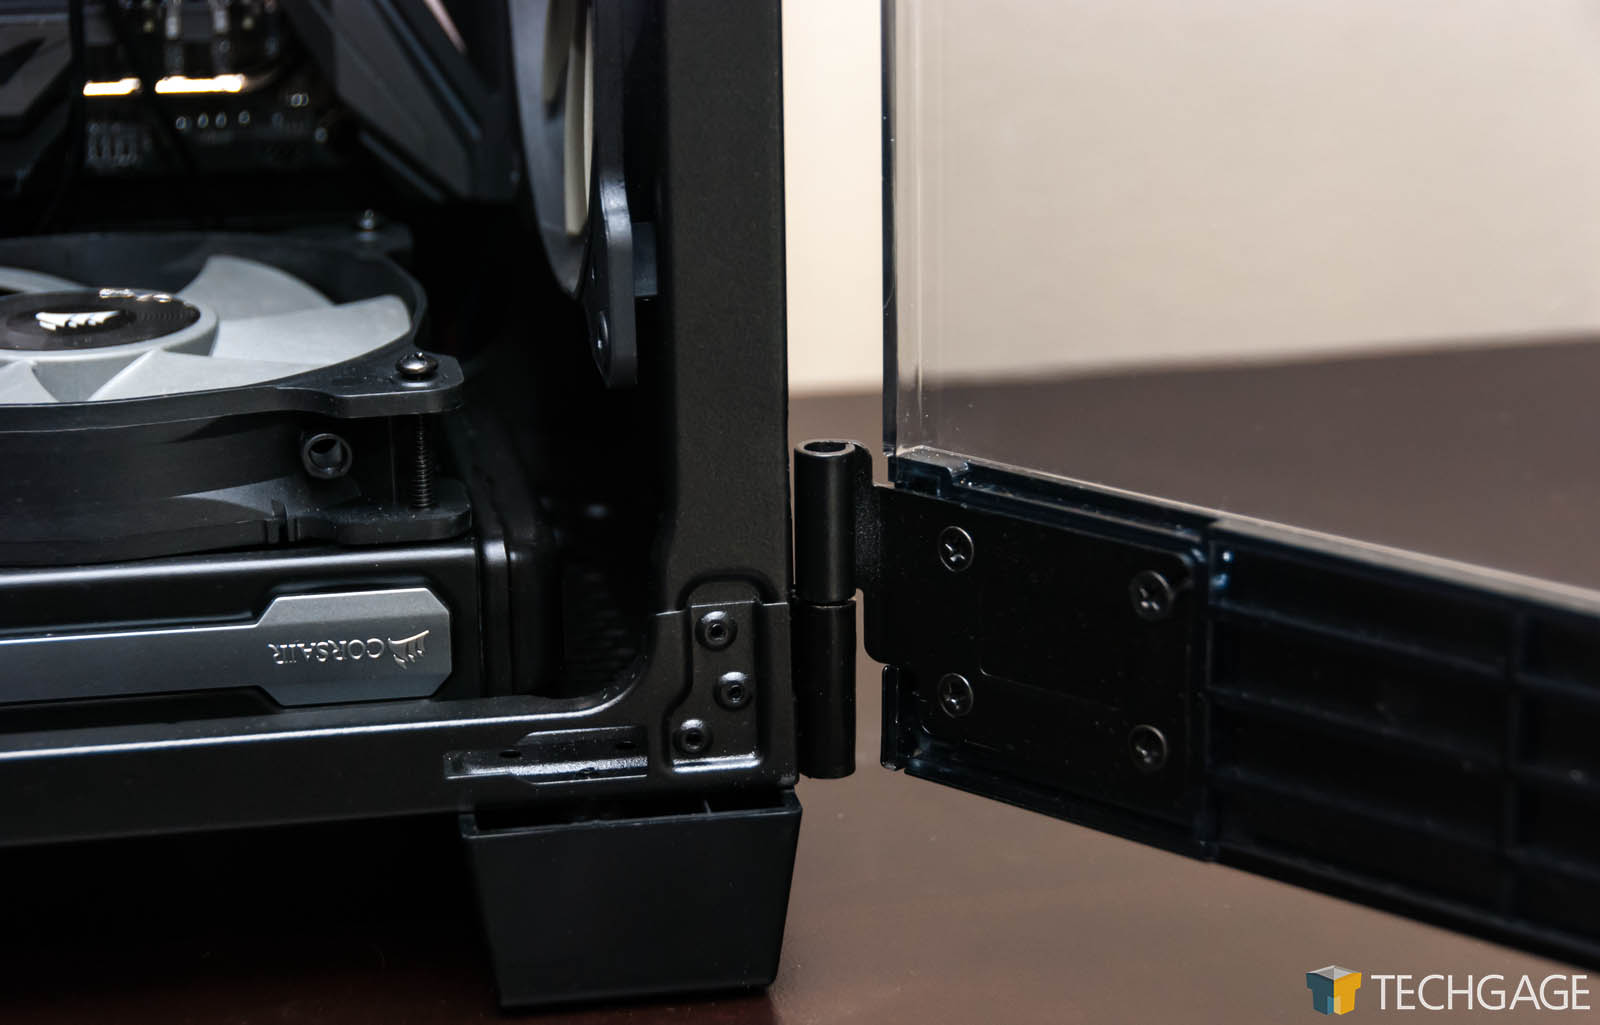
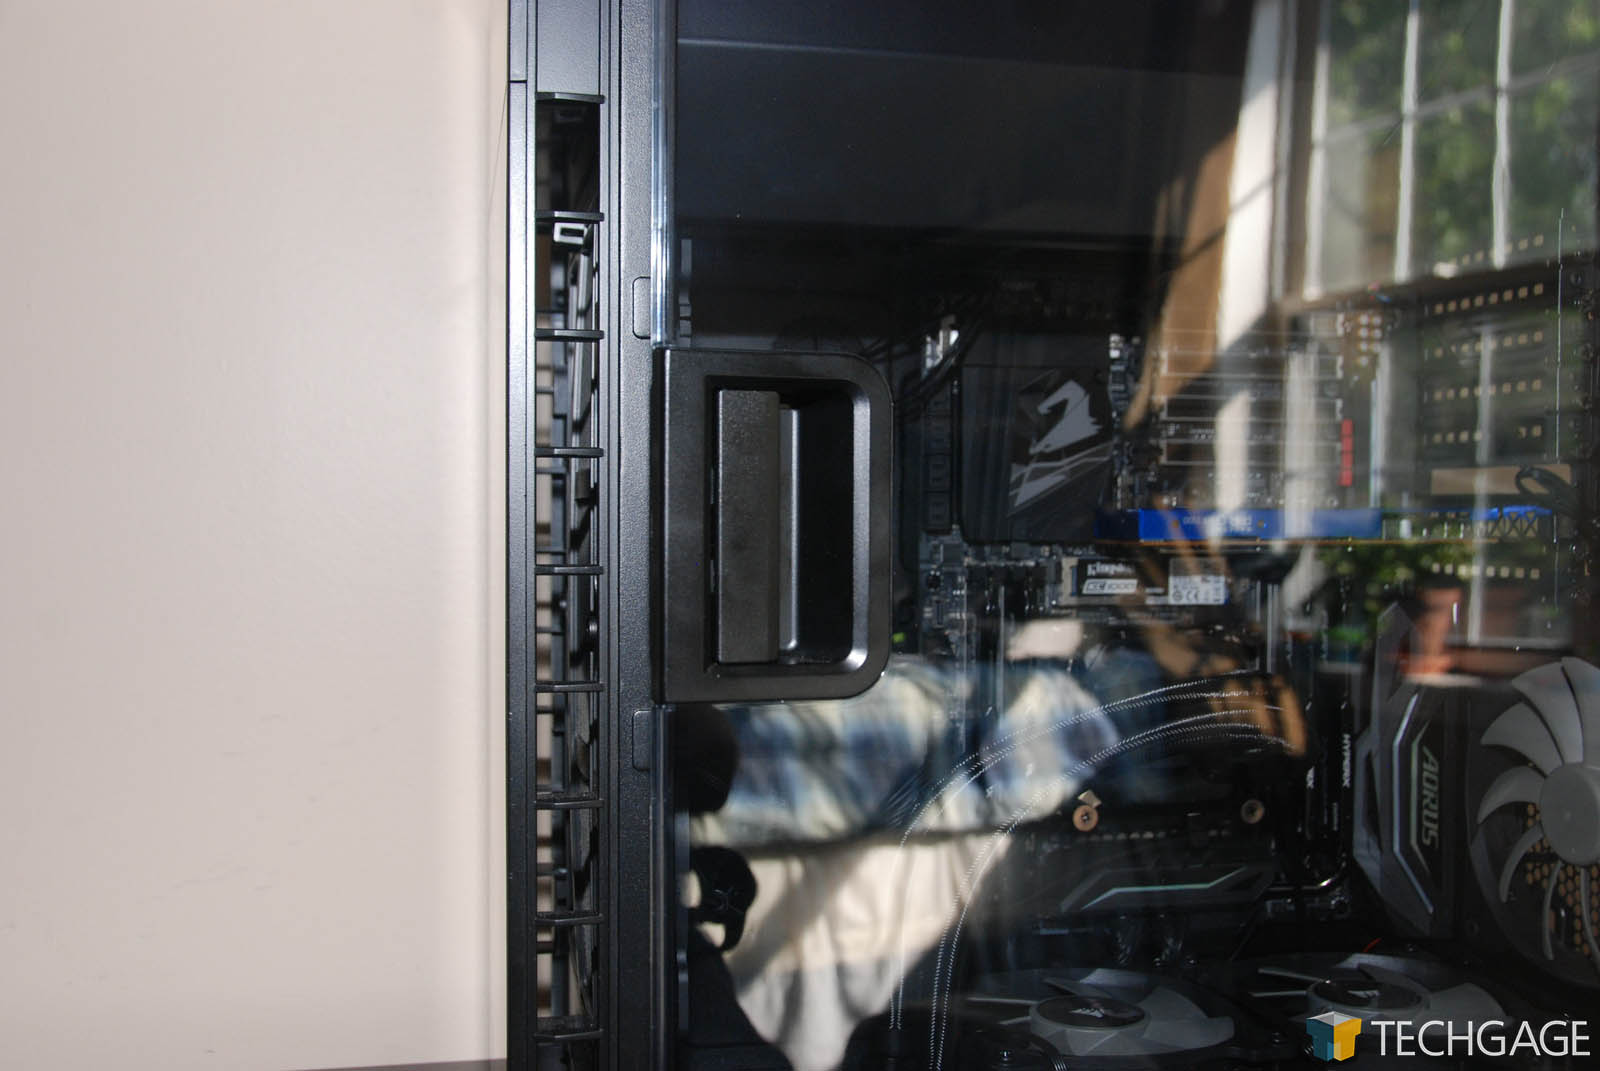
On the left side of the chassis, where the window would normally be placed, it’s totally flat, both in design and color. On the flip-side is where the magic takes place. Unlike some of Corsair’s higher-end chassis, the 600C doesn’t have tempered glass, but its clear plastic window still looks great – especially when backed by dark colors. Opening the door is as simple as pulling on the handle, at which point the door can lift up off of its hinge. I wish all chassis doors were as painless to remove.


While that’s the case, though, the 600C proved to be one of the most complicated chassis I’ve ever built with, although I think a lot of it is the fact that the manual isn’t as descriptive as it could be.
Now, I’m not the sharpest light bulb in the shed, but I have built a huge number of PCs over the years, and none have stumped me quite as much as this one. The biggest reason is that some of the parts that can come off are so hard to remove, you try to convince yourself that you’re about to break the them. That includes the top and front panels, as well as an inside plastic piece that covers the PSU area.
These pieces are held in place with rigid plastic clips which need to be pressed quite hard in order to be freed from their locations. Putting them back into place is a breeze. The absolute worst of these pieces is the top panel, with a close runner-up being the PSU shroud.
| TG Workstation PC Temperature Stress | ||
| Idle | Load | |
| CPU Package | 31 °C | 84 °C |
| CPU Core #1 | 25 °C | 72 °C |
| PCH | 38 °C | 47 °C |
| GPU | 32 °C | 82 °C |
| Motherboard | 30 °C | 39 °C |
| Stressed with AIDA64 (an unrealistic load; GPU and CPU at 100%) over 1 hour, showing the worst-case scenario. Full log can be snagged here. | ||
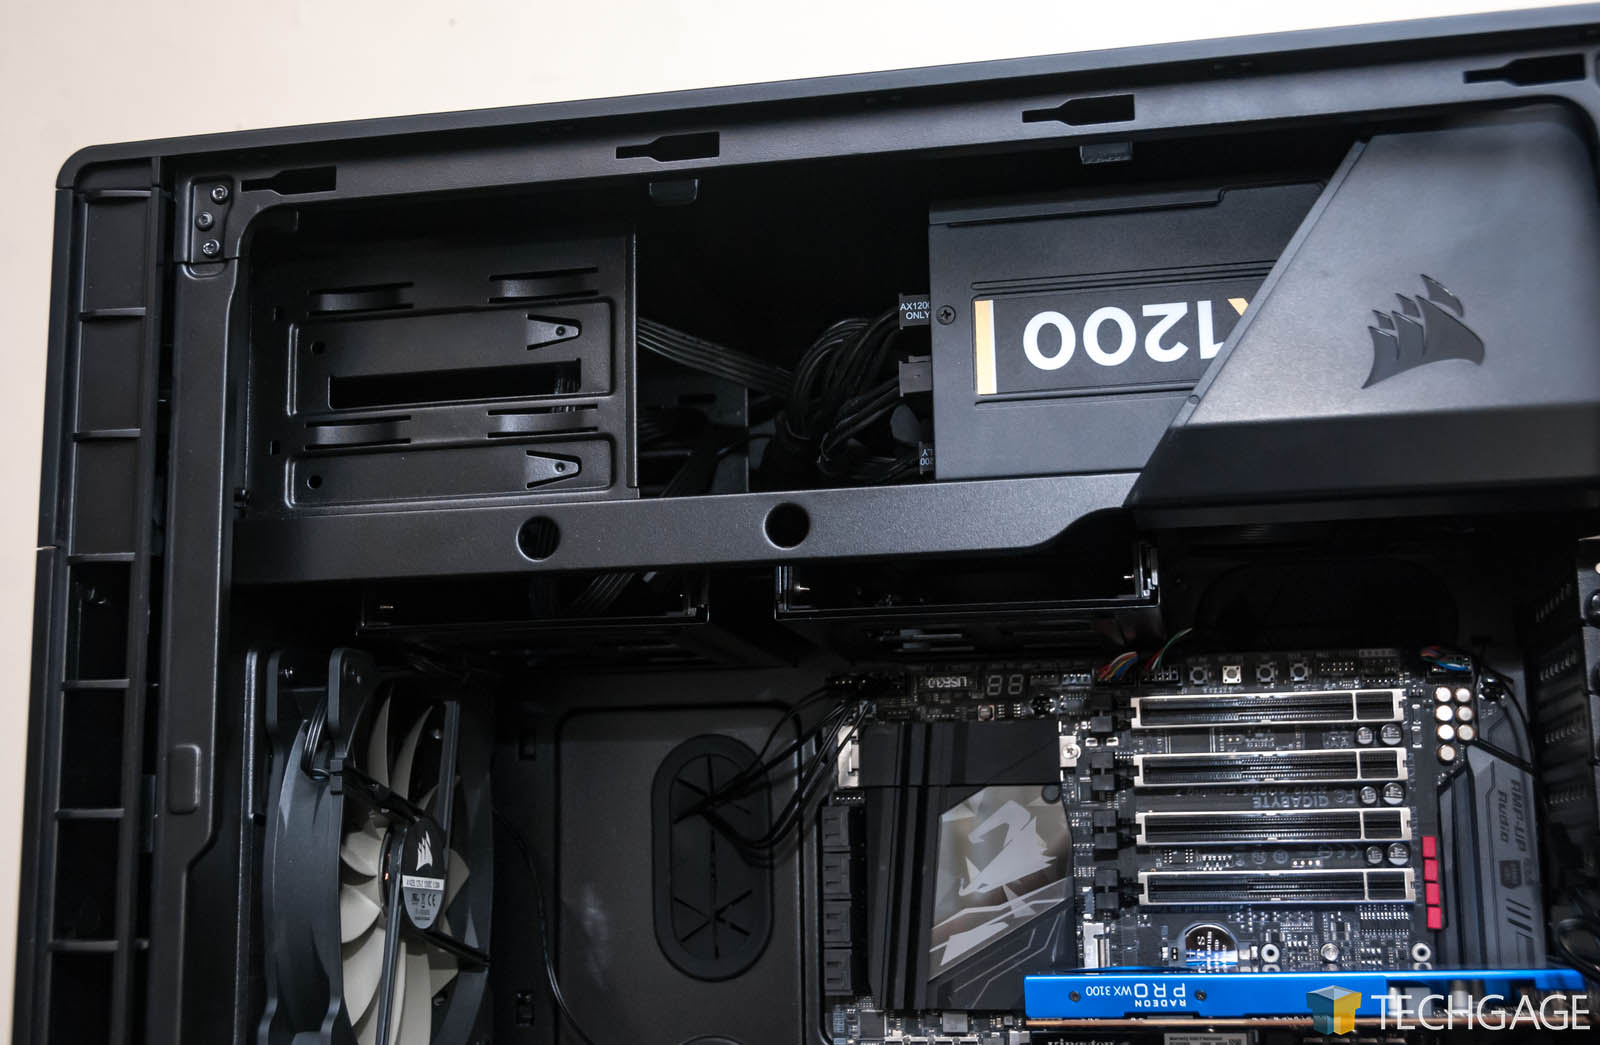
That said, once you understand what you have to do, and that your fingers will feel uncomfortable after removing these pieces, the end result is excellent. With an ample PSU shroud that covers the entire top, keeping your build looking clean will be extremely easy, as shots in the following section will attest.
Though certain parts of this chassis are hard to remove, that’s as far as the complications go. The 600C is a dream to work inside of, thanks in part to the fact that the PSU and its cables are cordoned off at the top. Add to that the fact that we have this wide open space, and also that Corsair preequipped us with 3x 140mm fans, airflow is quite good here.
Final Thoughts
I like the Carbide 600C so much, that I am tempted to get one to proceed with a long-overdue overhaul of my own PC. While some aspects of the chassis are not ideal, such as some parts requiring finger pain to remove, I am in love with the end aesthetic. That’s even without tempered glass.
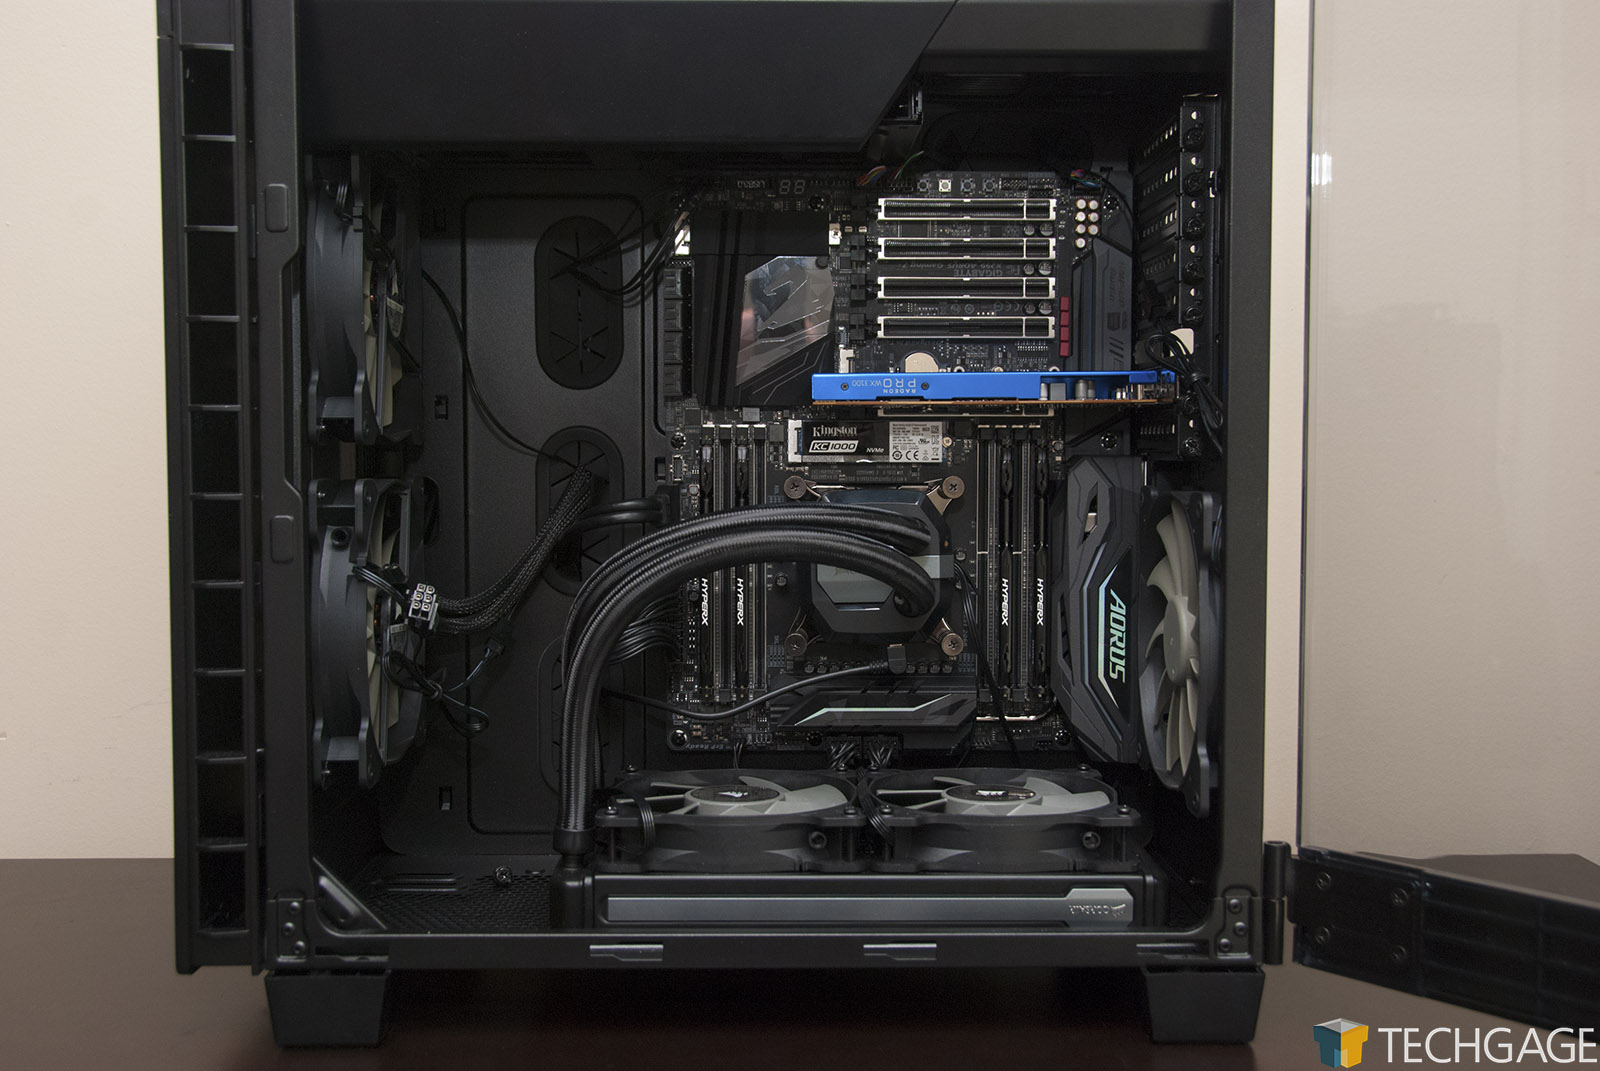
The shot below is one I took not long after building the rig, and while its aspect looks just fine, bear in mind that the chassis is actually upside-down. The shot does help put things into perspective, and gives you a chance to admire my excellent cabling skills (thanks, Corsair!).
 - Upside Down And Lit Up)
Don’t fret: there’s some love for the blue team, too, and in the correct perspective (and yes, I realize red is not NVIDIA’s color, but at that point I had not… OK, I was just dumb):
 - All Lit Up)
Speaking of perspective, I mentioned earlier that I hadn’t adopted this PC because of its improved cooling capabilities, something its inverted design might allude to. Our friends at Hardware Canucks decided to test whether the chassis delivered better temperatures upside-down (aka: the correct orientation), or right-side up, as usual. The verdict? You can shave a few degrees off by turning the 600C’s upside-down design, upside-down.
Still, there are times when trade-offs are worth it, and if you dig the inverted design of this chassis, along with the rest of its package, you can’t go wrong. As I said before, I am so pleased with this chassis, despite its caveats, that I am pondering getting another for my own PC. I’d wager it’s very much worth the $140 USD cost-of-entry. If you want an even more professional look, the chassis also comes in a 600Q model, which replaces the window with a solid side. Both chassis carry the same SRP.
Pros
- Great overall design and aesthetic.
- PSU section is separate from the rest of the chassis, aiding in a cleaner look.
- Tons of space to work inside.
- Top-rate cable management.
- Includes 3x 140mm fans.
- Fan controller included (on top, next to power).
- Removable dust filters on front and bottom.
Cons
- Some panels are challenging to remove, resulting in sore fingers.

Corsair Carbide 600C Chassis

Support our efforts! With ad revenue at an all-time low for written websites, we're relying more than ever on reader support to help us continue putting so much effort into this type of content. You can support us by becoming a Patron, or by using our Amazon shopping affiliate links listed through our articles. Thanks for your support!

Rob Williams
Rob founded Techgage in 2005 to be an 'Advocate of the consumer', focusing on fair reviews and keeping people apprised of news in the tech world. Catering to both enthusiasts and businesses alike; from desktop gaming to professional workstations, and all the supporting software.


