- Qualcomm Launches Snapdragon 4 Gen 2 Mobile Platform
- AMD Launches Ryzen PRO 7000 Series Mobile & Desktop Platform
- Intel Launches Sleek Single-Slot Arc Pro A60 Workstation Graphics Card
- NVIDIA Announces Latest Ada Lovelace Additions: GeForce RTX 4060 Ti & RTX 4060
- Maxon Redshift With AMD Radeon GPU Rendering Support Now Available
DFI Infinity 975X/G
Long known for their overclocker friendly motherboards, DFI is back with a board for the highly popular and extremely powerful Core 2 Duo. Using Intels 975X chipset, the DFI Infinity 975 X/G looks to introduce the enthusiast crowd to Conroe, DFI style. Using the BIOS that shipped with the board, we got less than spectacular results, forcing us to go with a popular Beta. How high could we get the FSB and is the board worth it?
Page 4 – BIOS
DFI has always been known as an overclocker’s best friend with their LanParty series of motherboards. A primary reason for this is their in-depth BIOS options. Using a Phoenix – Award BIOS, the 975 X/G looks to compete with its flashier brothers with its many options.
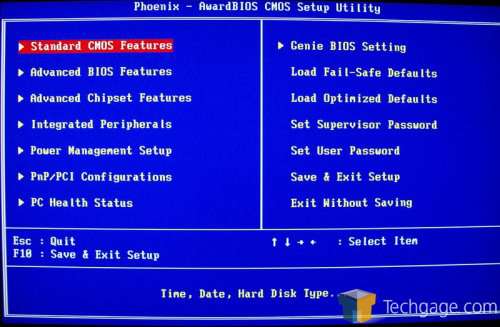
The opening screen should look familiar as it’s almost identical to the other BIOS shots that we have taken in past DFI reviews.
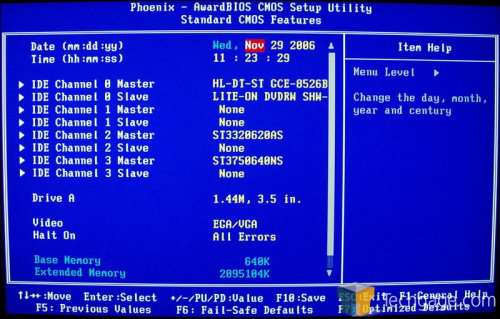
Next up we see the Standard CMOS screen. This screen is where you can change the CMOS clock, CMOS date and view your connected drive information. For Drive A, I change it to NONE as I just don’t have a floppy drive connected unless I need to update my BIOS.
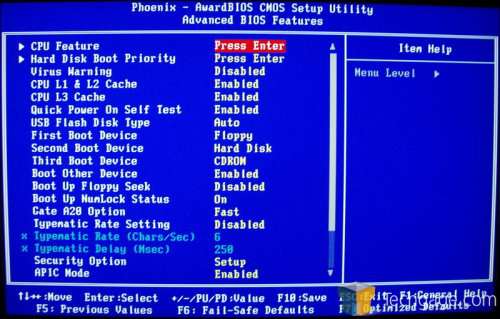
In the advanced BIOS screen, we can change the boot sequence, decide which HDD we want to boot from, control whether the number lock is on, etc… The most important setting on this screen is found at the very bottom of the list and not shown in the picture. It is the setting to enable/disable the starting logo that comes up when you first power on your machine. I would much rather watch the PC POST than stare at the Infinity logo so I obviously have the logo disabled.
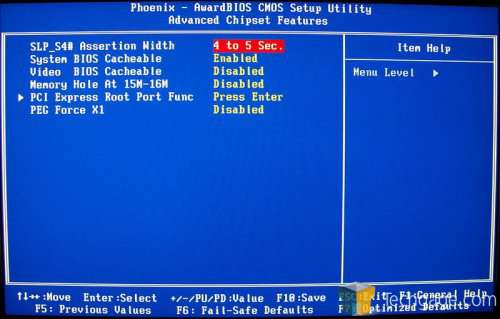
In the advanced Chipset screen, we have the ability to control the settings of the chipset but for 99% of all users, these settings will not need to be touched.
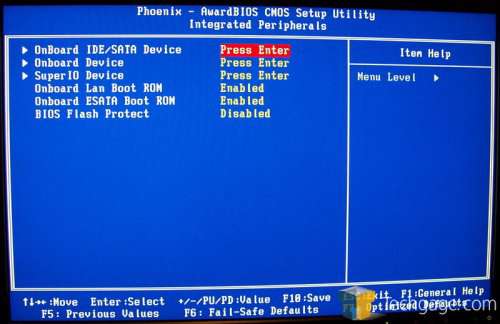
The Integrated Peripherals screen proves to be a bit more useful for the user. On this screen, we have the option to enable the keyboard past the POST screen as well as turn on and off different settings that you will either need or not need. Again, most users will not need to go to this screen but for me personally; I like to enable the keyboard to work past POST.
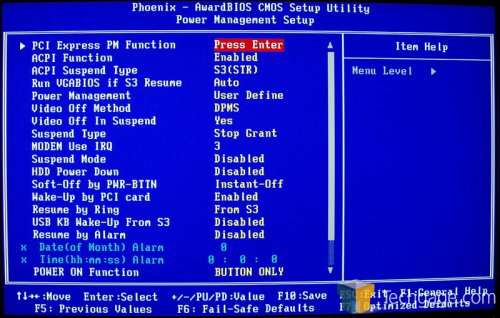
Next we move onto the Power Management screen. The options are pretty straight forward and to the point. Again, this screen is one that most will not have to worry about. For the review, we did not have to change any settings on this screen.
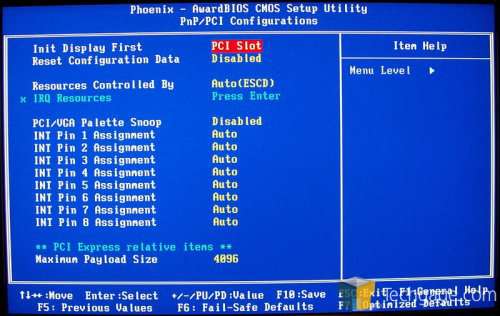
In the PnP/PCI screen, you have more settings to work with. In all honesty, I am not sure what some of these settings control and therefore, did not change any of them for testing.
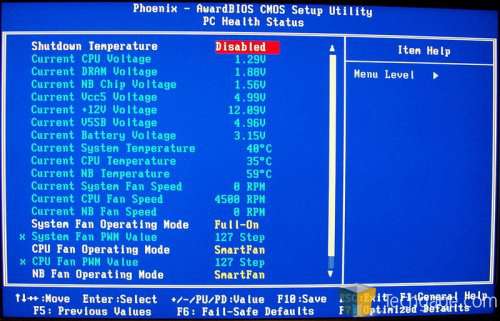
In the PC Health screen, you can monitor the status of your computers vital hardware. This is the screen where you can find out your CPU and northbridge temps and voltage readings as well as set shutdown thresholds.
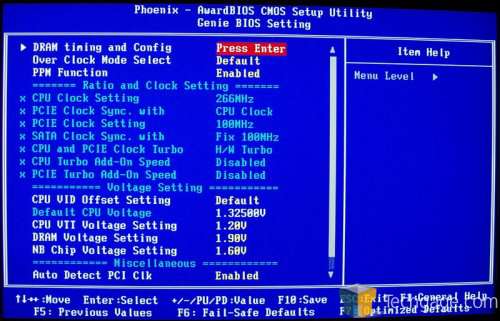
The Genie BIOS is where it’s all at. In this screen, we virtually have full control over our PC. This is where we can overclock our CPU or RAM and up the voltages if needed to get our overclocks stable. When one overclocks, sometimes it’s as simple as raising the FSB (Front Side Bus). This is fine for small overclocks but if we wanted to go all out and attempt to find the top speed that this motherboard will allow, we will need to adjust our RAM timings. Which leads us into…
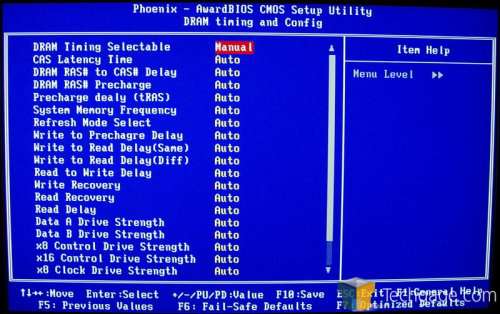
The DRAM timing and configuration screen can be rather intimidating if you don’t know what you are working with. With so many different timings to work with, it’s easy to get confused but with some research, the finer points of overclocking can suddenly become second nature. When overclocking RAM, the more you mess with it, and the more you use trial and error, the better you will understand it.
To change your settings, you can either manually change them or set them to increase with the FSB. For all of you AMD fans out there, if you expand the System Memory Frequency option, this is where you will find what AMD users call a divider. It sets your RAM starting speed instead of staying at a 1:1 ratio with the FSB.
|
|
Support our efforts! With ad revenue at an all-time low for written websites, we're relying more than ever on reader support to help us continue putting so much effort into this type of content. You can support us by becoming a Patron, or by using our Amazon shopping affiliate links listed through our articles. Thanks for your support!


